How to Grow Celery


Homegrown celery is so efficient (and delicious!), gifting a lot of crop, in a small space. By regularly harvesting the big, outside stalks you inspire fresh, new ones to come. In this way, a happy celery plant can perpetuate for years, and that's the trick - to keep them happy. For my simple recipe, dear gardener, read on!
Plant
For crunchy, string-less celery, two things are key: water and a thriving soil. Exactly the same as all crops, though celery needs a little more moisture + a little more nourishment because they have small roots and can't reach out if they need extra to meet their needs.
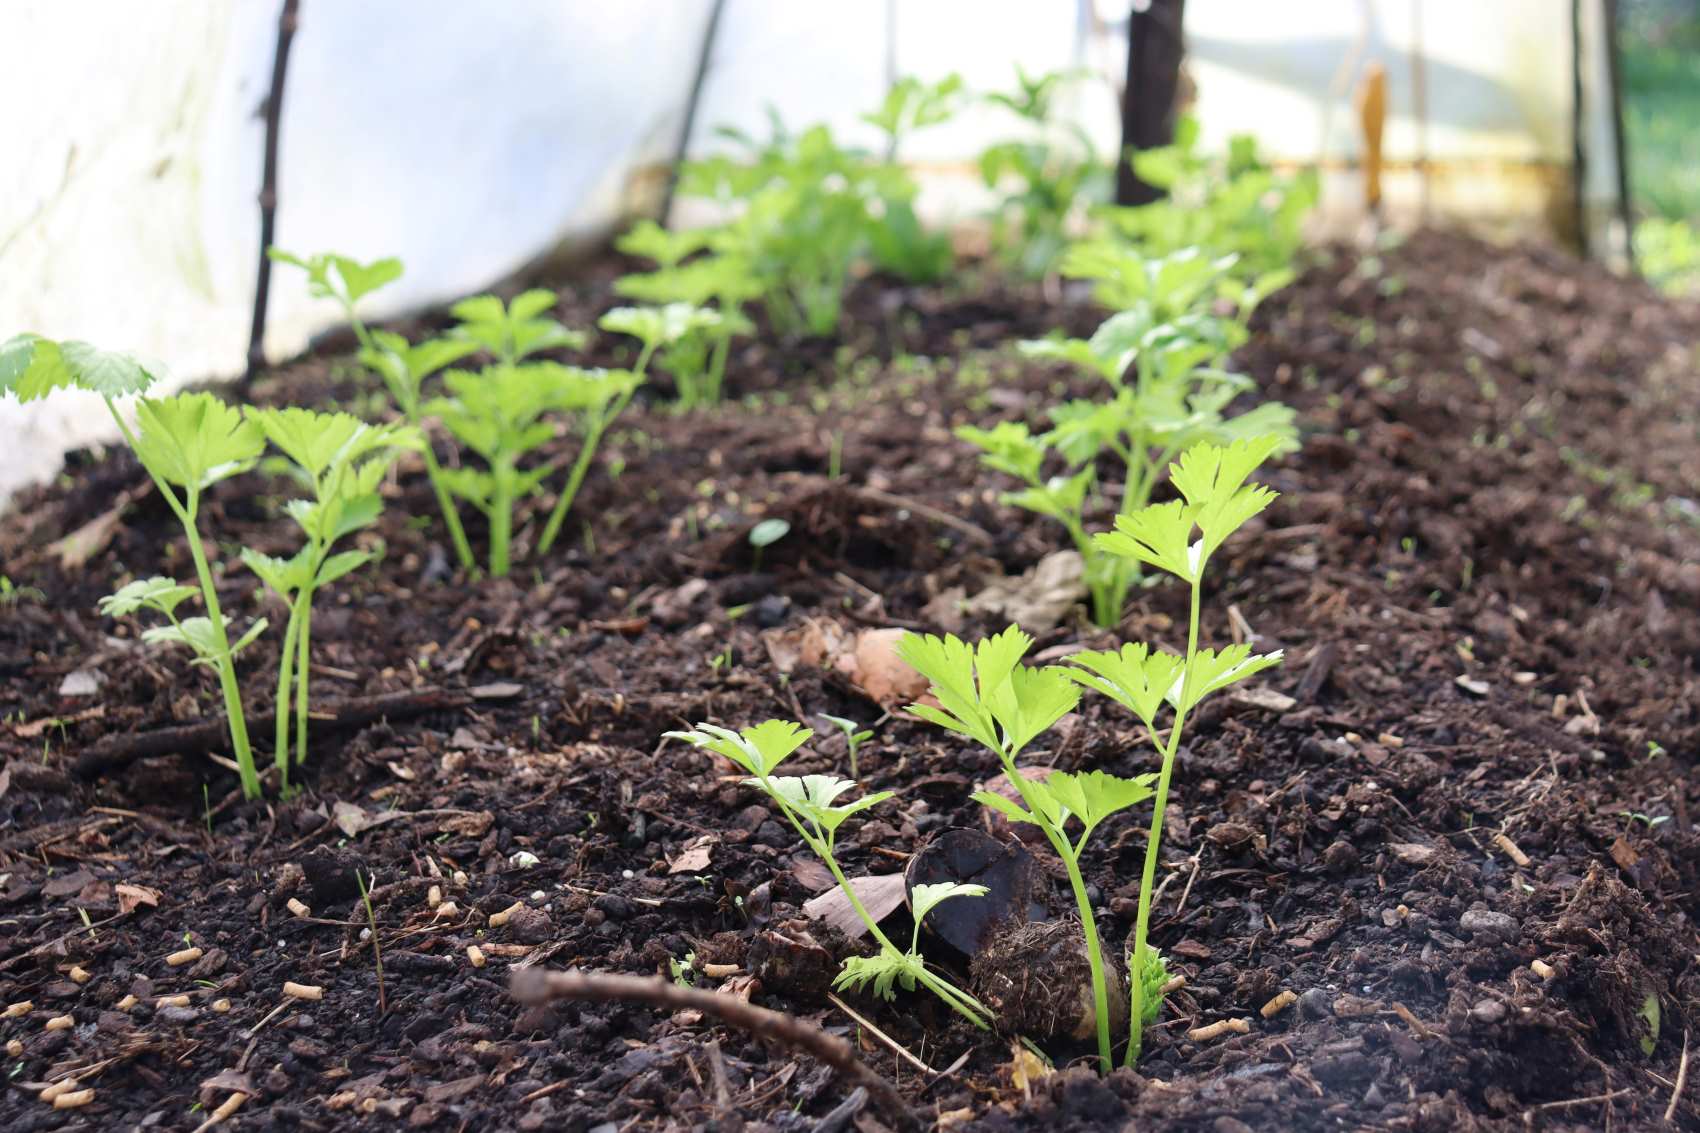
Start with good sized seedlings that have about 4 - 5 leaves, and a root that fills the plug tray nicely. Soak them before planting and water the bottom of the planting hole as well, to encourage roots deep. Plant them quite close together for nice long stems.
Homemade compost is the perfect base, driving the thriving soil life that is at the heart of crop health. From there you have options:
- Add vermicastings, to boost minerals + retain moisture
- If you have access to seaweed - celery loooves seaweed - lay kelp beneath the mulch.
- A little well rotten manure dolloped beneath the mulch
Top it all off with a homemade mulch. I love really well rotten hay for this job, but you use whatever you have.
Timing + tricky sites
Autumn and Spring (after risk of frost), are the best times to plant, unless cooler summers are your lot in which case summers-a-go.
- I plant Autumn seedlings in the greenhouse for fast growth before winter lands and because planting undercover prevents rain induced rust.
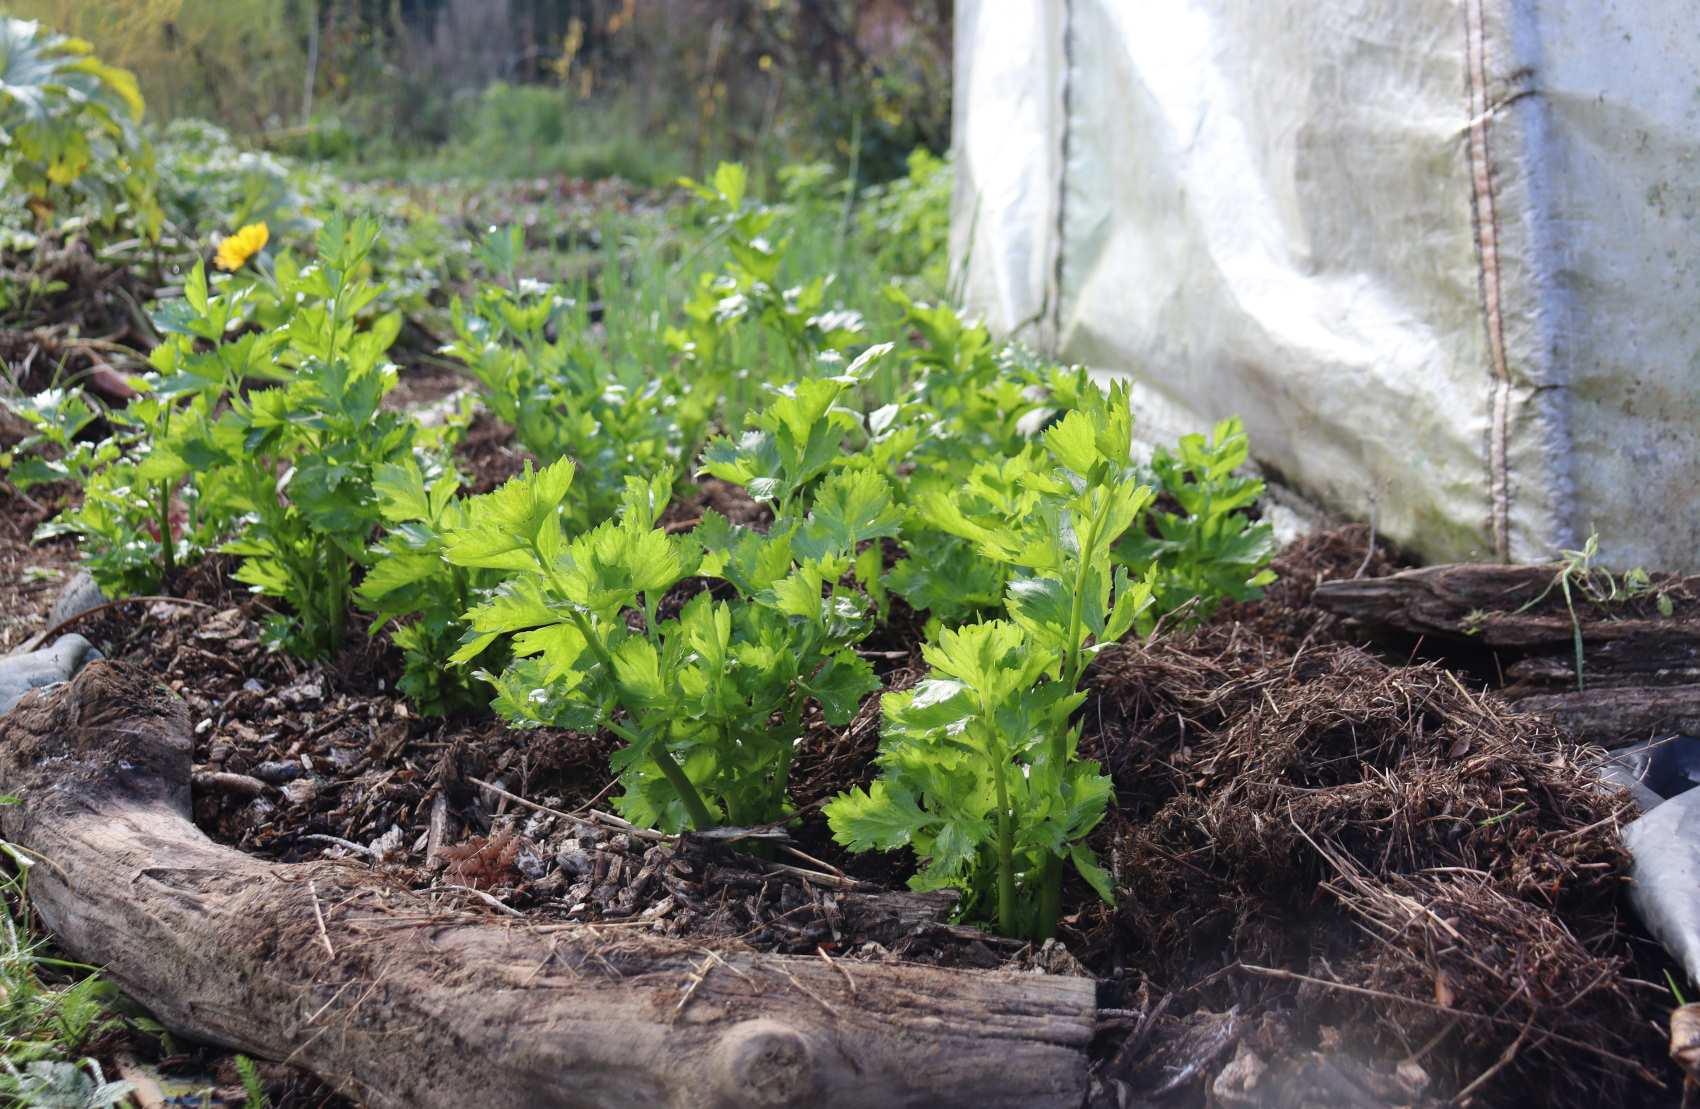
- I plant spring seedlings under a cloche to keep rain off and for extra warmth to initiate good growth. Once weather warms up and dries off, the cloche comes off. A fav spring spot is the east side of our compost bins where the soil is well nourished, stays moist and in the height of summer is in afternoon shade. Gardens with hot dry summers should follow suit. If celery dries out, stalks will be stringy, super spicy and small as well.
In colder zones, celery grows really well + rust free, in the greenhouse year round. In hotter places, outside will be your best bet - consider tucking seedlings beneath some kind of cover to reduce rust if you live in a high rainfall area.
- On really dry, or fast draining, sandy soils, choose the low spot of the garden - somewhere naturally moisture retentive and use a bit more compost + mulch than you would for other crops.
- On poorly drained soils, make a mound of compost and/or rotten hay to grow in. Poor drainage may sound ideal - aha! moisture!, but sadly it's not so. Poorly drained soil is airless, and without air, anaerobic bacteria flourish - not the right bacteria for healthy crops.
Keep health high + growth steady
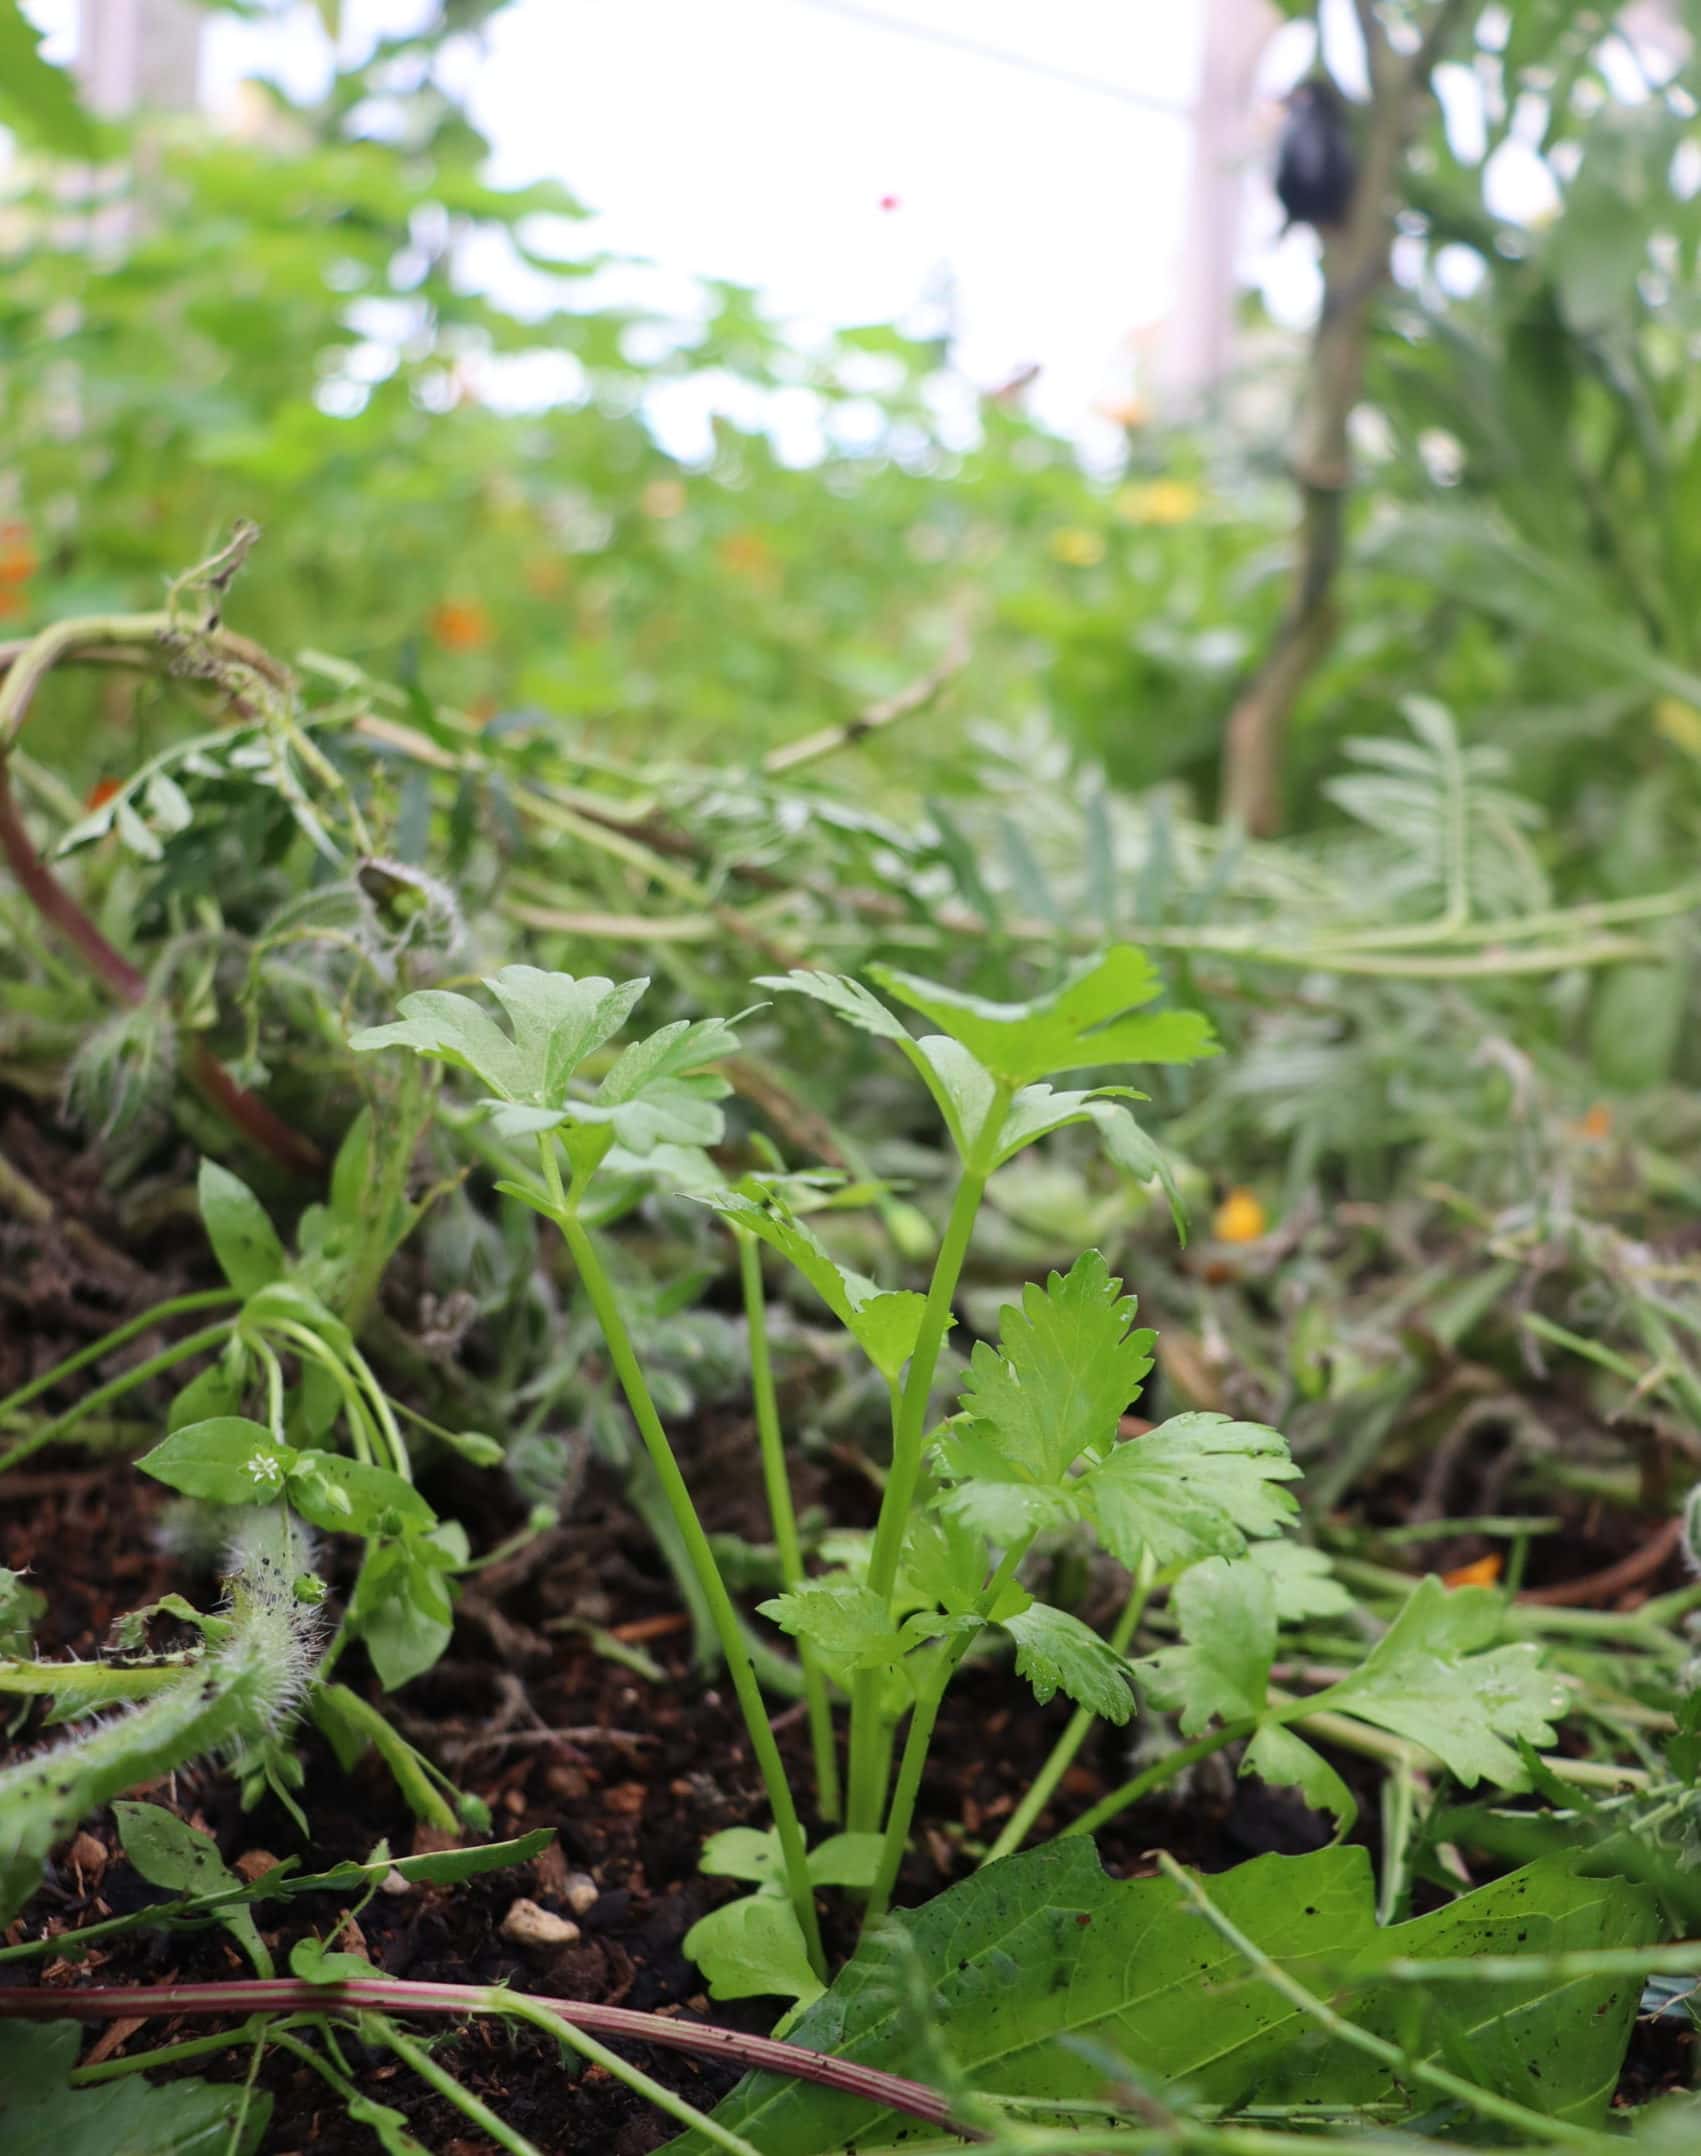
For best flavour and texture you want your celery to grow nice and steadily. If young seedlings falter, check the soil moisture and do a quick soil check in too, perhaps they need a little side dress of compost or well rotten manure. A weekly liquid feed of comfrey or seaweed until growth improves will also benefit.
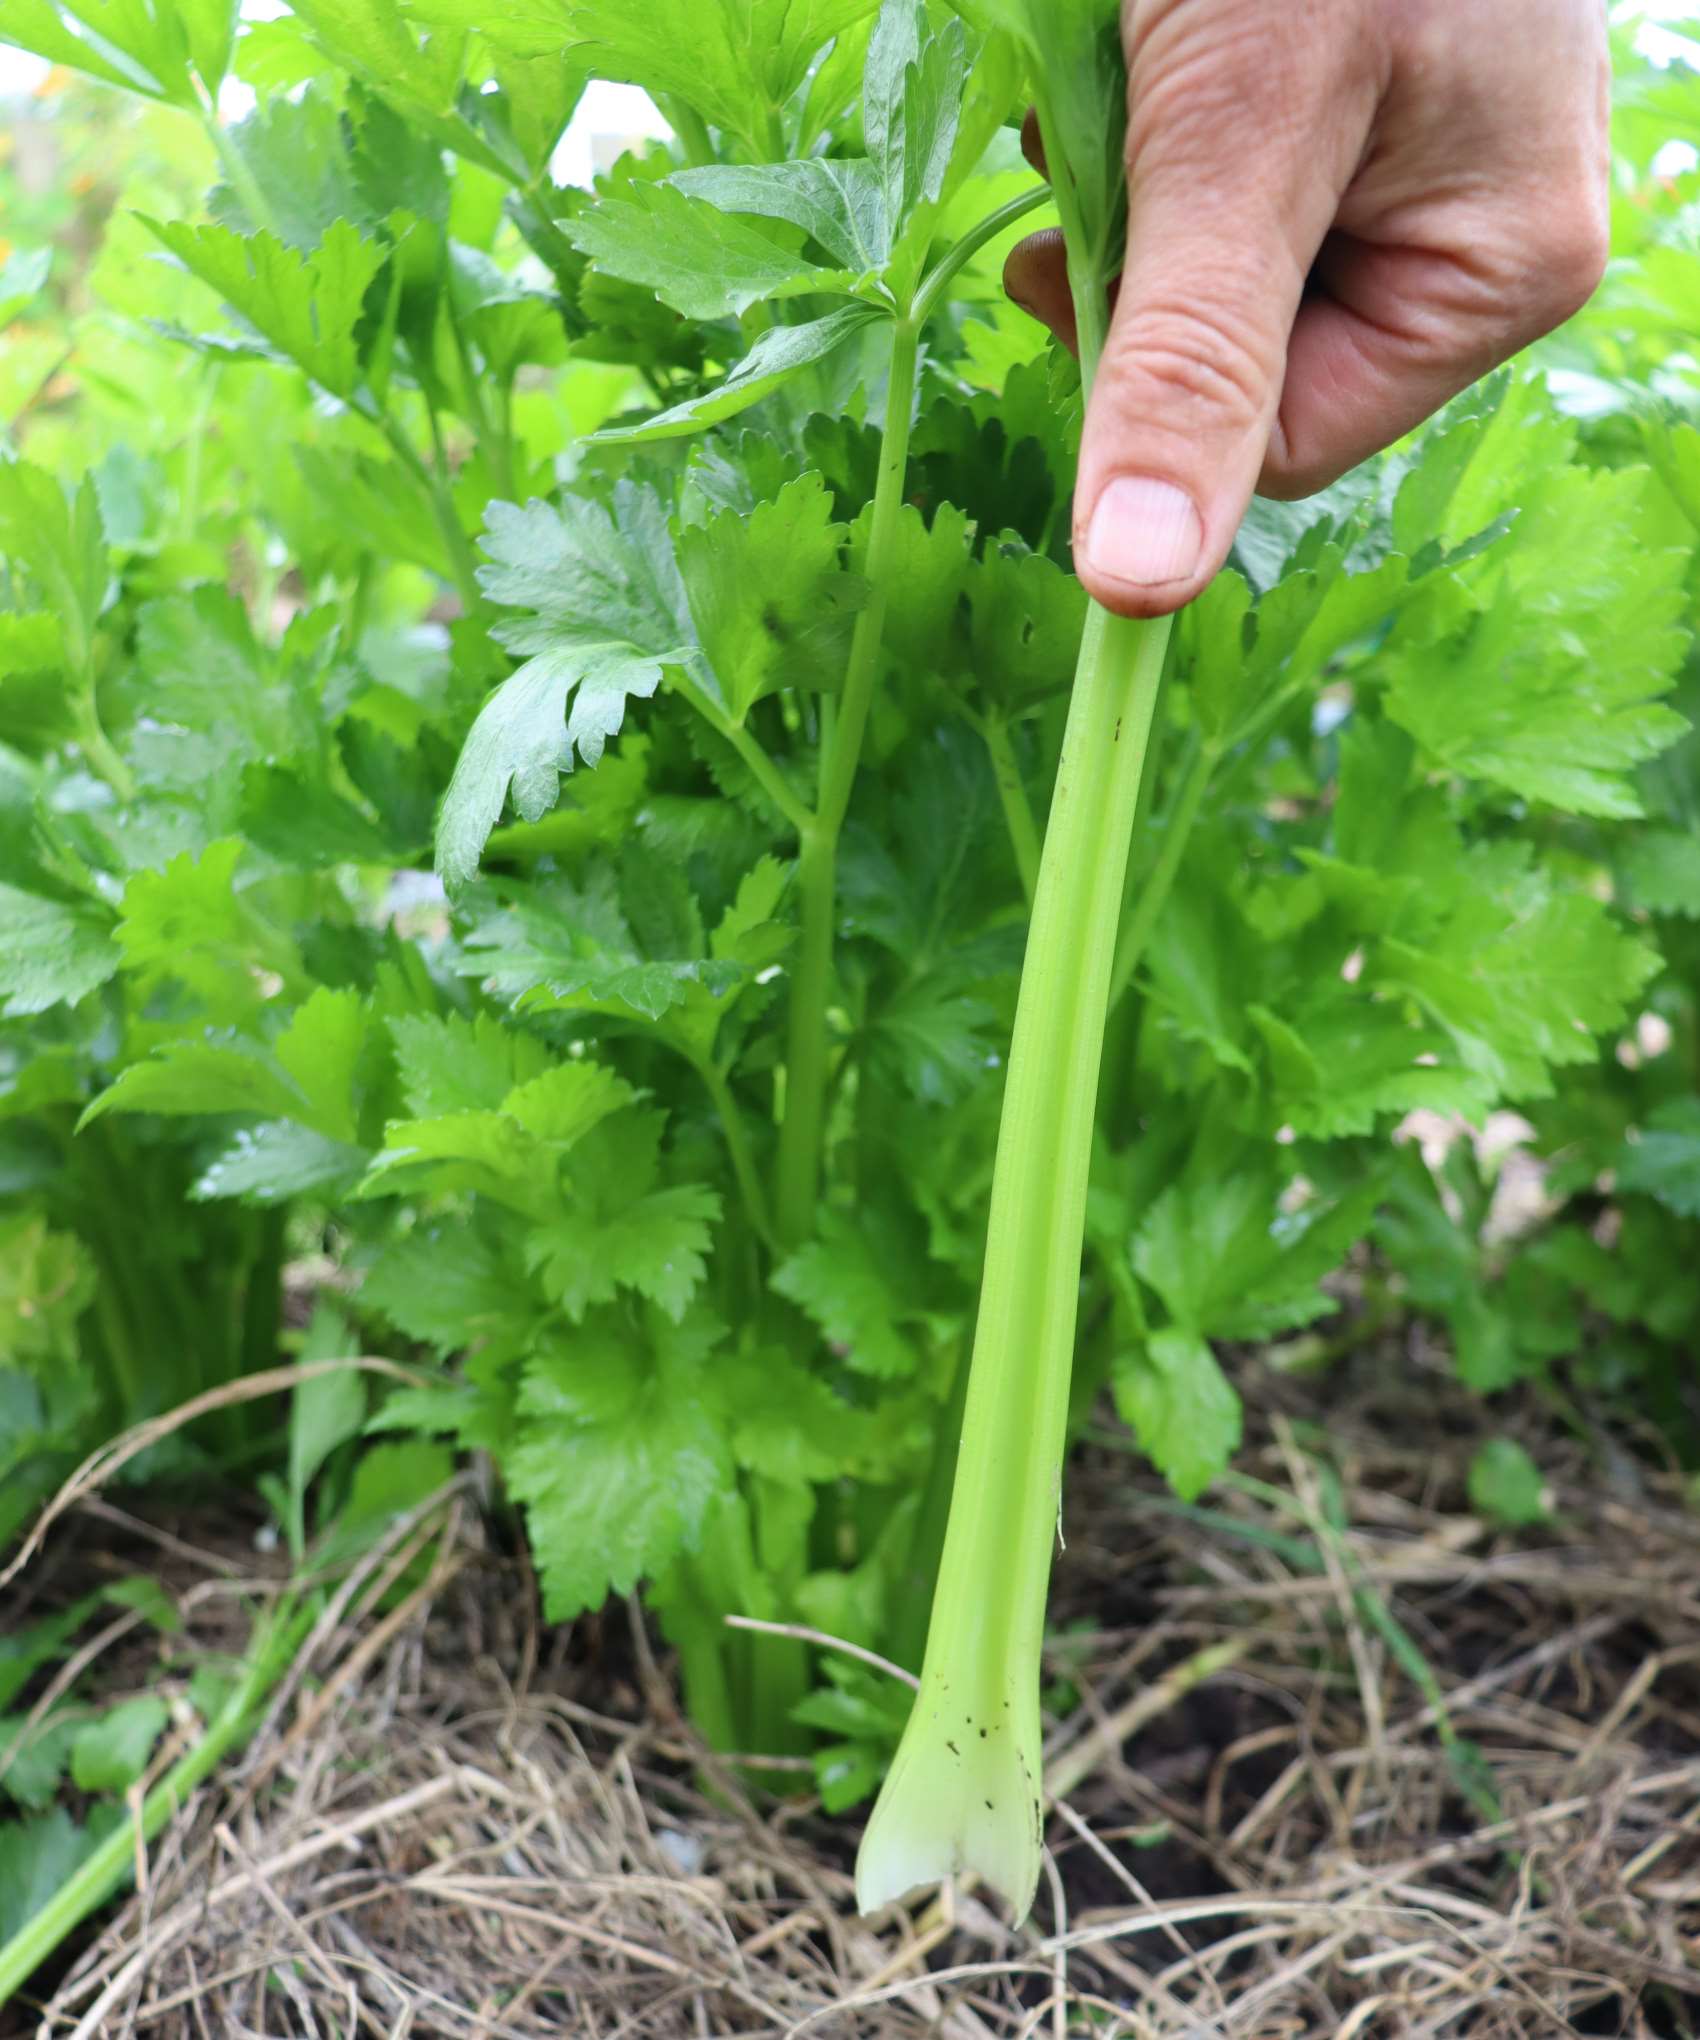
Keep health high and new growth coming on by twisting off the biggest outside stalks when they are in prime condition. At the same time as you harvest the good ones, twist off any not so good stalks (gooey, spongy, rusty), and toss them in the compost. This simple habit makes the world of difference to crop health; it keeps pests and diseases that are attracted by older, decomposing growths, at bay and at the same time creates good light penetration for photosynthesis, good airflow and keeps energy focused not on the old, but on the young.
Regular liquid feeds are always appreciated, think seaweed or comfrey or a biological brew. Monthly if all is well, as much as weekly if growth falters or pests or disease come calling.
You can kickstart old, dire plants by either slicing the whole plant off at ground level - they will re-sprout! or do a less dramatic renewal, by cleaning up the stalks that are past it while retaining a few fresh young ones. Either way, spread compost, vermicastings and mulch, perhaps give a liquid feed too, and off they will go again.
Keep it real
Well looked after celery can grow stalks that are a similar size to commercially grown ones, but mostly it's smaller. Let's not use size as our measure of success.
Celery happiness is being crispy + tasty + free from the eye watering amount of herbicides and pesticides in those gargantuan, plastic wrapped things in the supermarket.