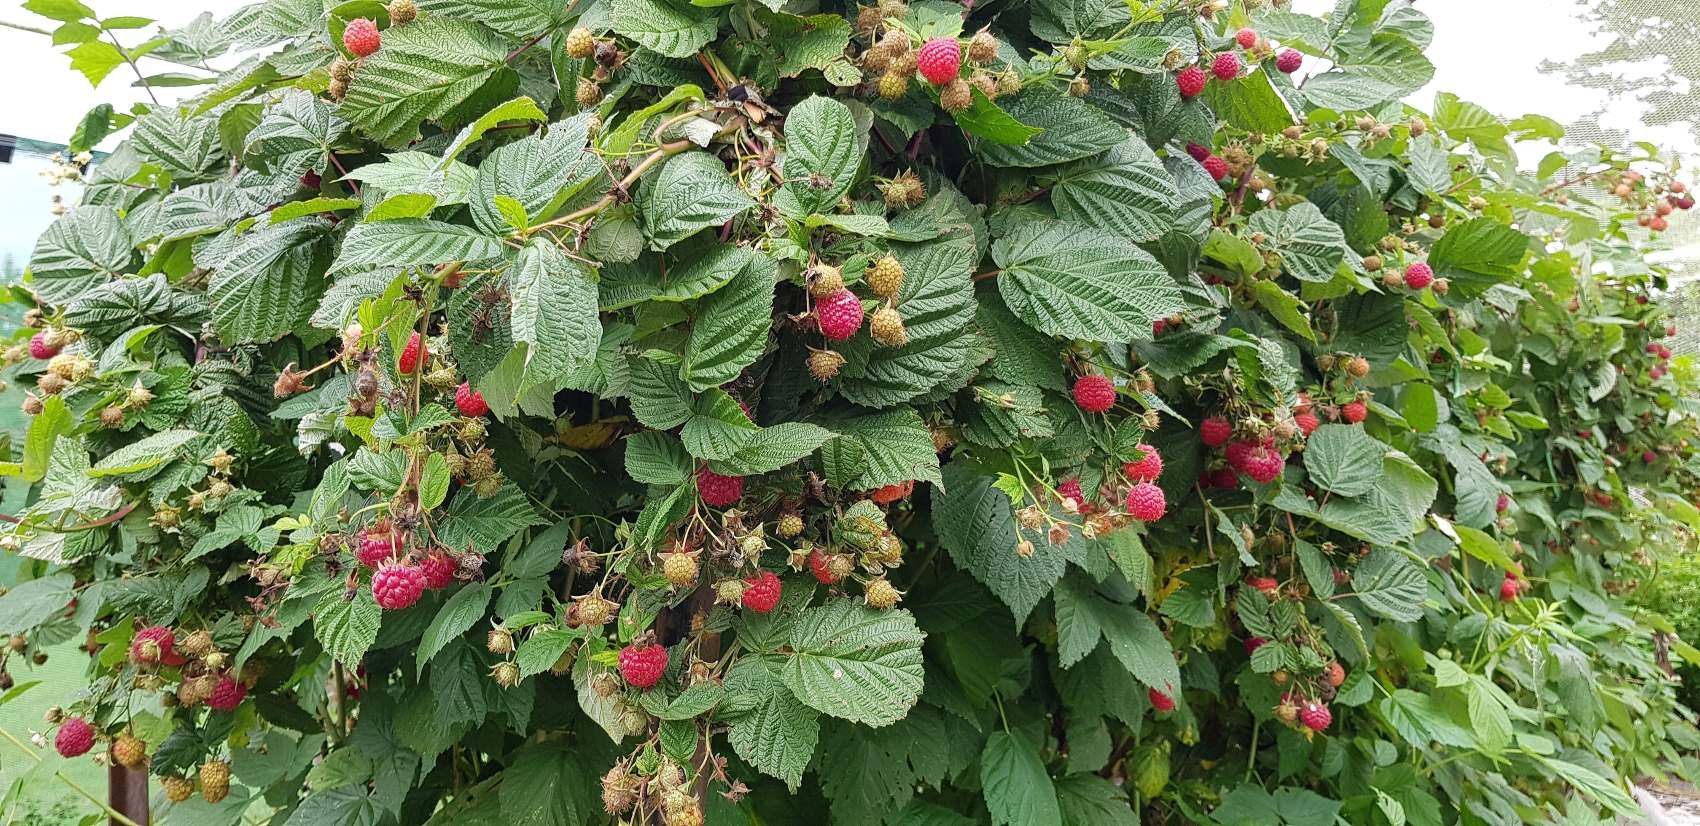
How To Grow Raspberries

Awesome crops of awesome raspberries begins with a good setup, and so today I’m focusing you in on getting the basics sorted first: choosing a good location + a good variety. With this well sorted, their care is easy i.e. less pests and disease + better crops.

From there we move into bird protection, creating a robust frame and getting your soil ready. All in all a strong foundation for a breezy berry growing life. Lets go!

A good location

You know when you’ve chosen a good location – the berry crop shows you!

Raspberries are pretty flexible, and will grow in most New Zealand regions. They prefer life not too cold and not too hot, like goldilocks, though a decent period of winter chill makes a big difference. Hard spring frosts damage flowers and fruits so if this is your lot, choose the top of a slope, where frost will slither past and be ready with frost cloth too.

Sun + shade

Though berries herald from the edges of woodlands, and they do indeed grow in semi shade – crops are better by far when grown in full sun. Unless you live in the far north, or the hot, dry east coast where it may be too hot! Try them out in the semi shade and research varieties to find one better suited to hotter weather and low winter chill.

Soil

Free drainage is key – I learned this in my first garden having planted raspberries in an old bathtub to stop them spreading. Little did I know that an annual prune would do the same job – they up and died in the first winter in the soggy soil. Their loathing of wet feet shows up as poor growth, disease and poor cropping. If you are on heavy clay, focus first, as in before planting!, on improving your soil. If you have high rainfall and/or are prone to waterlogging, getting the drainage sorted, will not only do your raspberries a huge favour, but your whole garden as well.

As much as raspberries loathe wet feet, they aren’t a fan of dry either – soil moisture needs to be just right. Build humus levels in sandy soils up before planting with compost, greencrops and mulch. A compost pile made on the chosen raspberry growing spot and left to decompose in situ, is an awesome kickstart.

After that, they thrive best in a humus rich soil.

Shelter

Shelter is important. Strong and especially salty winds damage flowers + crop and will put the pollinators off from coming to work. Either way, big wind is off the cards. Some wind, however, is key to good health – raspberries are prone to mould – those of you gardening in damp, windless, humid places will know all about it. Airflow is key for best berry health as per a good breeze, not a Wellington gale. Dare I say it, goldilocks strikes again.

Rain + irrigation

Berries turn to mush and grow mould in high rainfall places. Pick fruits when wet and watch them turn fluffy and dissolve before your eyes. If you live down south on the west coast you may consider training them under an eave perhaps. The dry east coast will need a leaky hose or some such at their feet because as much as they wont do well in the very wet, the very dry isn’t their cup of tea either.

Here’s an easy way (not with a bought thing, but your very own hands and eyes), to figure out your soils moisture levels.

A good variety

Raspberries
Clutha is a summer fruiting raspberry that does really well at my place

Take a bit of time to hunt out the right variety – as with every fruiting crop, variety is key. Some handle hotter, drier spots better than others for example. Your local gardening fraternity is your very best source of intel, a good local nursery too. Don’t rush into the first recommendation – gather info from a few sources. If you have room, choose a few different varieties to hedge your bets, and if you love raspberries as much as I do, choose a summer fruiter and an autumn fruiter.

Summer fruiting raspberries are more beaudacious than autumn ones – bigger plants with bigger crops of bigger berries. Don’t confuse bigger with tastier though, both are awesomely yum. Summer fruiters, fruit on two year old canes called floricanes, so are pruned differently.

If you are short on space, autumn fruiters make the most sense. They’re more stocky and don’t need a frame. They can be grown against a wall, or screen, around a big post or even in a big pot. They fruit on first year canes, called primocanes, so pruning is easy as, simply chop them all at ground level in winter. Though you can with the right variety, prune to achieve a double crop: one in autumn followed by a crop the summer following. Read all about it here.

These are the varieties that stood the test of time in my Levin garden:

  • Summer Fruiters: Aspiring, Clutha, Tulameen
  • Autumn Fruiters: Autumn Bliss, Lewis, Heritage

A good setup

The berry house is awesome! It’s fully birdproof and fits a standing human – such a nice work space. It’s robust but construction was super simple: recycled posts with no.8 wire strung + tensioned between. Bird net clipped onto the wire (which I wouldn’t do again, the plastic clips kept breaking).

With the location chosen, and variety sorted its time to consider birds, frames and how to prepare the ground.

Bird protection

Birds are a big consideration. You need to do something. There’s plenty of inspo out there – look around and see what others are doing. You can always start simple and evolve from there.

  • The simplest and most instant protection is to toss a net over the crop. Birds, however, sit on the net and peck through to the fruits – which I don’t mind, there’s usually loads to share, but the poop is another story! And its awful when birds get tangled – they enter at the bottom if you dont seal it off properly. Which, if you are taking the net on and off each day is likely as it starts to wear pretty thin.
  • If you have the budget, go all out and buy a berry cage. If you have simple building skills and tools, build a house, like we did: it doesn’t need to be a full on structural as all you are holding up is bird netting. Or create something more simple, a frame to keep the net off the plants both above and along the sides, is a good start. Attach the net to the top of a fence or building and roll it out when the berries are ripe. Go as tall as poss, raspberries need at least 1.8m space. Weight the edge on the ground to prevent birds coming in. If you need to lift it to enter, attach the ends around a pipe or pole to make it easy. Page 56 in my Edible Backyard book has more thoughts.

Use your chooks!

Not a weed remains! My chook helpers have cleaned them all up and I’m sure a few pests have met their maker along the way. All that’s left for me to do is prune, spread a little compost and mulch, and we’re ready for another great season.

If you have chooks, can you, in this setup phase, consider ways to let them under the berries in the winter to clean up weeds, rotten fruits and larvae. Our berry house joins the chook run, so letting them in is as easy as opening a little chook size door. Too good.

Create a frame for summer fruiters

rasperry trellis

Autumn fruiters don’t need a frame, but summer fruiting raspberries certainly do. If you live somewhere windy or rainy, it would pay to create something simple to hold your autumn fruiters up. Because the primocanes are chopped to ground each winter, these guys can grow flat against a fence, or be tied onto a single wire or trellis.

Summer fruiters have alot of canes going on at any one time – both first year primocanes that wont fruit until the year following, and the floricanes (second year canes) that are fruiting. The ideal frame accommodates the new seasons primocanes, letting them get their grow on without getting in the way of harvesting the floricanes. It also needs access both sides, so you can get around all the crop. My favourite and very simple system is described here.

For best airflow and light distribution I prefer a single row of berry plants per each trellis.

Prepare the ground

All that remains is to prepare the ground. Start by clearing the grass and weeds, dear god not with spray, but by laying black plastic over top until everything collapses back into the soil. Takes a while, but returning all that grew there is an awesome humus building exercise. You could, if in a rush, scrape the turf off. Once the ground is clear:

  • aerate the soil unless you are one of the lucky few on volcanic or loamy ground or of course if you are on sand. Raspberry roots are shallow and compaction isn’t their friend.
  • spread a fine layer of compost and/ or vermicastings along the row. Berries aren’t hungry, per say, don’t go nuts! Don’t overfeed them with deep compost and don’t use artificial fertilisers – these contribute to pests and diseases down the line.
  • plant your raspberries out about 500mm apart in a single row for best light and airflow and easy picking. It’s easier, for ongoing management, to grow your autumn fruiters and summer fruiters in different spots. If they do share a space, put the autumn fruiters on the sunny north side of the summer fruiters, because they wont grow as big. They also need lots of light on them in spring because they start at ground level.
  • cover the surrounding ground with card and spread a mixed woody arborist mulch, generously over top of that. Job tidy.

Comments

  1. Jill Bonny says

    Kath, Your raspberry pruning guide is excellent but I still have one question. If they fruit in the Autumn on the primacanes will they fruit again the following year as flouricanes? Jill.