Grow Vegies in Containers + Make an Instant Vegie Patch
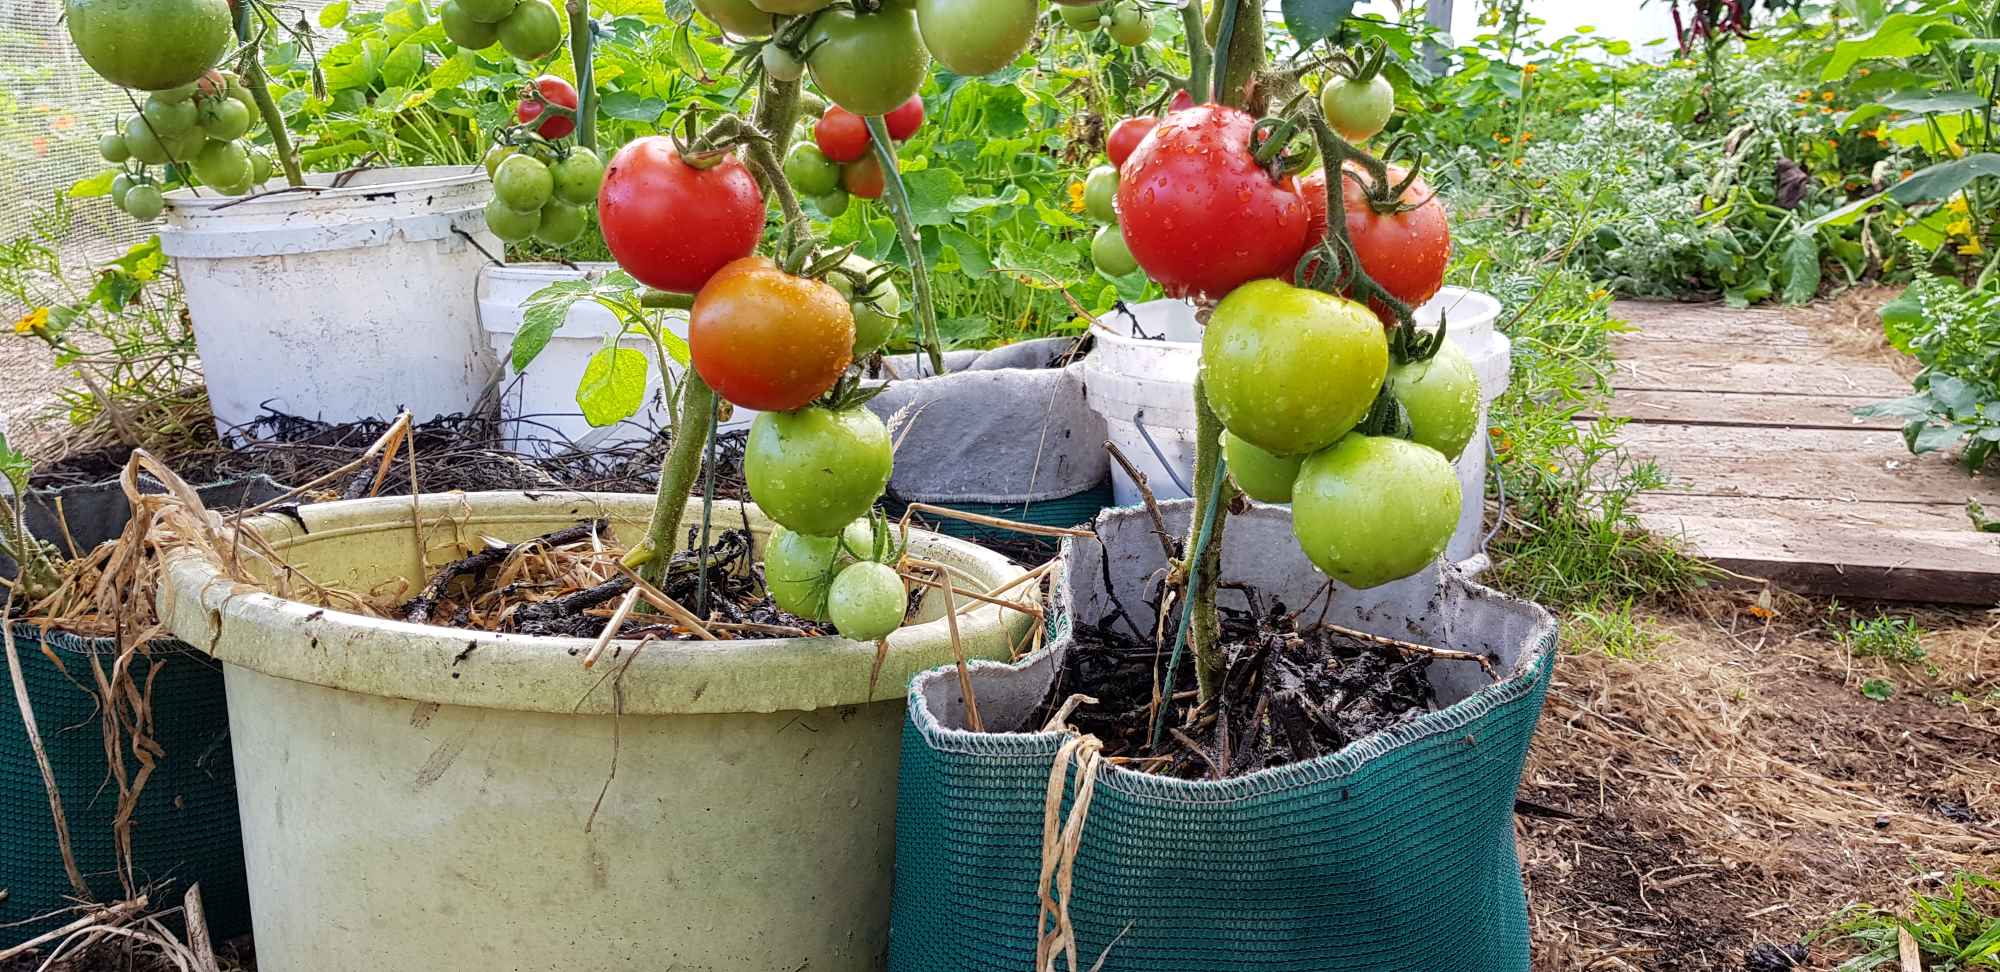
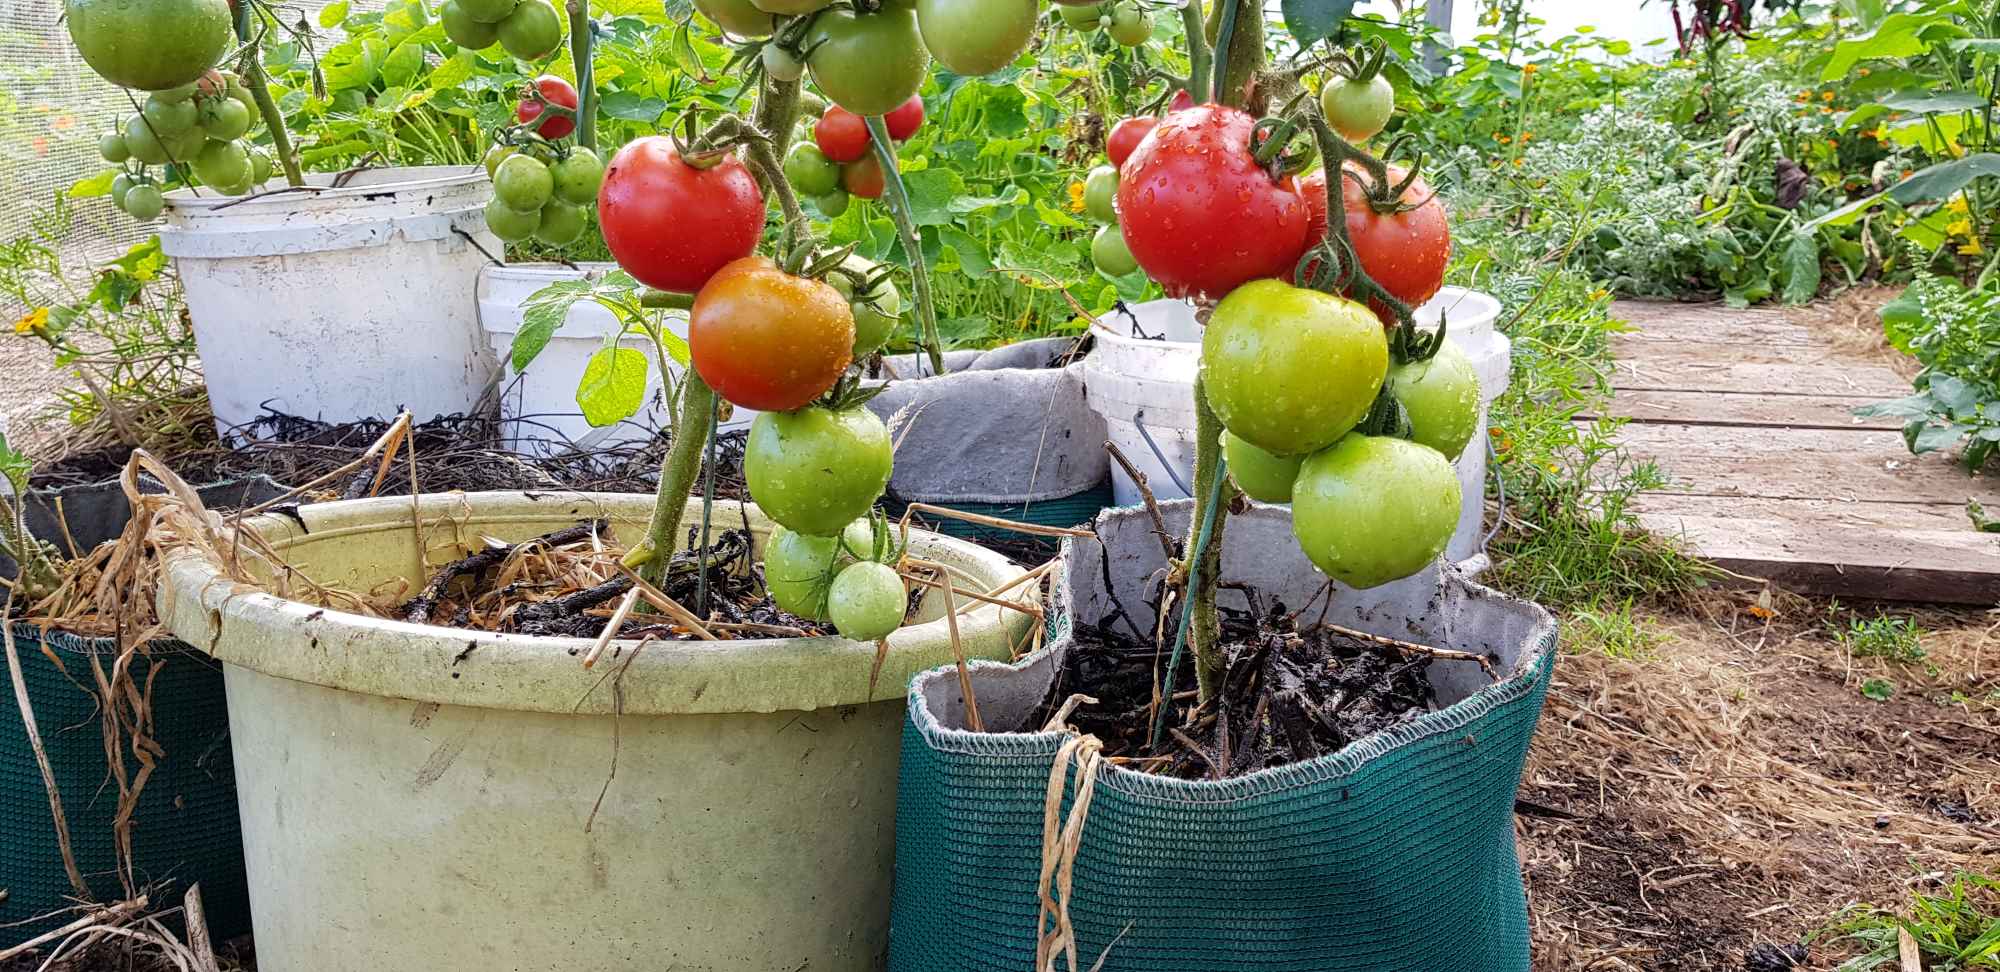
Containers grow amazing vegies! Perfect for small spaces, young children and our elders too. They are quick and cheap to set up, and can pump out a goodly volume of kai.
When you are new to land, growing in containers brings a lovely breathing space. Rather than stressfully trying to work out the perfect spot for the vegie patch - slow the bus down and get your vegies growing in a temporary setup. With dinner on the way, you'll feel more relaxed about taking the time to work up a really solid garden plan. You may even enjoy the containers so much that you keep some on the go!
Gather containers
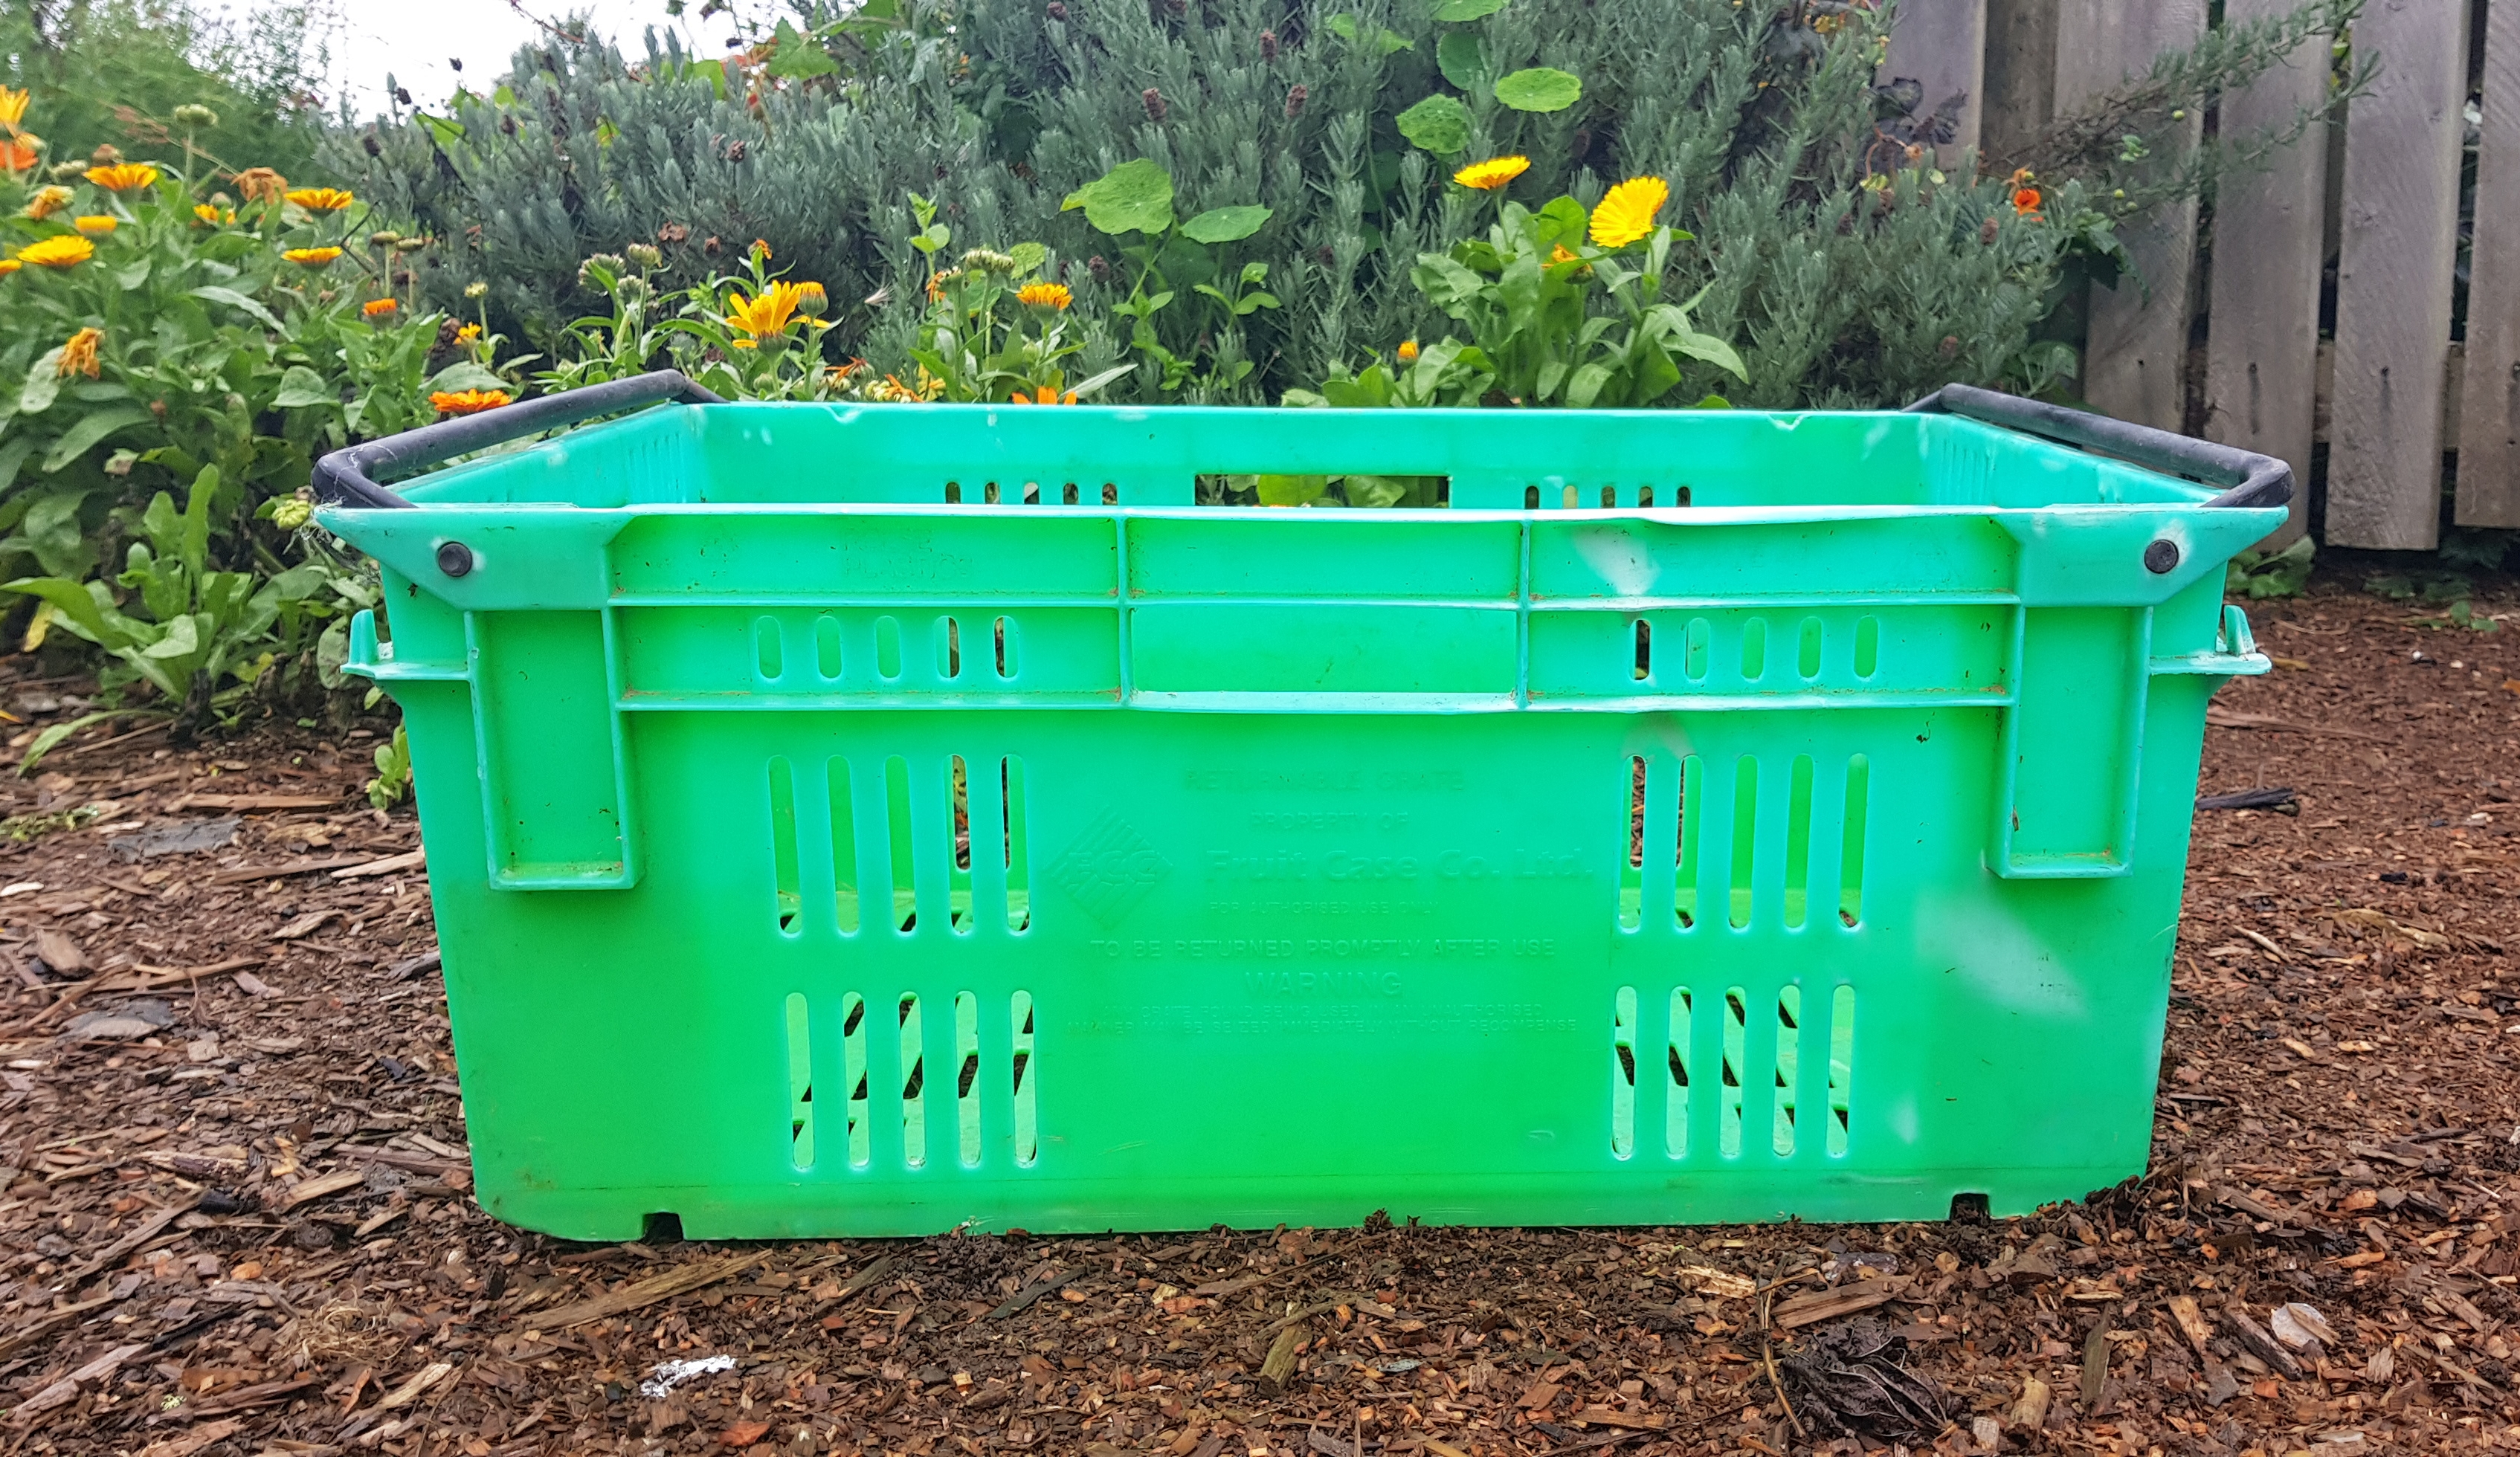
Start by gathering together all the containers you've got. Scour op shops and tip shops. As long as water can exit and there was nothing toxic in the container prior - its fair game. For instance I wouldn't use artificial fertiliser sacks or paint tins. Unsealed terracota pots ooze water, and ceramic pots, when full, are really heavy - things to consider.
Size is the other factor - a depth of 30cm is a good go to. Can be slightly less for shallow rooted crops like strawberries + saladings, and a bit bigger for larger crops like squash.
The smaller the container is, the quicker it dries out. The deeper it is, the more soil it requires to fill and the heavier it is! A good balance is somewhere between - enough soil to retain moisture and support roots without having to use too much potting mix and break your back moving it.
- Old feed sacks are fab, just roll the tops down till they're about the size of a 15 litre bucket.
- Broken buckets - I always keep cracked buckets for growing in. Drill a goodly amount of holes in the bottom if there aren't enough cracks already.
- Sturdy boxes like banana boxes are perfect - yes the cardboard will break down but no matter - this is a temporary gig after all and the card and old potting mix can all be added back to the compost or garden
- Fish bins and fruit crates are awesome - the wide surface area allows for alot of greens and flowers to be jammed in together.
A good location
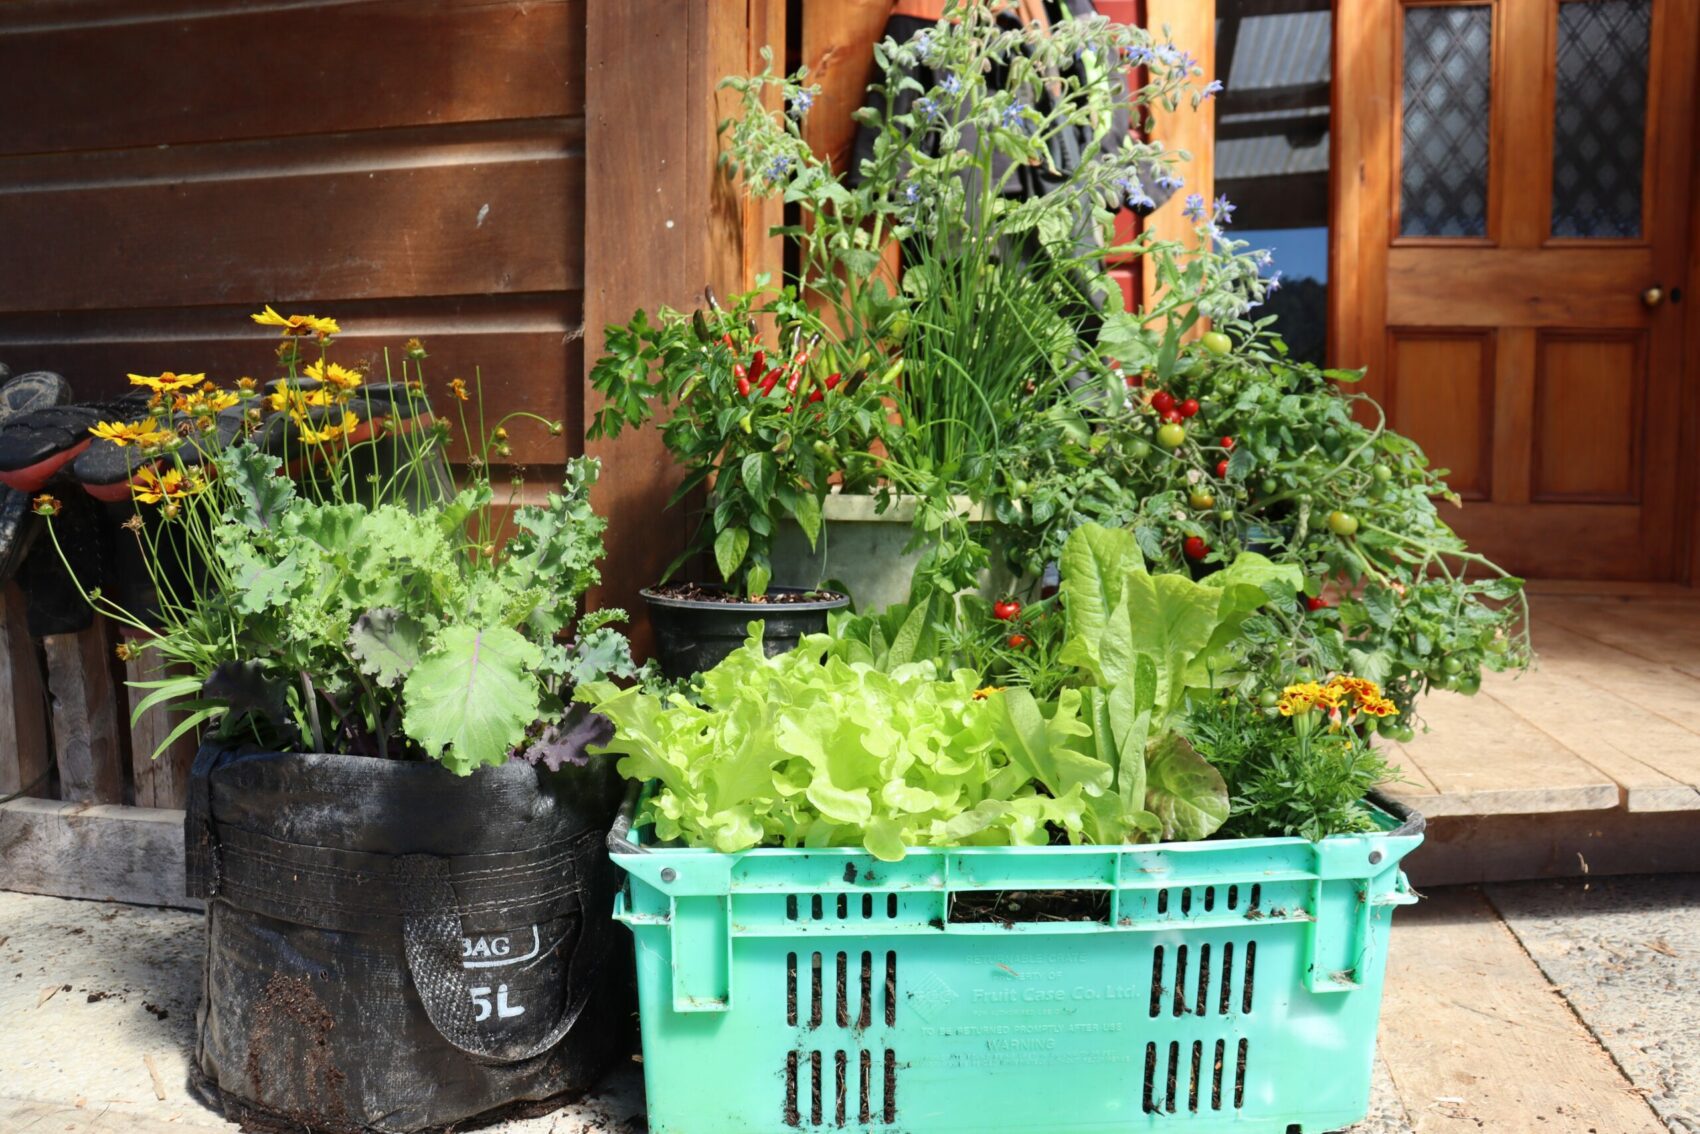
Choose a sunny, sheltered spot as close to the house as poss. Crops that are close at hand are always the best cared for!
Bunch all the containers tightly together to hold moisture and for good company. Let plants spill over onto each other in a neighbourly way because plants, like people, perform heaps better in community.
During cold weather, speed the pace of growth along by tucking them into a warm micro climate, out of the bite of low temperatures.
- Use the north side of buildings, fences or hedges where the sun is trapped + held and cold southerly flows are cut off.
- Brick, stone or concrete walls or floors hold heat and slowly release it at night
- Sunny, closed in spaces like porches and decks work really well too.
During hot weather, sun lovers will thrive (peppers, squash, tomatoes et all) but leafy greens may wilt. Those that cant take the heat and droop need to have the soil cooled down. Do this by moving them direct on the soil, amongst other plants or in a semi shaded spot.
Potting mix: bought + homemade
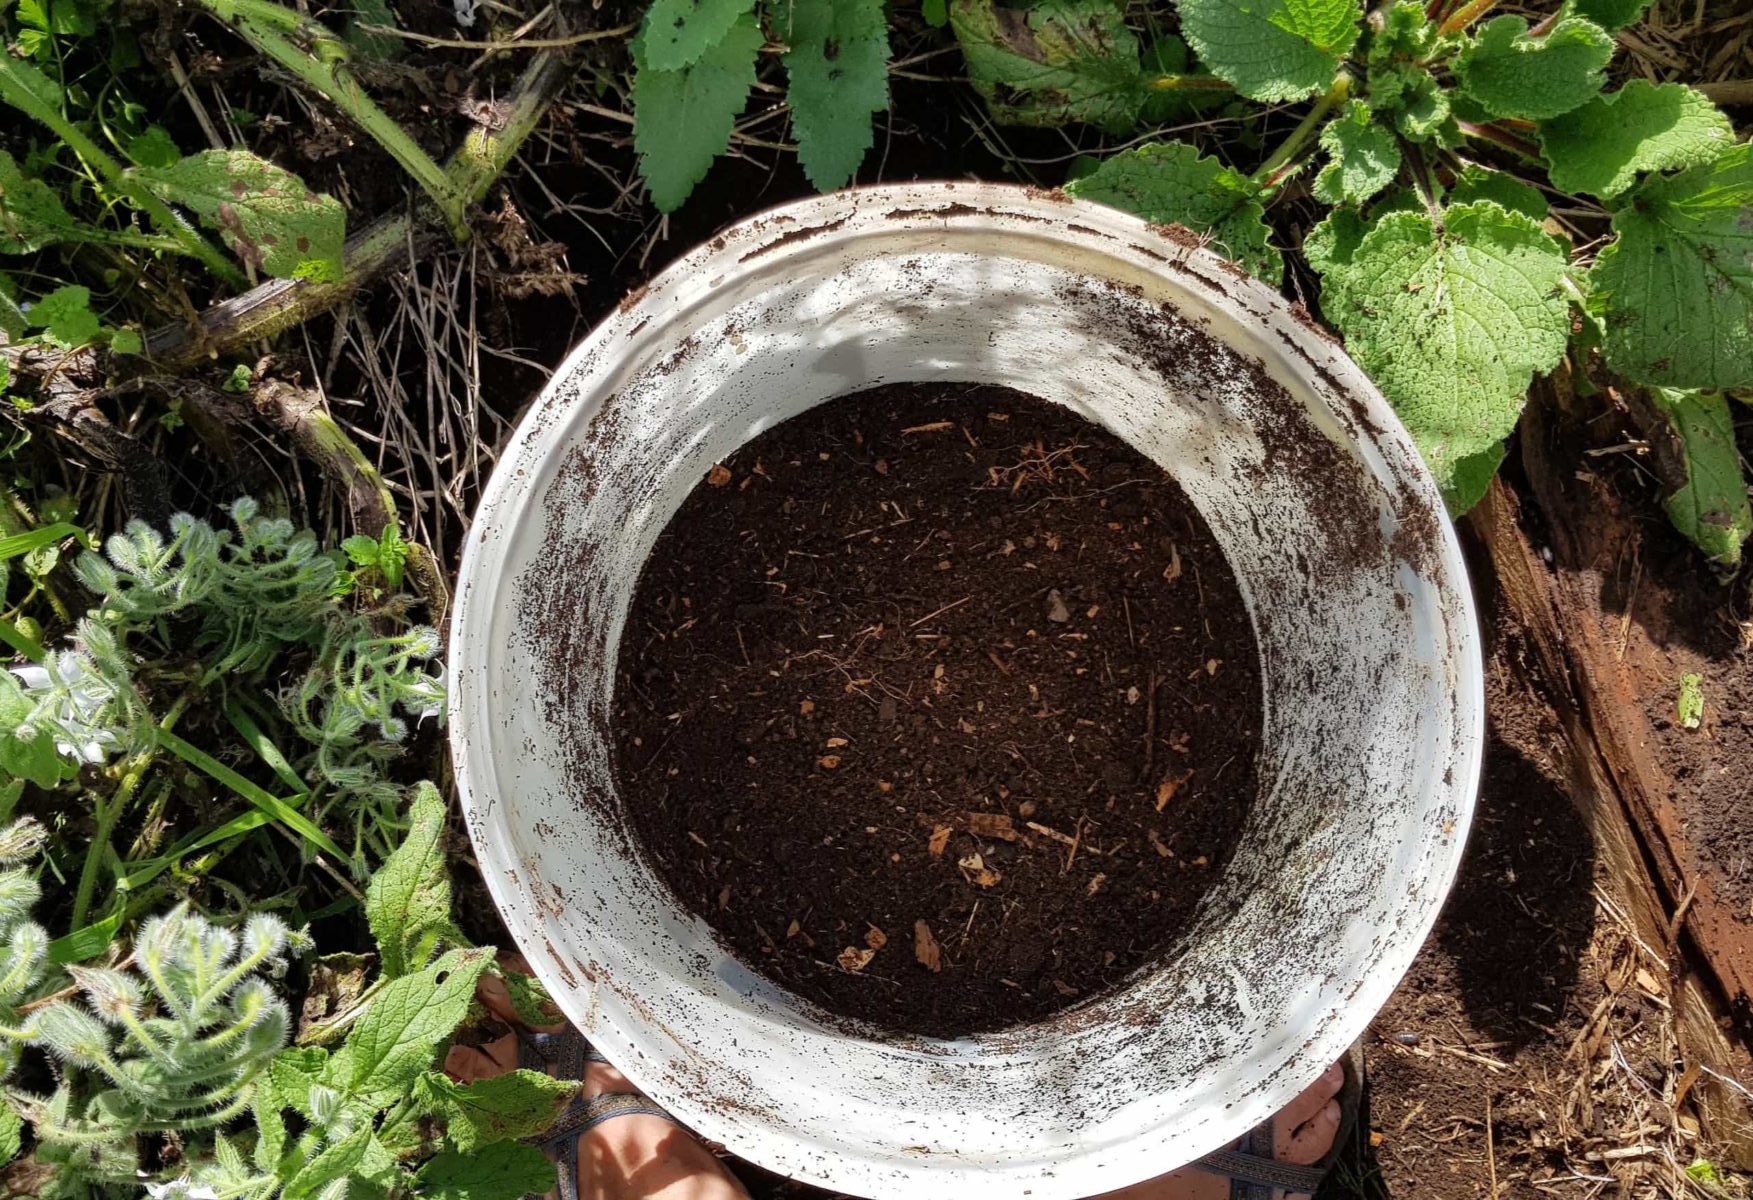
Either buy in an organic potting mix - find one without added fungicides and artificial fertilisers, or make your own. Google home made potting mix and you'll come up with 100's of tried and true "best" recipes - from this plethora you can deduce that its a flexible thing! If a recipe requires bought inputs, I cant help but wonder if its simpler just to buy potting mix.
My potting mix is never the same - think of it like a stirfry - use up all the bits and pieces! It also doubles as my seed raising mix.
My very flexible brew is as follows
+ a third is the food - compost or well rotted manure or vermicastings
+ a third is the drainage - river sand, well rotten sawdust or small gravel
+ a third is the moisture retention - something peaty (without being peat!), like leaf mold or vermicastings or the yummy stuff beneath mulch/ under trees.
If you have nothing peaty to hand, make a 50/50 homemade compost and/or vermicastings + grit mix. Bought compost is super concentrated, so if this is what you have, perhaps use a little less.
Make a mix and squeeze a handful. It should be quite loose. If not add some more grit. If too loose add some more food. Don't think too hard or go down the rabbit-hole of perfection - trust your gut feeling.
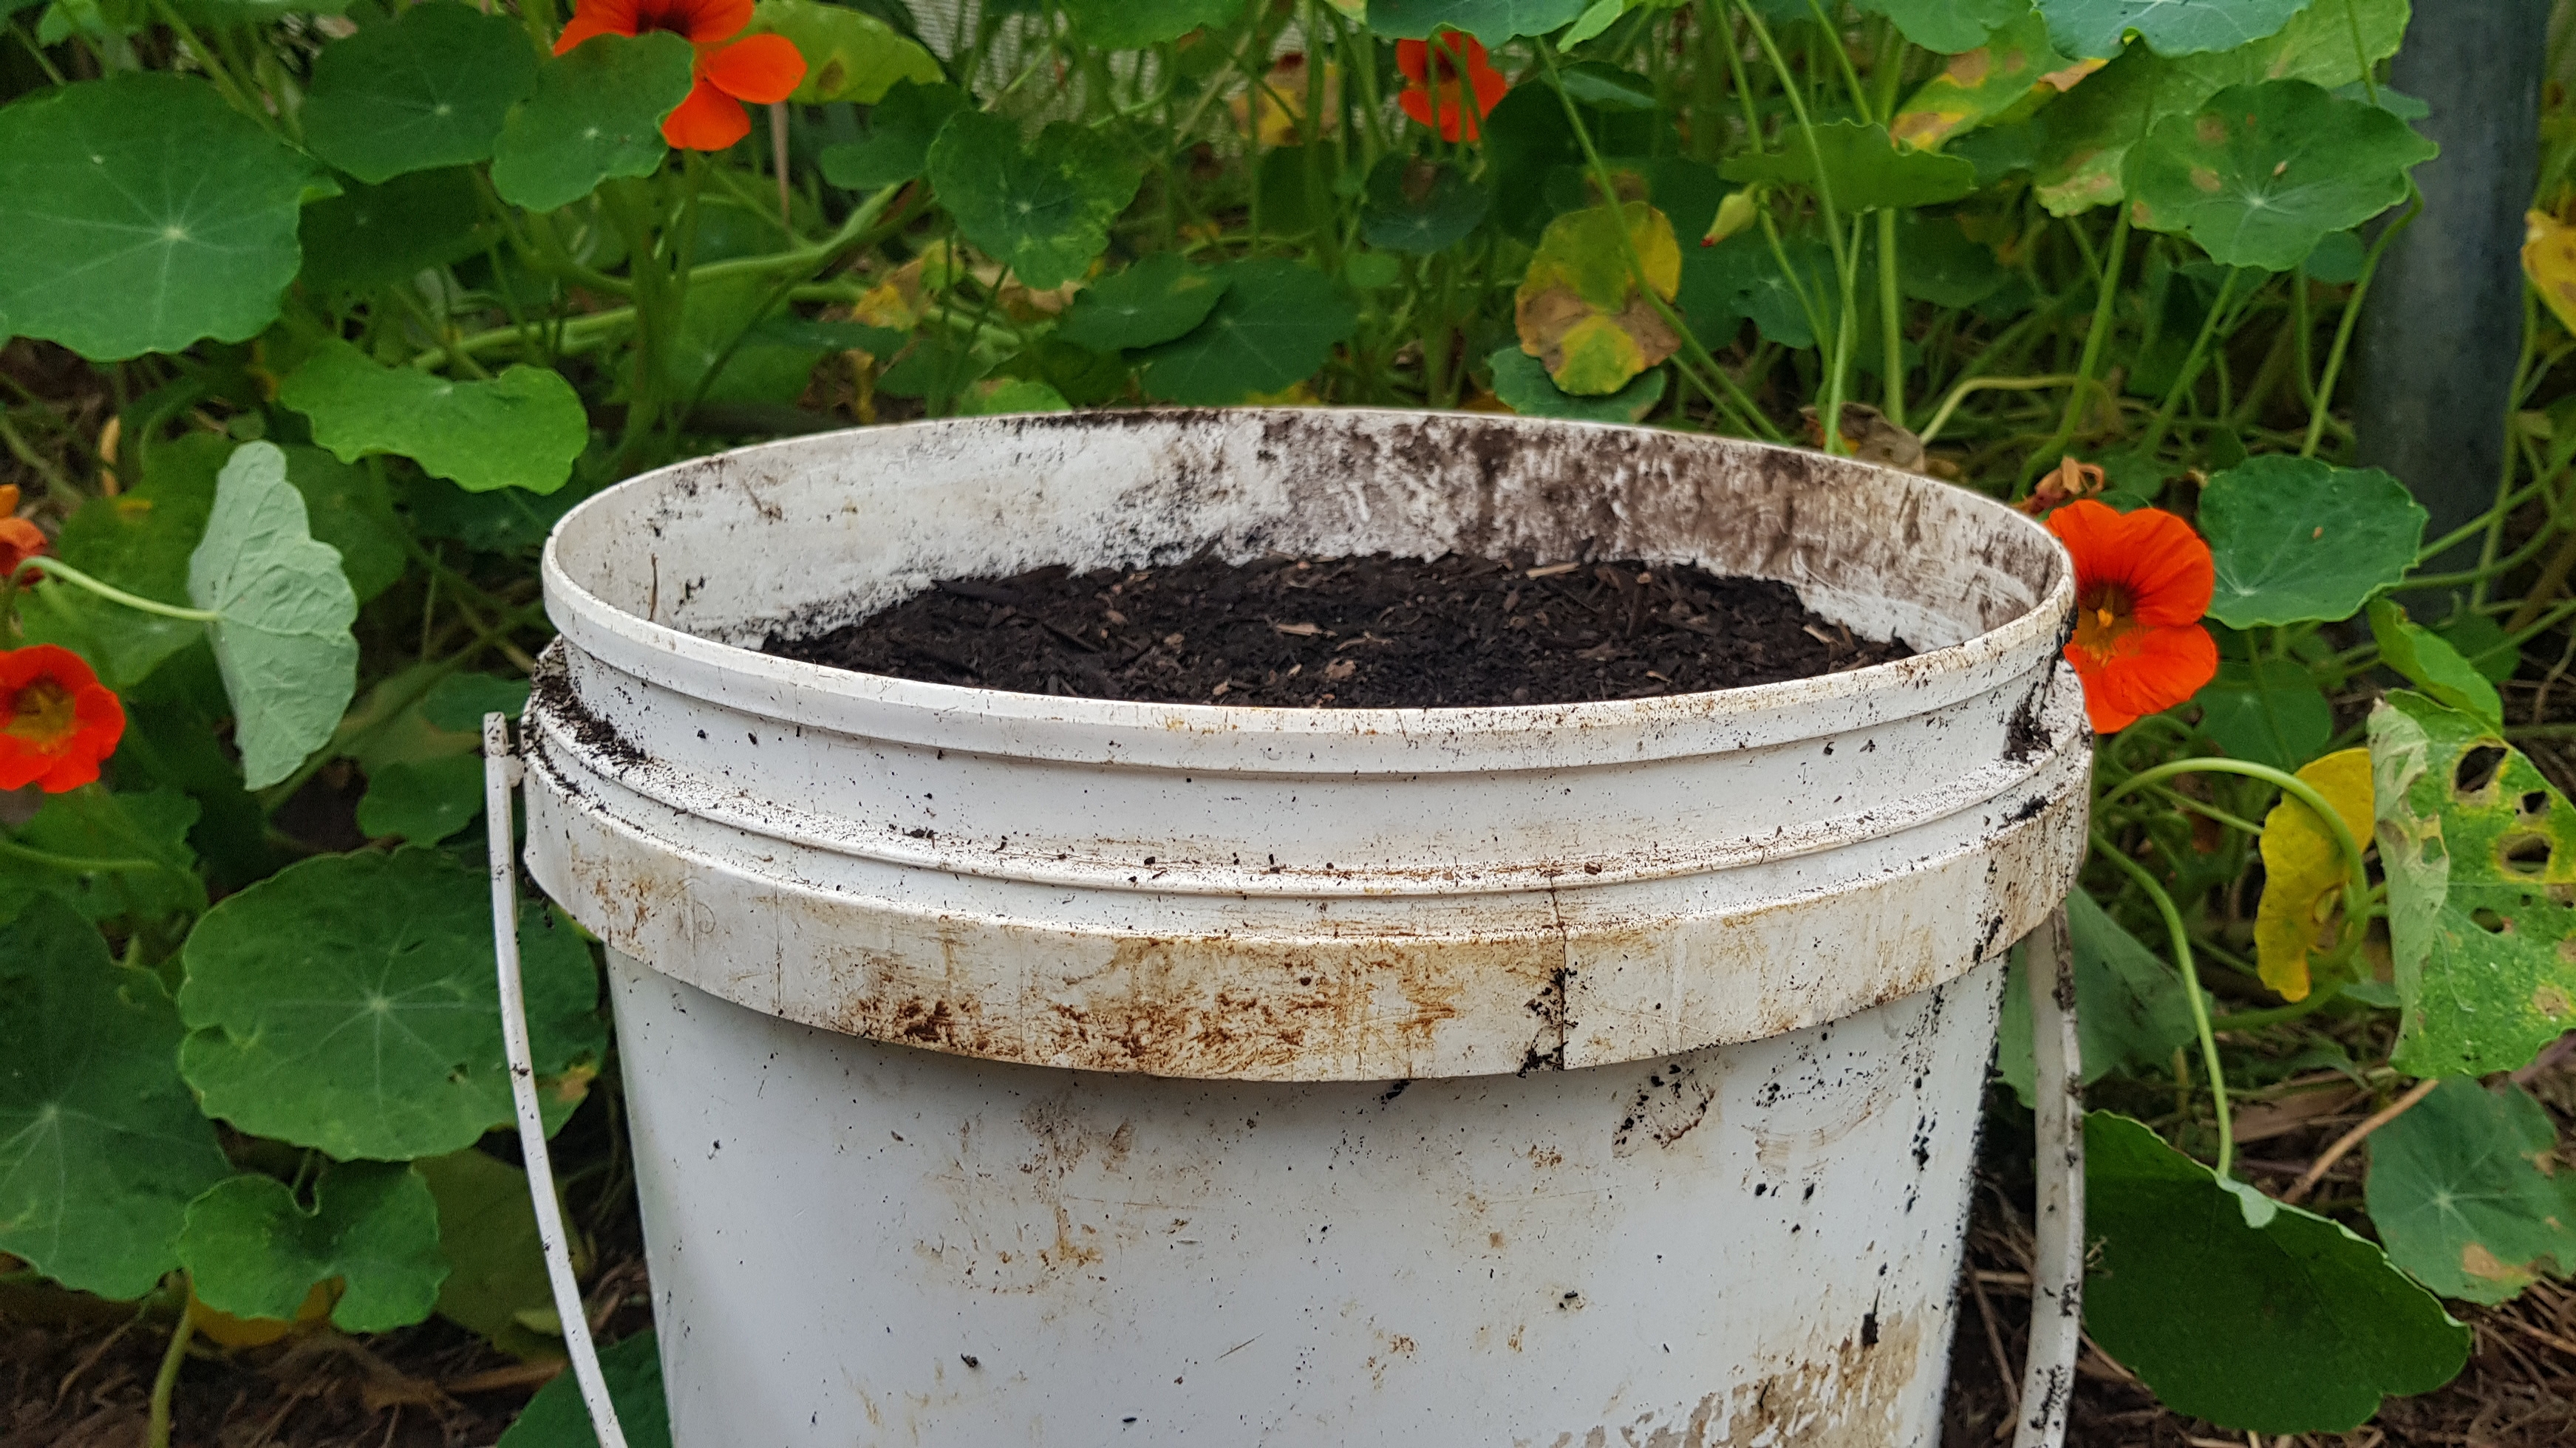
Fill your container up to just below the top, leaving a little lip so that when you water the water doesn't run over the edge.
If you are growing a heavy feeder, spread worm castings on and lightly work them in with your fingers or lay some bits of juicy seaweed on.
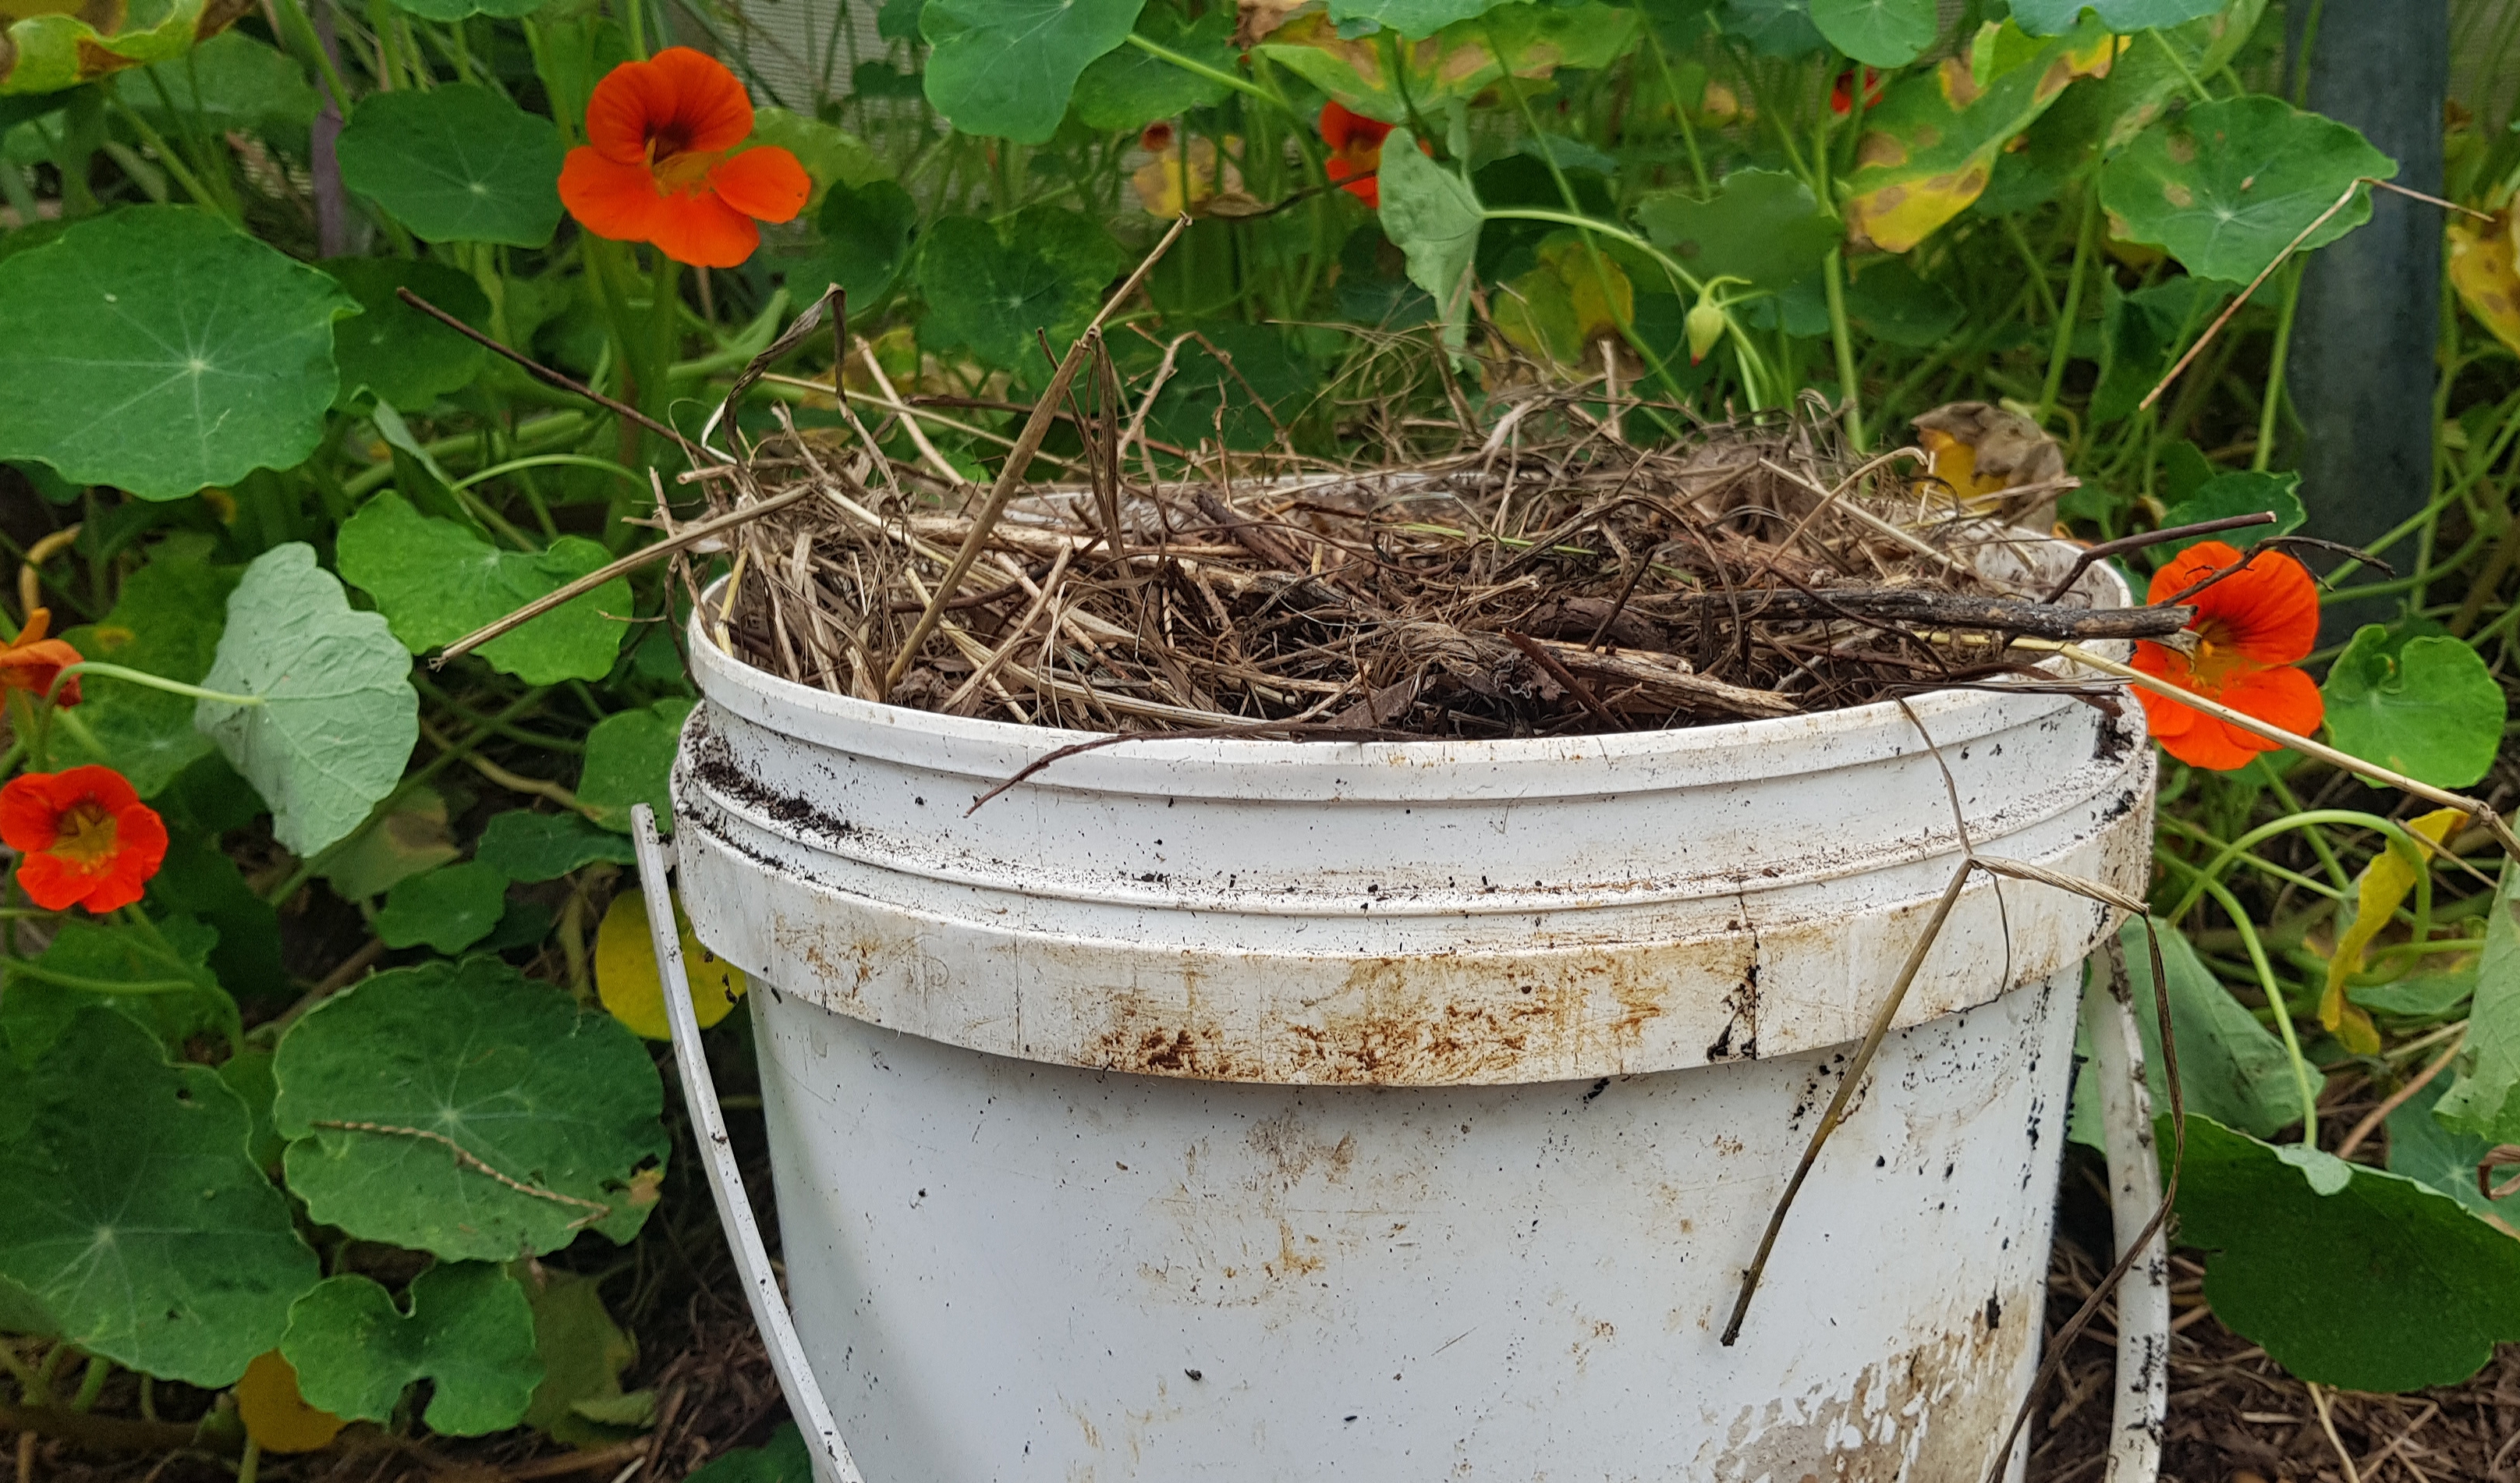
Top it off with good old mulch, to help retain moisture and soften the impacts of rain and sun. Use whatever dry organic matter you have to hand – leaves, well rotten sawdust or fine plant trimmings or any brown crunchy bits on offer! You can also use scraps of fabric like sacking, an old towel or a strip of shadecloth.
A daily check+ a weekly liquid feed
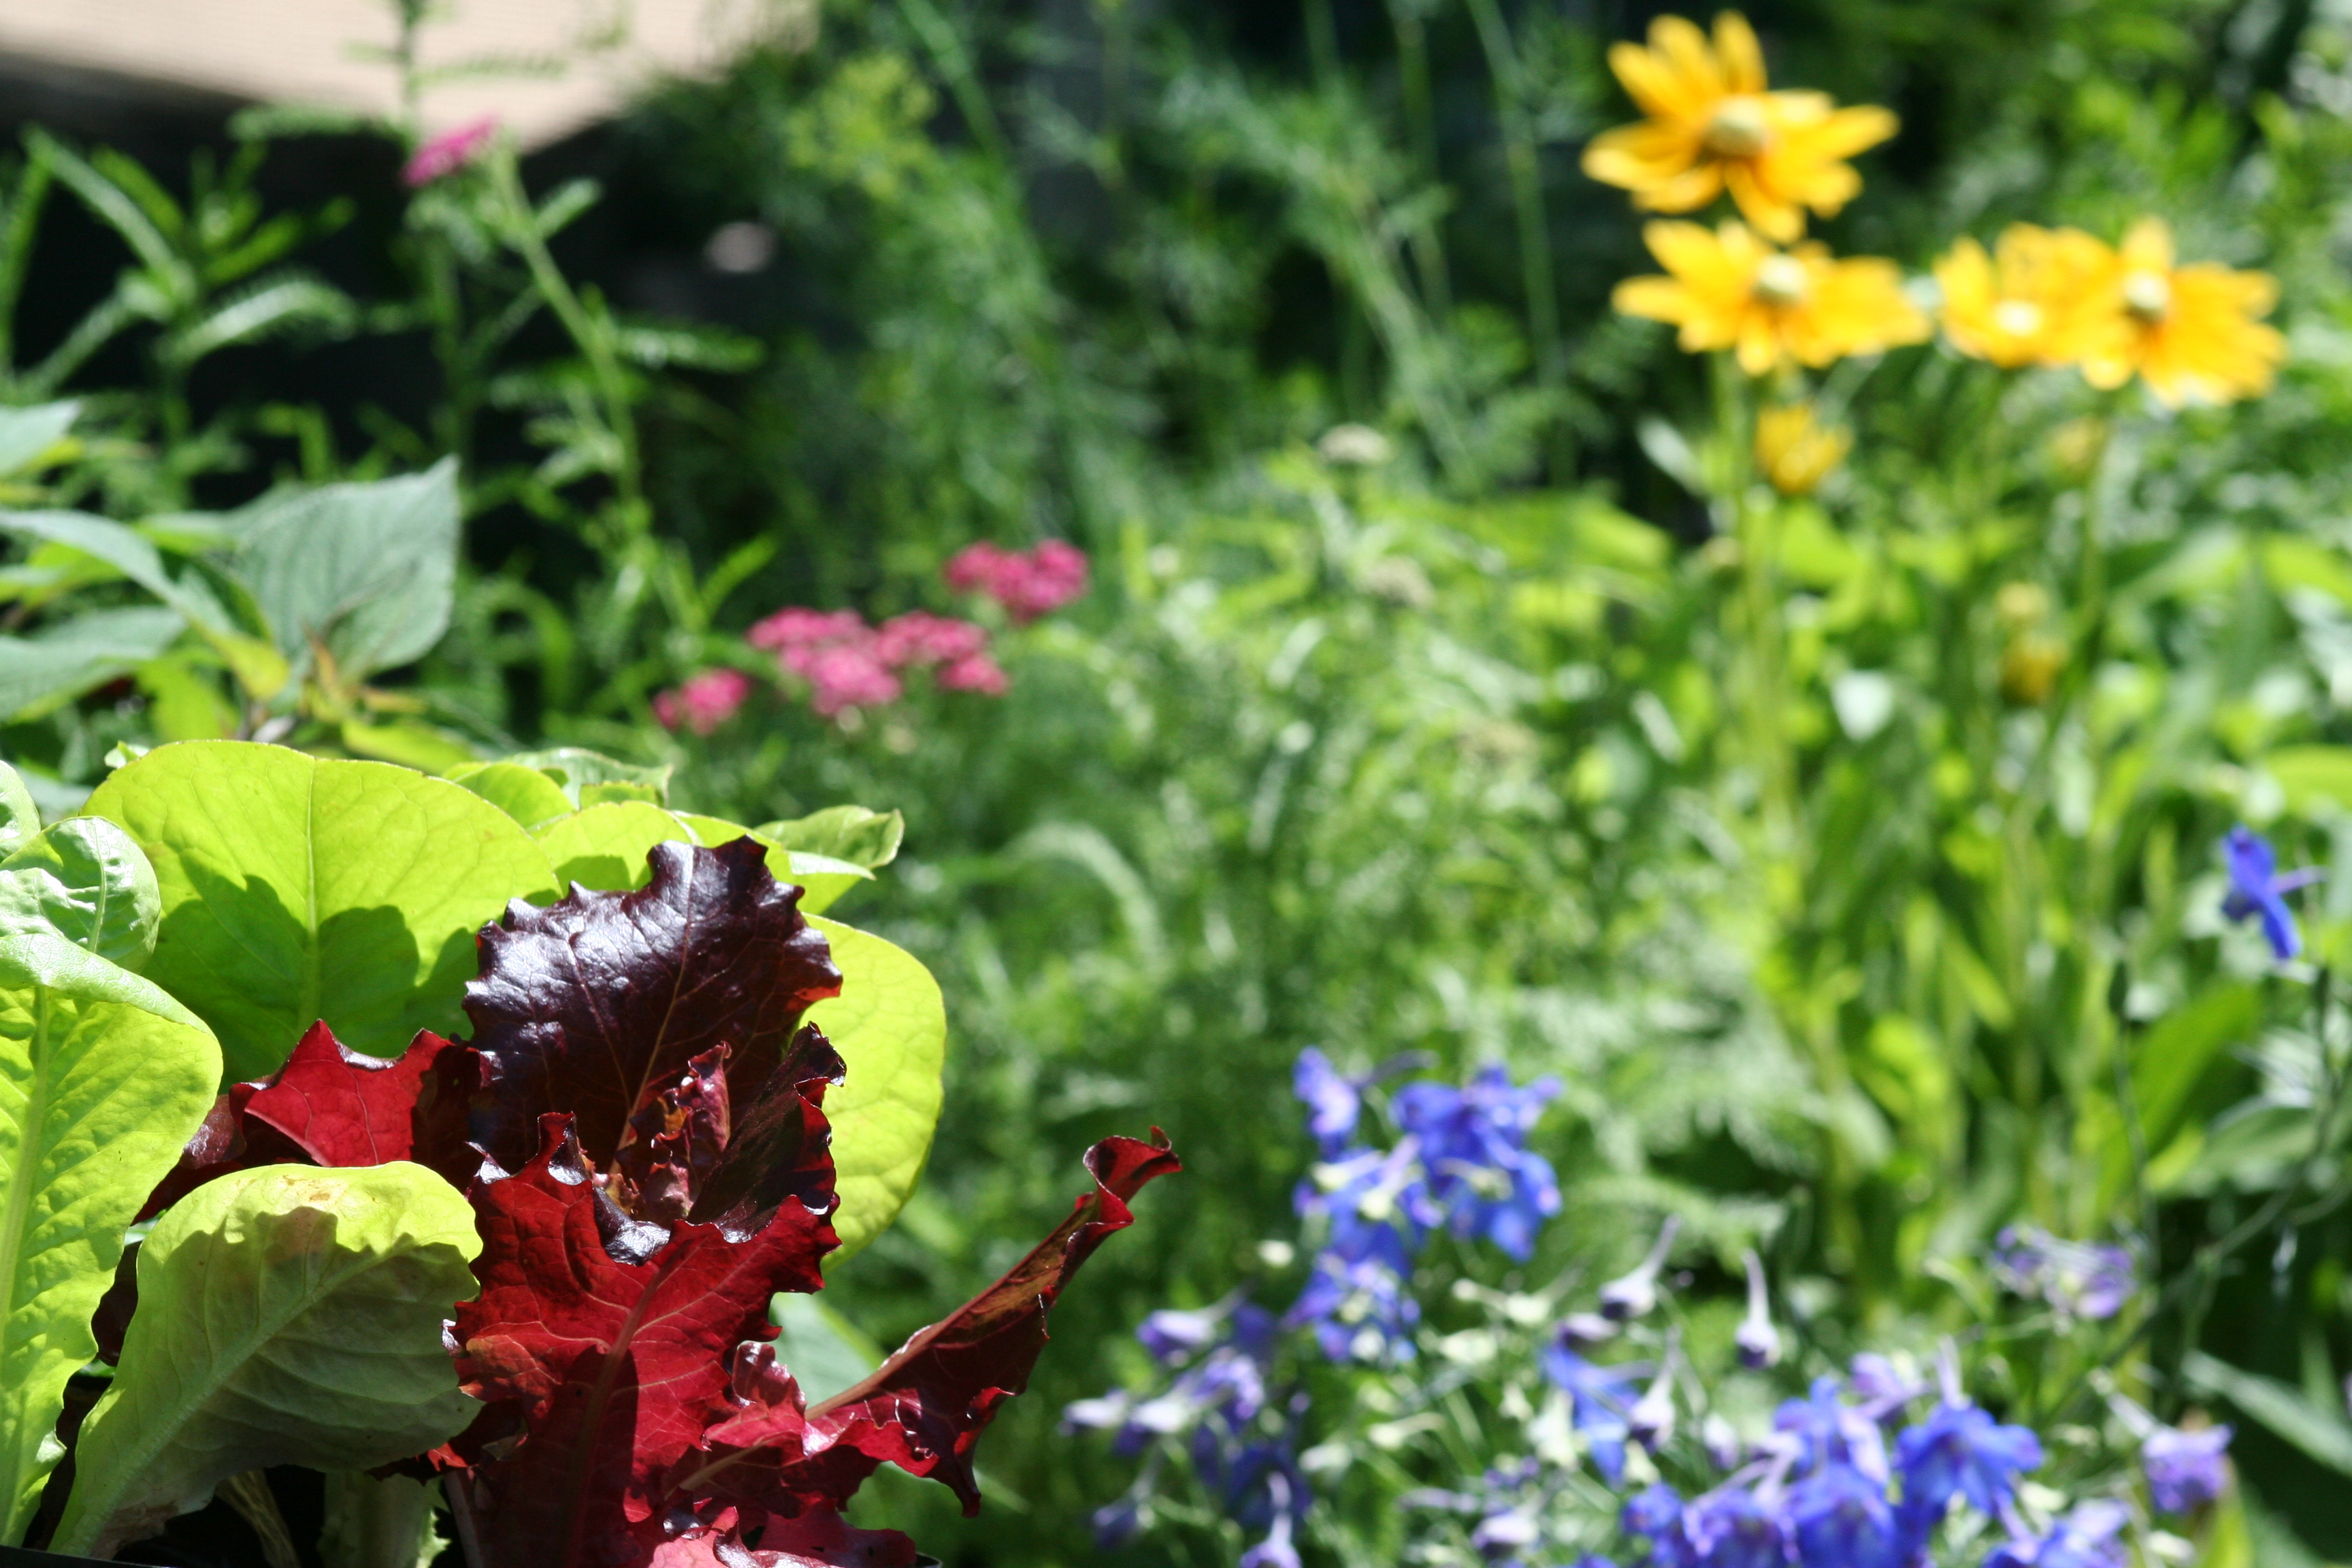
Visit your pots every day and check in on them. Especially in hot weather, plants in pots are more vulnerable to drying out than those in the ground.
- Keep all your plants growing strongly with a weekly liquid feed. Use your home made brew - comfrey or worm juice or heres how I make mine. Pour it all over the plants and soil. Watch them go! 😊 Remember, less is more - little and often is far more potent .
- Keep your pots barely moist - neither sodden or dry. Poke your finger in and check the state of the nation before watering. As much as possible avoid watering the foliage.
- If you have direct sown seeds on the go, lift the cover and check for germination. When seedlings have 2 or 3 leaves, remove the fabric and put up some bird protection.
- Protect young seedlings from birds by creating a tipi with some twigs over top or drape bird net or old netting curtains over top until they are big enough to go it alone. Planting closely helps fill the space faster.
- Don't let the weeds take over. If you aren't sure what's a weed and what's not then just leave them to grow a bit - sometimes it becomes more obvious once they're a bit bigger. Either pull them or smother them with a dollop of mulch on top.
- Keep on top of slugs and snails. Lift the pots - they'll all be hanging out beneath. For the biggest impact, head out at night while they are out and about and gather them all up. Squash them or save them for the chooks breaky.
Trouble shooting
If a crop is a little slow or pale, double check you've planted it at the right time of year. Heat lovers struggle when planted in the cold, and so too cold lovers when planted in the heat. Check my monthly calendars for ideas.
If its not a timing issue, check the moisture of the soil to be sure its not too sodden or too dry. Here’s how to test for water, and water like a pro.
If its none of the above, then try boosting it by adding a little something delicious beneath the mulch, like vermicastings, compost, rotten manure or seaweed.
Crops for pots
Perennial herbs + companions
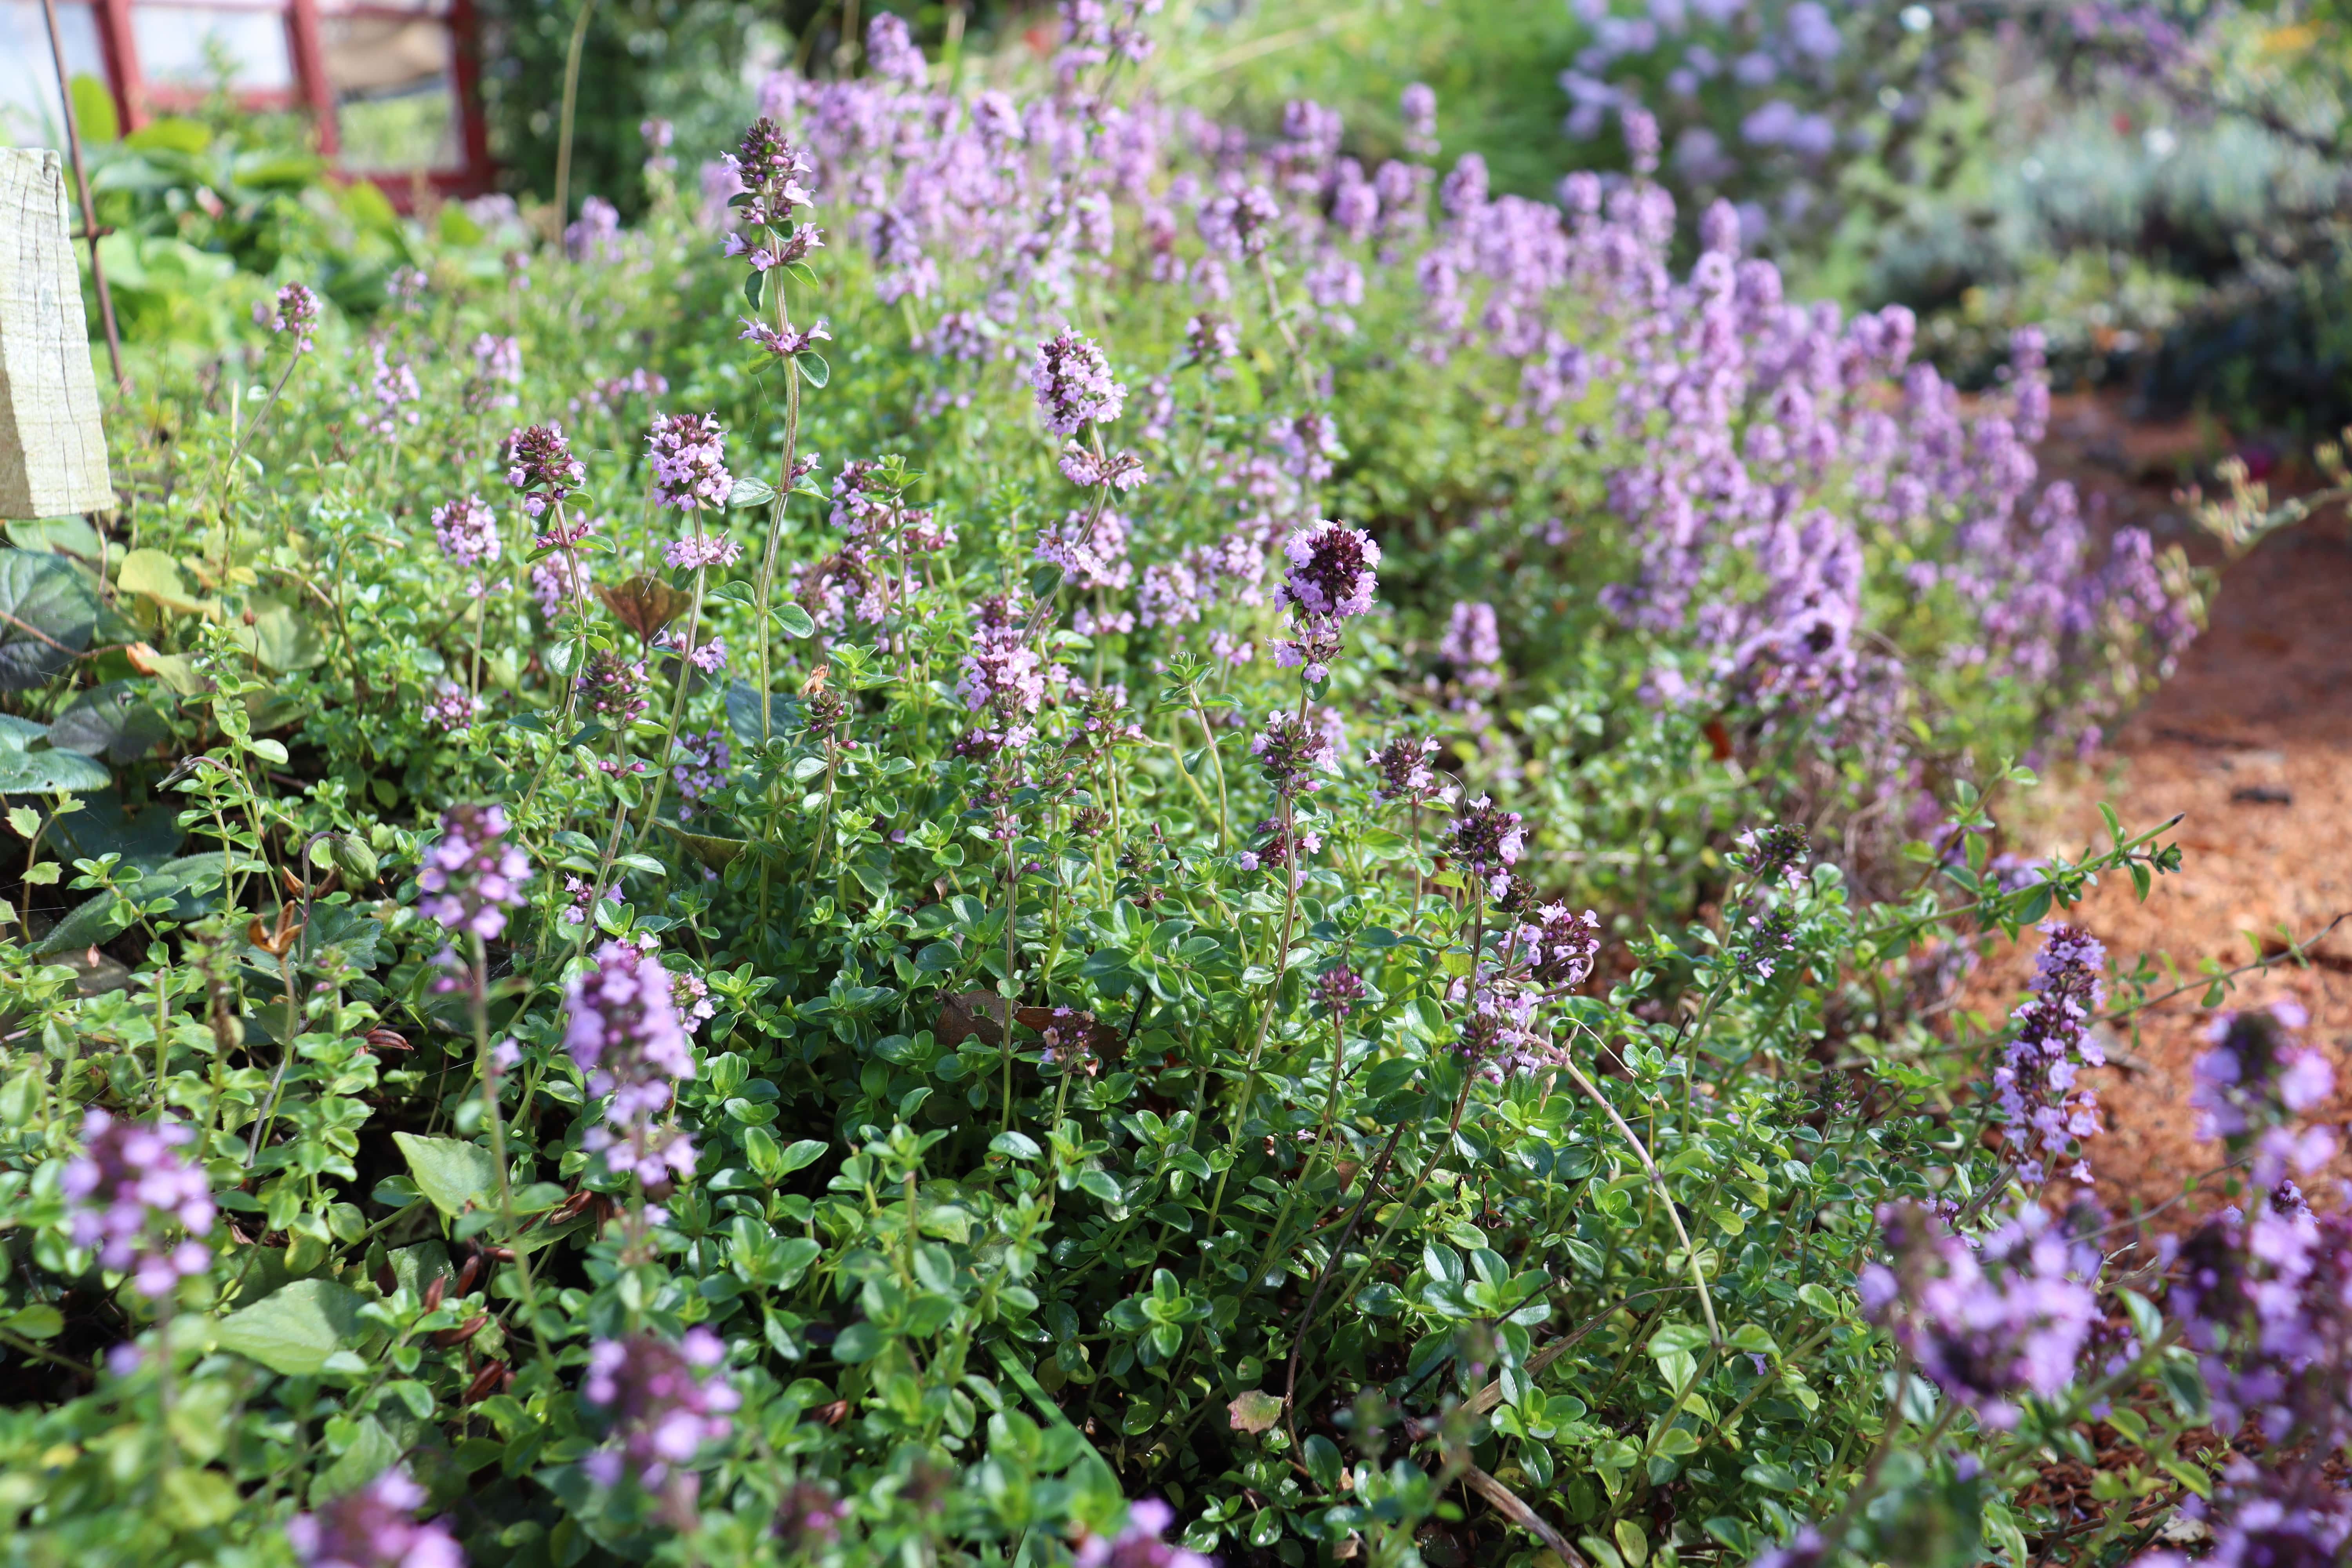
Apart from corn and big pumpkins, you can grow any vegies in a container. Get a healthy mixture going, adding greencrops and flowers as well. Dwarf varieties tend to suit pots best, unless you can set your pots against a fence or wall to support frames.
Start to collect loads of perennial herbs and companions - the soil building, health bringing superstars of your garden. Get them going in pots now, for planting later when you know what's going to go where. They'll happily live in pots for a few years until you know what's going where.
My favourite annuals for pots
These are easy to grow crops, that provide the most value for least effort.
Leafy greens
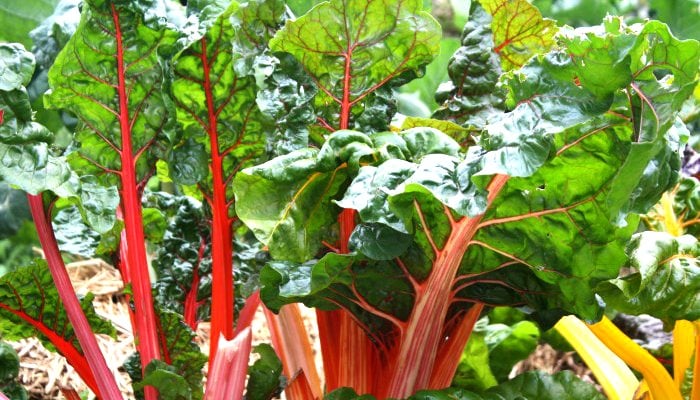
Leafy greens are the best value crops of them all. They give more harvest + provide more nutrition for less effort, than any other crop. And they fit easily into every meal.
Keep leafy's productive by regularly picking the biggest leaves from around the outside of each plant. Harvest a little from a few plants rather than a lot from one, and always leave a good core of leaves.
Here's an idea of how many seedlings per person. It's arbitrary, but will give you a place to kick off from.
- Perpetual spinach or silverbeet or chard. Space seedlings at 25cm. x2 plants per person.
- Kale. Plant seedlings at 10cm spacings. x3 plants per person.
- Parsley. Plant at 30cm spacings. Let parsley flower to feed the beneficial insect. x1 plant per person.
Pick and come again Salads + Rocket + Coriander
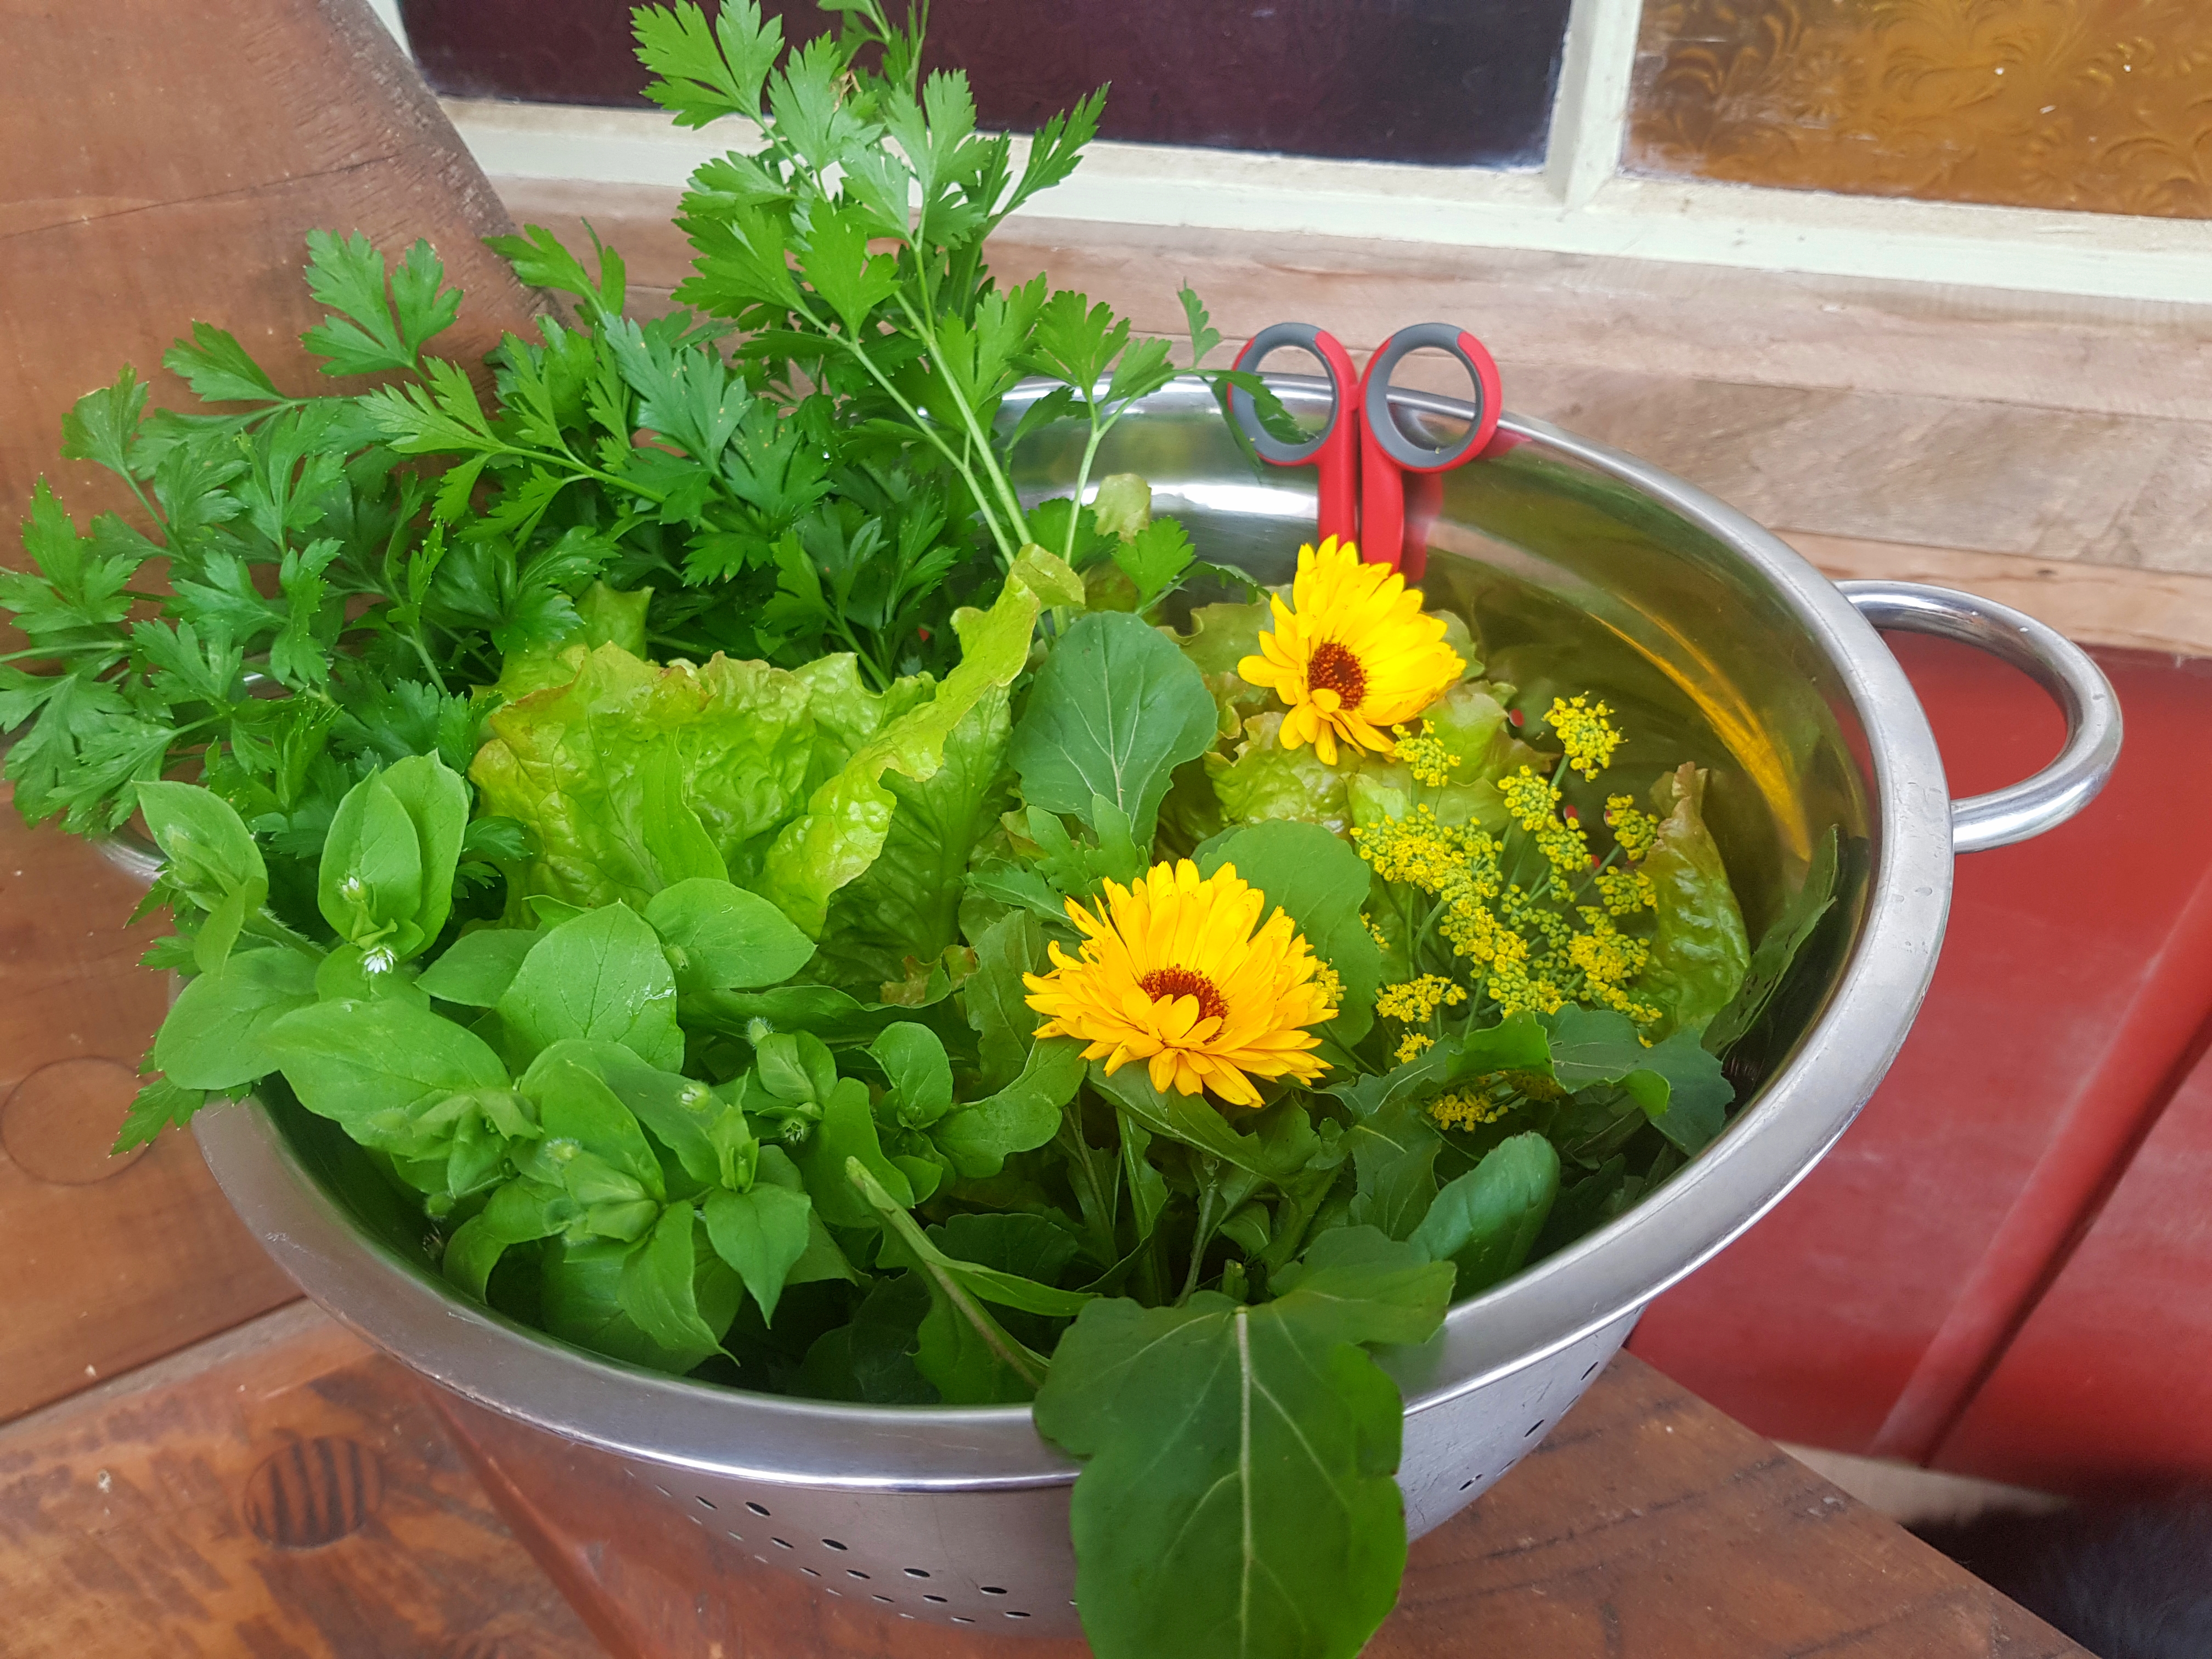
Pick and come again salads are fab because they're so long lasting - from one sowing (or planting) you'll get 2 - 3 months of harvests. Choose from the wide range of looseleaf salads and add in some bitter goodness like chicory, cress or endive. You can either direct sow them in the container, tray sow them and plant out as seedlings later or buy in seedlings. Plant seedlings out at 10cm spacings.
For continuity of supply sow or plant small patches often. At the first or second harvest it’s time to think about sowing the next little patch. Plant a mixed dozen per person if you are nuts about salad like I am.
To harvest, simply pluck the biggest leaves from among the carpet of leaves. Be sure to always leave a generous supply behind for regrowth. A weekly shot of liquid feed will keep them coming back again, and again, and again.
My favourite cut and come again's are Cos, Freckles, Green or Red Salad Bowl, Rouge d'Hiver, Drunken Woman Fringed Head, Red or Green Oak Leaf and Red Sails.
Rocket + coriander are brilliant to have on hand for a punch of flavour in pestos, salads and curries. They prefer cooler weather, so pop containers in the semi shade when its hot. Both perform better by far when direct sown. Pick them regularly as per leafy greens to stay the flowering as long as poss. Once they head off to flower just let them go, they'll feed the bees and beneficial insects and then will self seed everywhere and you wont have to sow them again.
Spring Onions, Beetroot + Carrots
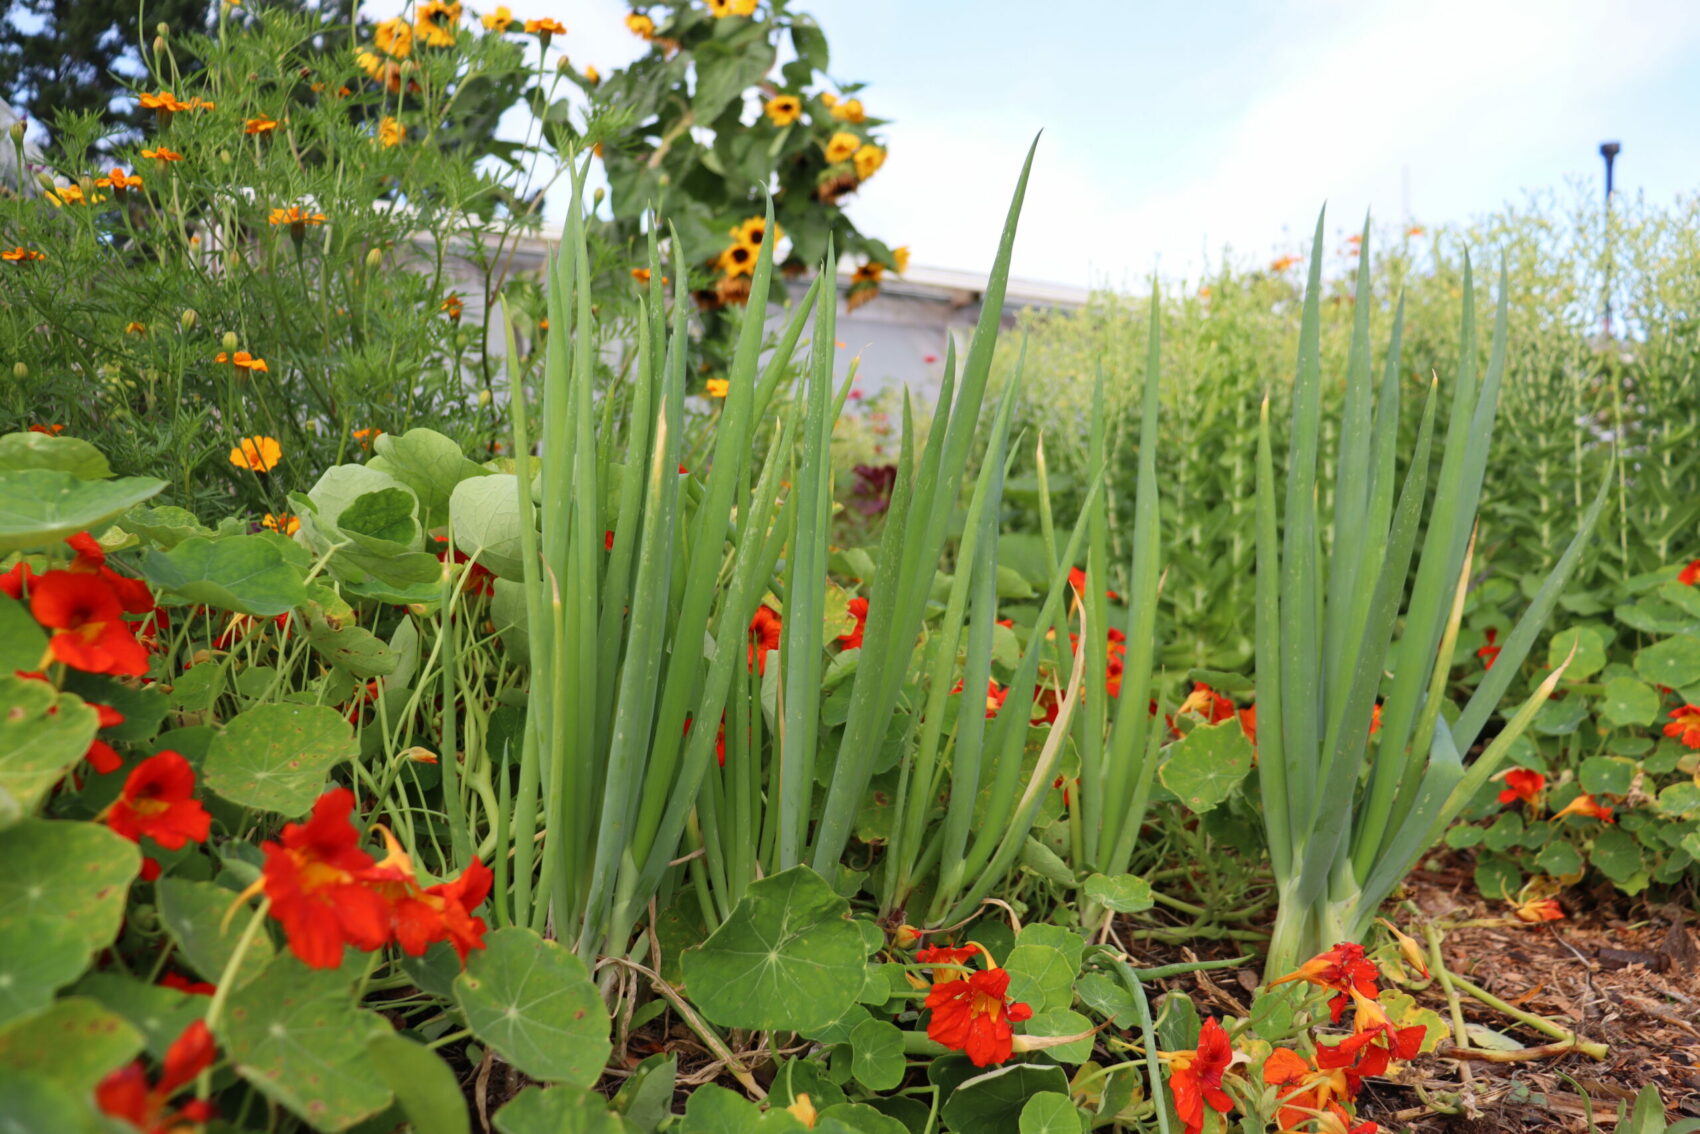
Spring Onions are quick as - ready in 6 weeks from planting. They're heaps easier + faster than regular onions, but full of onion flavour. Plant in groups of 3 or 4, at 3cm spacings. If you snip them at ground level instead of pulling them out, they'll reshoot for a lovely continuity of onion-y greens.
Carrots and beetroot suit pots to a T. If heavy clay is your lot then beetroot will fare better by far in a free draining container.
Here are all my carrot and beetroot growing ways.
Bokchoy, Mizuna + Phacelia: seed for beginners
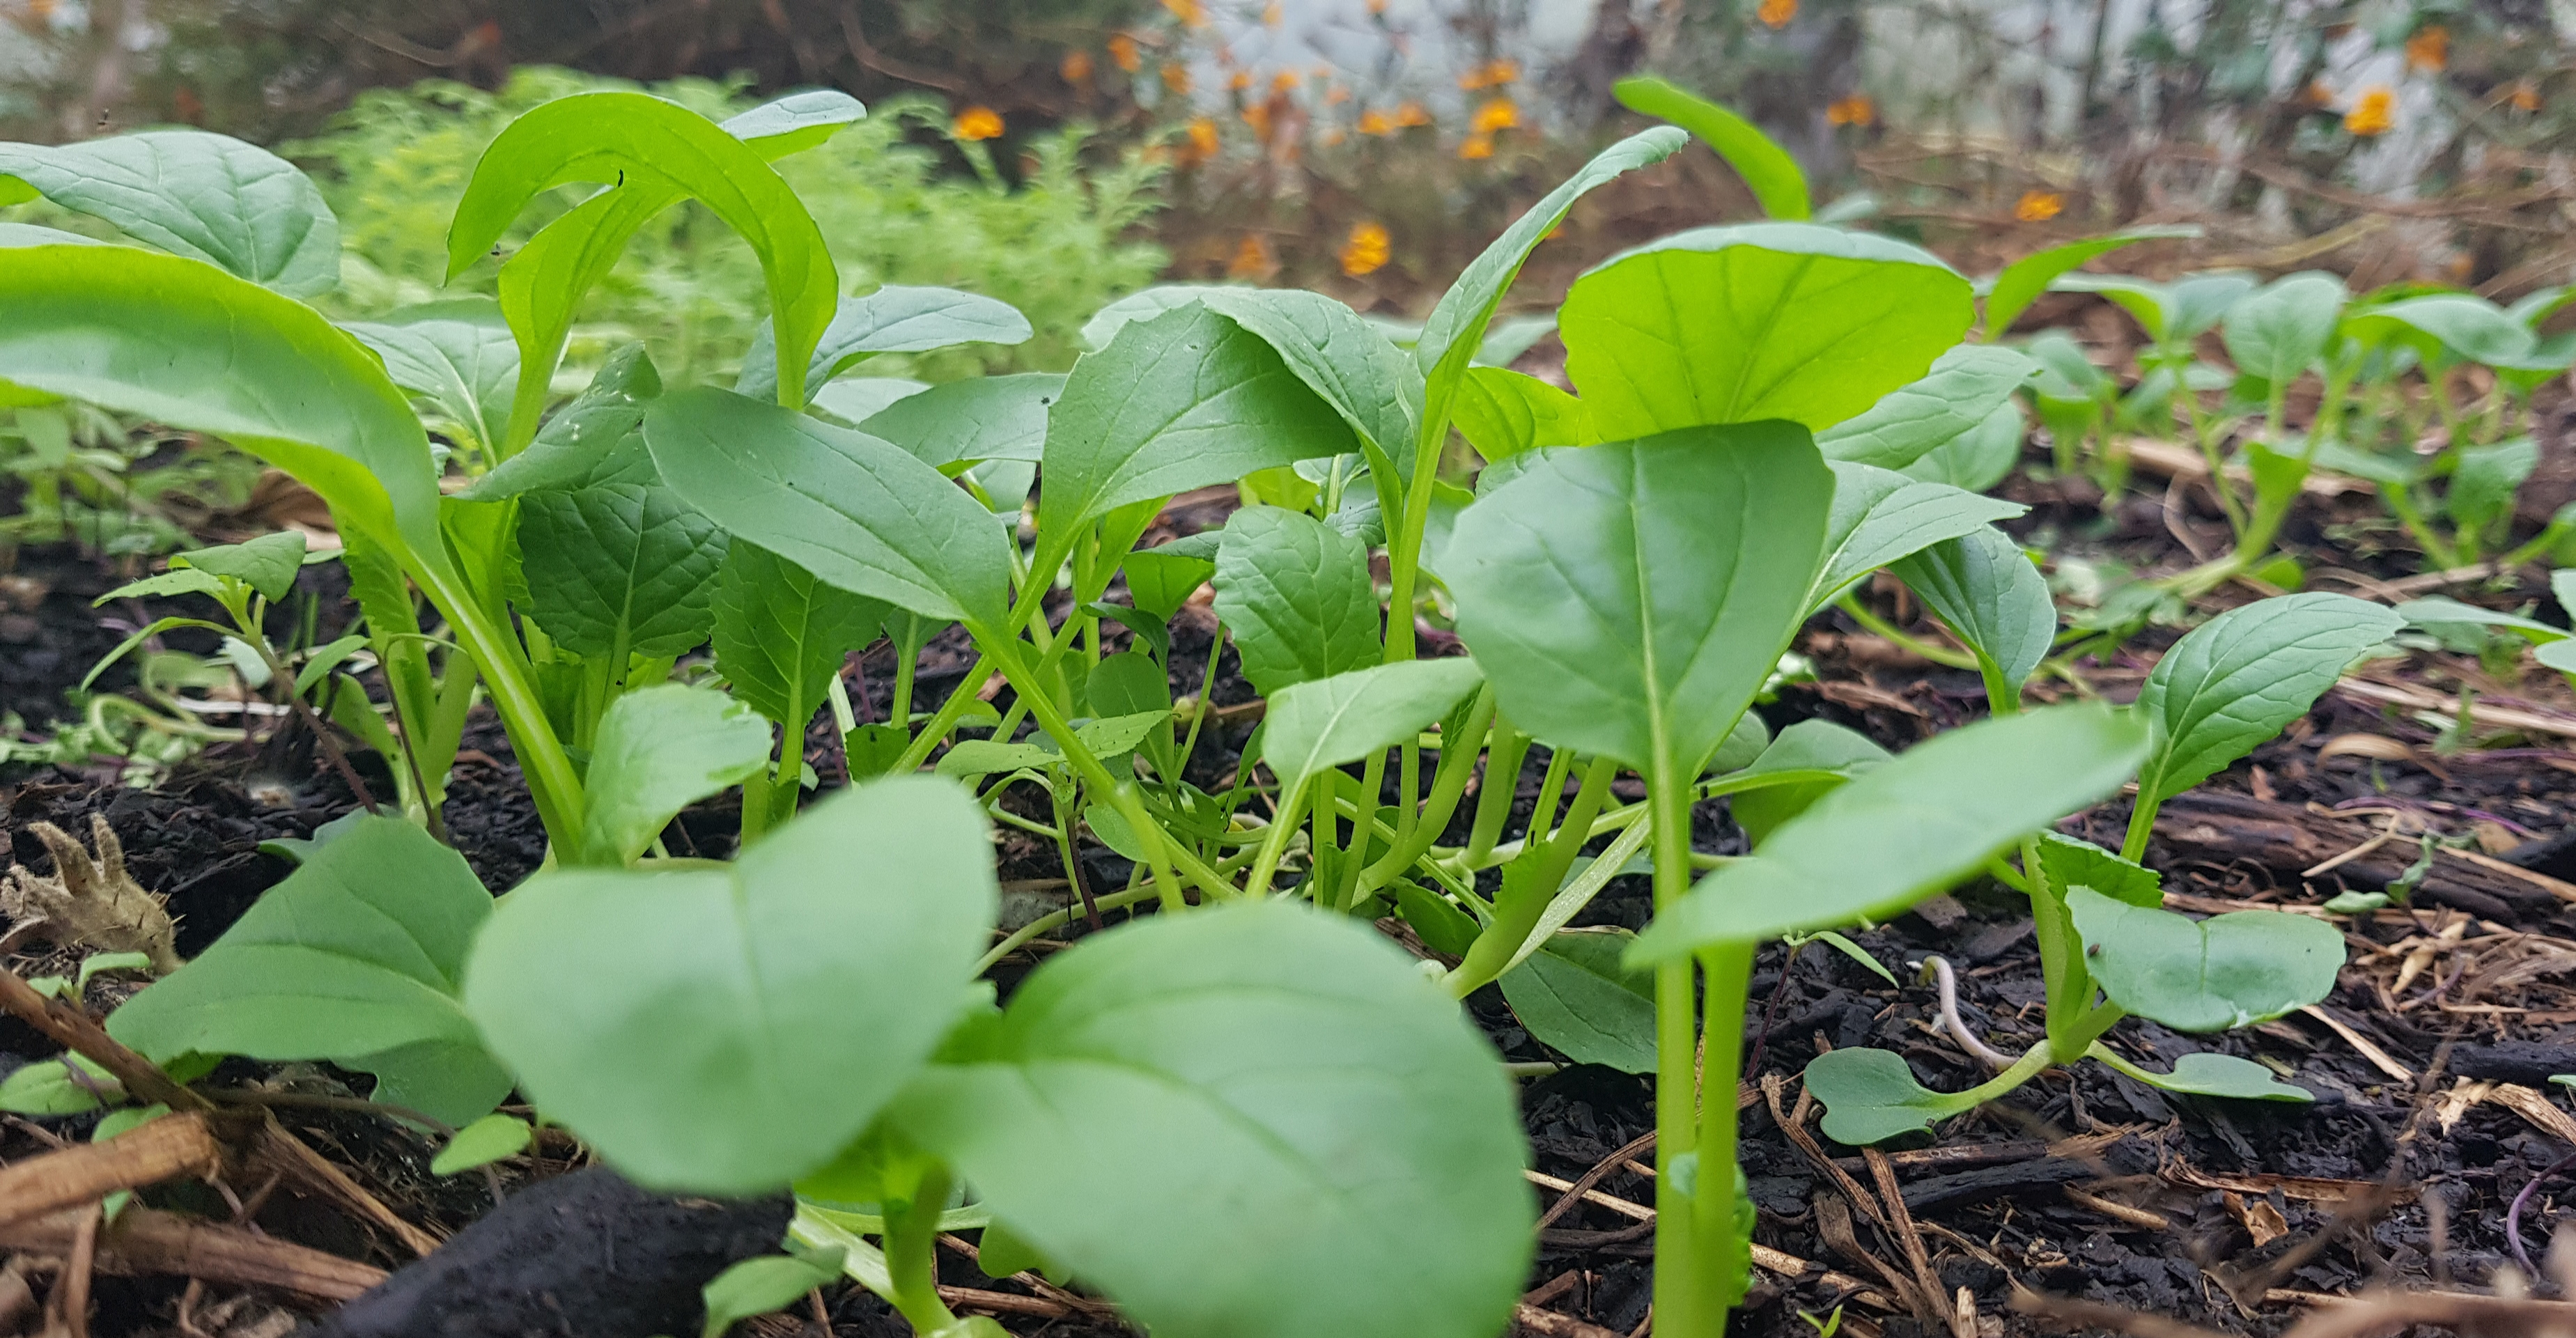
Don't let raising from seed daunt you ok. Mother nature does it all the time in such a casual way - dropping seeds in cracks and on logs, under leaves and fallen branches, in sun and shade - and still they rise and grow. If you want to have a go, these crops are super easy and a good place to start. Here's some help how to raise really good seedlings.
Bok Choy + Mizuna are fast! Ready to harvest in about 8 weeks. They prefer cooler seasons, so when its hot move them into semi shade. Direct sow seed by scattering it over top of potting mix. Pat the seed down for good contact then lightly sprinkle more mix on top. The seed germinates quickly - perfect for beginners + busy people! The plants will come up like a thicket - simply harvest the bigger outside leaves as you need them.
You can of course, also plant seedlings. Do so at about 20cm spacings. Harvest bok choy by cutting the whole plant off at the base, leaving the roots in for a new flush of leaves. Keep a fresh supply coming on by planting a new lot every month. x6 plants per person.
Phacelia is the most gorgeous year round greencrop + bee fodder you can grow. Such a quick growing plant and pretty as a picture. Give it a 10litre bucket to itself and scatter sow the seed thickly on top of the pot. Place it amongst your vegetables - it'll make them happy. Mix some calendula seed or seedlings amongst the phacelia for an uplifting vibe of orange and purple.
