An annual DIY Soil Test

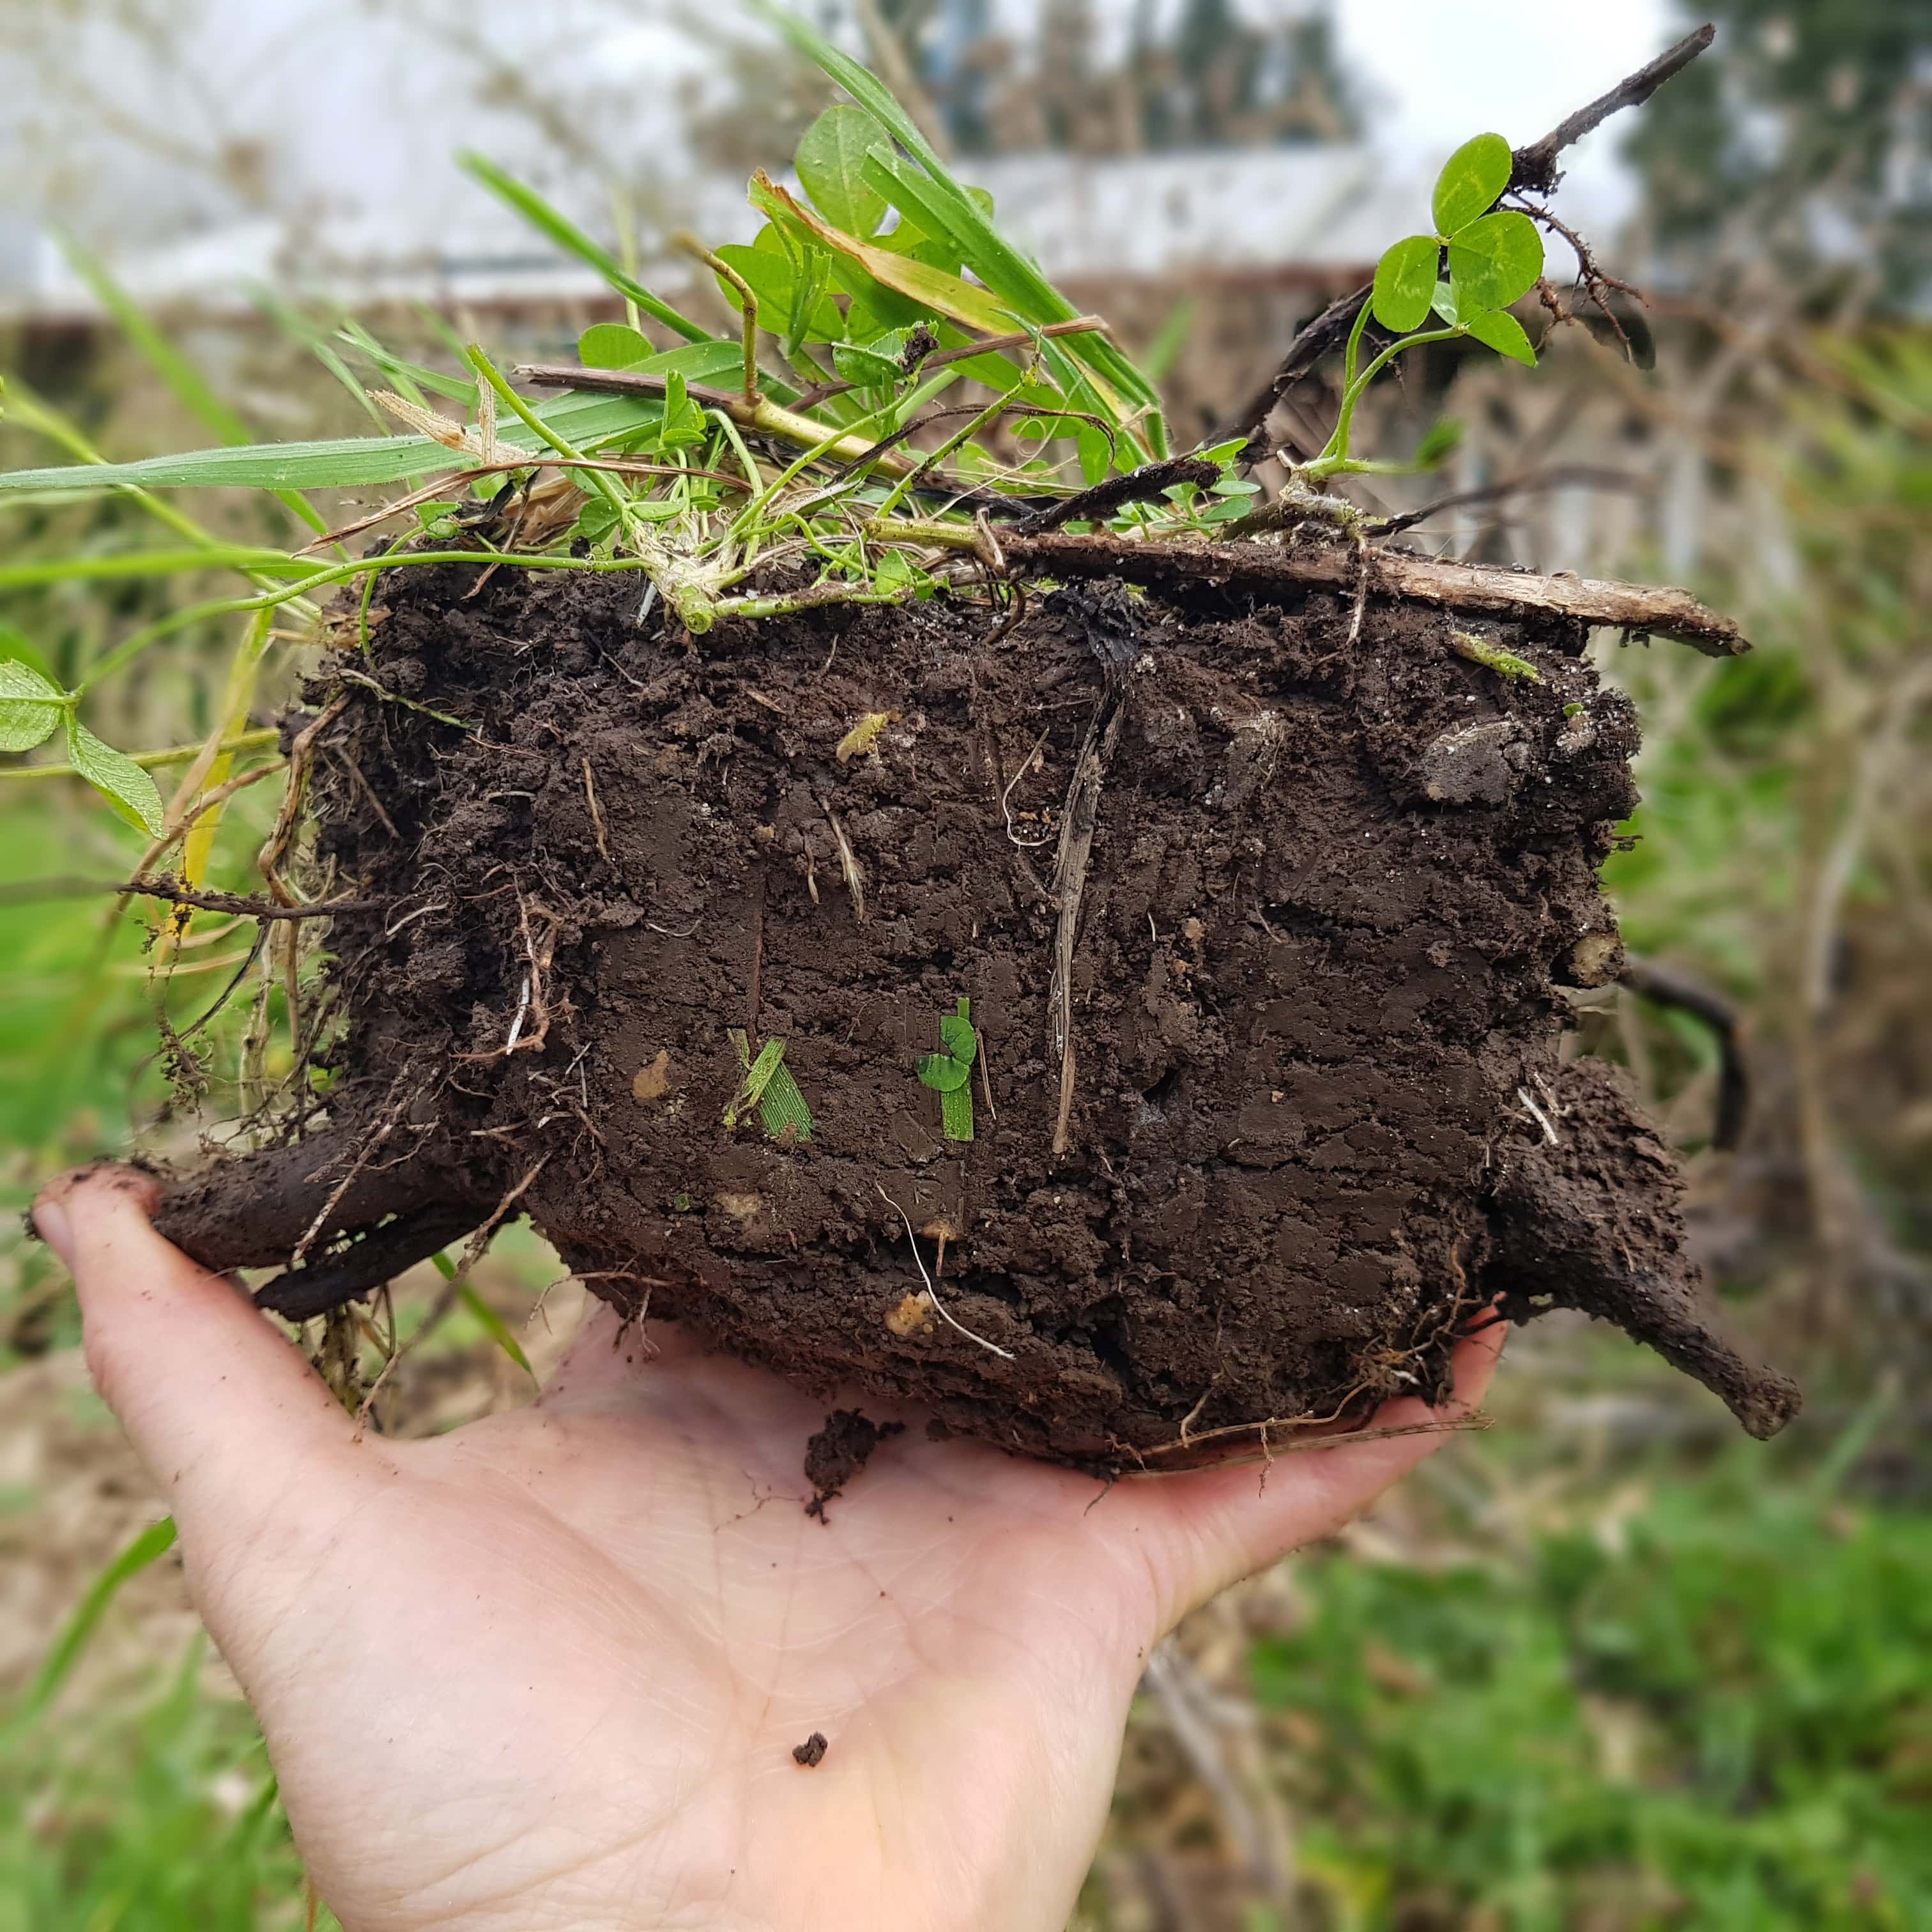
Your soil is unique. It's history and geography make it so. And because it's unique, and because understanding your soil is at the heart of your garden's health - you do well to get to know it. The best way to know it, is to test it. Yourself! With your very own eyes and hands and nose - it's that easy!
That's how you know what if any improvements are needed (well come to these later on in the healthy soil project), and if you are at the planning stage - that's how you know where to put the vegie patch, citrus trees, deciduous trees, berries and greenhouse.
Do this test when soil is neither soggy wet, nor bone dry - which usually means late autumn or mid spring. Test all potential growing areas, and if you live on a slope test different elevations - each will be different.
Soil health and drainage go hand in hand, so if you suspect you have poor drainage - clues are puddles/ ponds/ lakes that stick around after rain, or squelchy soils in spring, do a drainage test. Use the same hole as your soil test.
How to do a DIY soil test
You need a spade, a bit of cardboard, a notebook and a camera.
- Describe your observations and answer each question in your notebook.
- Then after the test, compare your descriptions to my healthy soil parameters. From that comparison you'll discover the aspects of your soil that are in fine fettle, and the aspects that need work.
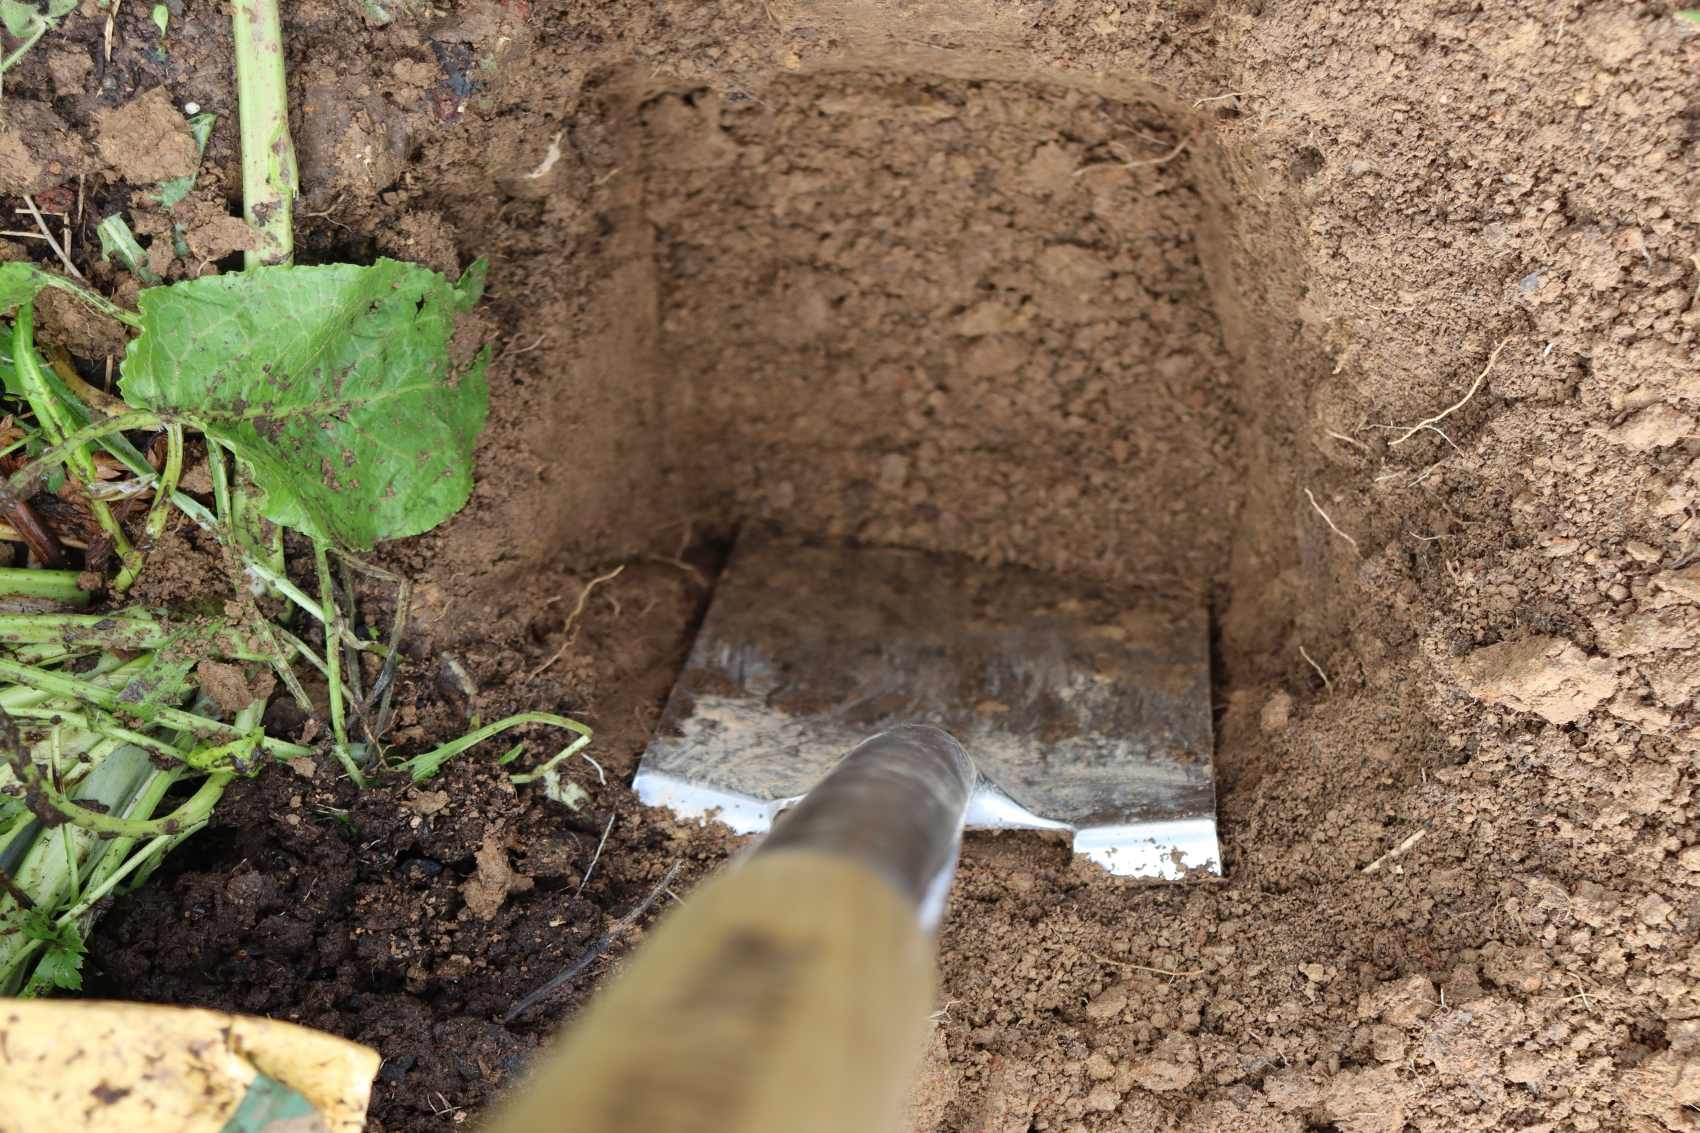
Dig up a square of soil that's a spade by spade wide and a spade deep.
- Your first observation happens when you dig. How hard is your soil? Does your spade slide in with no resistance, a little resistance or do you have to put all your weight into it?
- Lay the square of soil on a bit of cardboard so it doesn't get lost in the grass and so that you can see it clearly. Use your fingers to break the clod up. How easily does it come apart? What size crumb does it break into? What are the roots like - branched, narrow, short, long, dreadlocks, thick, fine, none.
- Count the worms before they wriggle away. Don't worry if all you find none - they will come! Are there any other critters?
- Grab a handful of the topsoil (literally the soil on top, just beneath the grass), and take a good sniff - sour, musty or earthy?
- Do the squeeze + shake test: squeeze the same handful of topsoil together, then open your hand out with a little shake. Does it slip through your fingers or feel squelchy? Does it stay stuck together but can easily be prodded into clumps? Does it fall into loose clumps and crumbs?
- Look into the hole and take a photo:
Look at the roots. Do they stop suddenly and veer off, or do they dive straight down? Are they plentiful or sparse, a tangled mixture, fine, thick or bobbly or a mix.
Look for pores and holes.
Note the colour and how it changes. Is it all one colour, is it darker at the top and gradually changes colour as it goes down, or is it divided into separate layers?
- Cast your eye over the weeds and grasses that are growing near your test hole. Note down the plants that are growing (if you don't know, don't worry - you'll learn the names as you go), then choose a few words to describe their vibe - lush or sparse, green or yellow, thick or straggly, lots of different plants or just one or two.
Healthy soil looks, feels and smells like this:
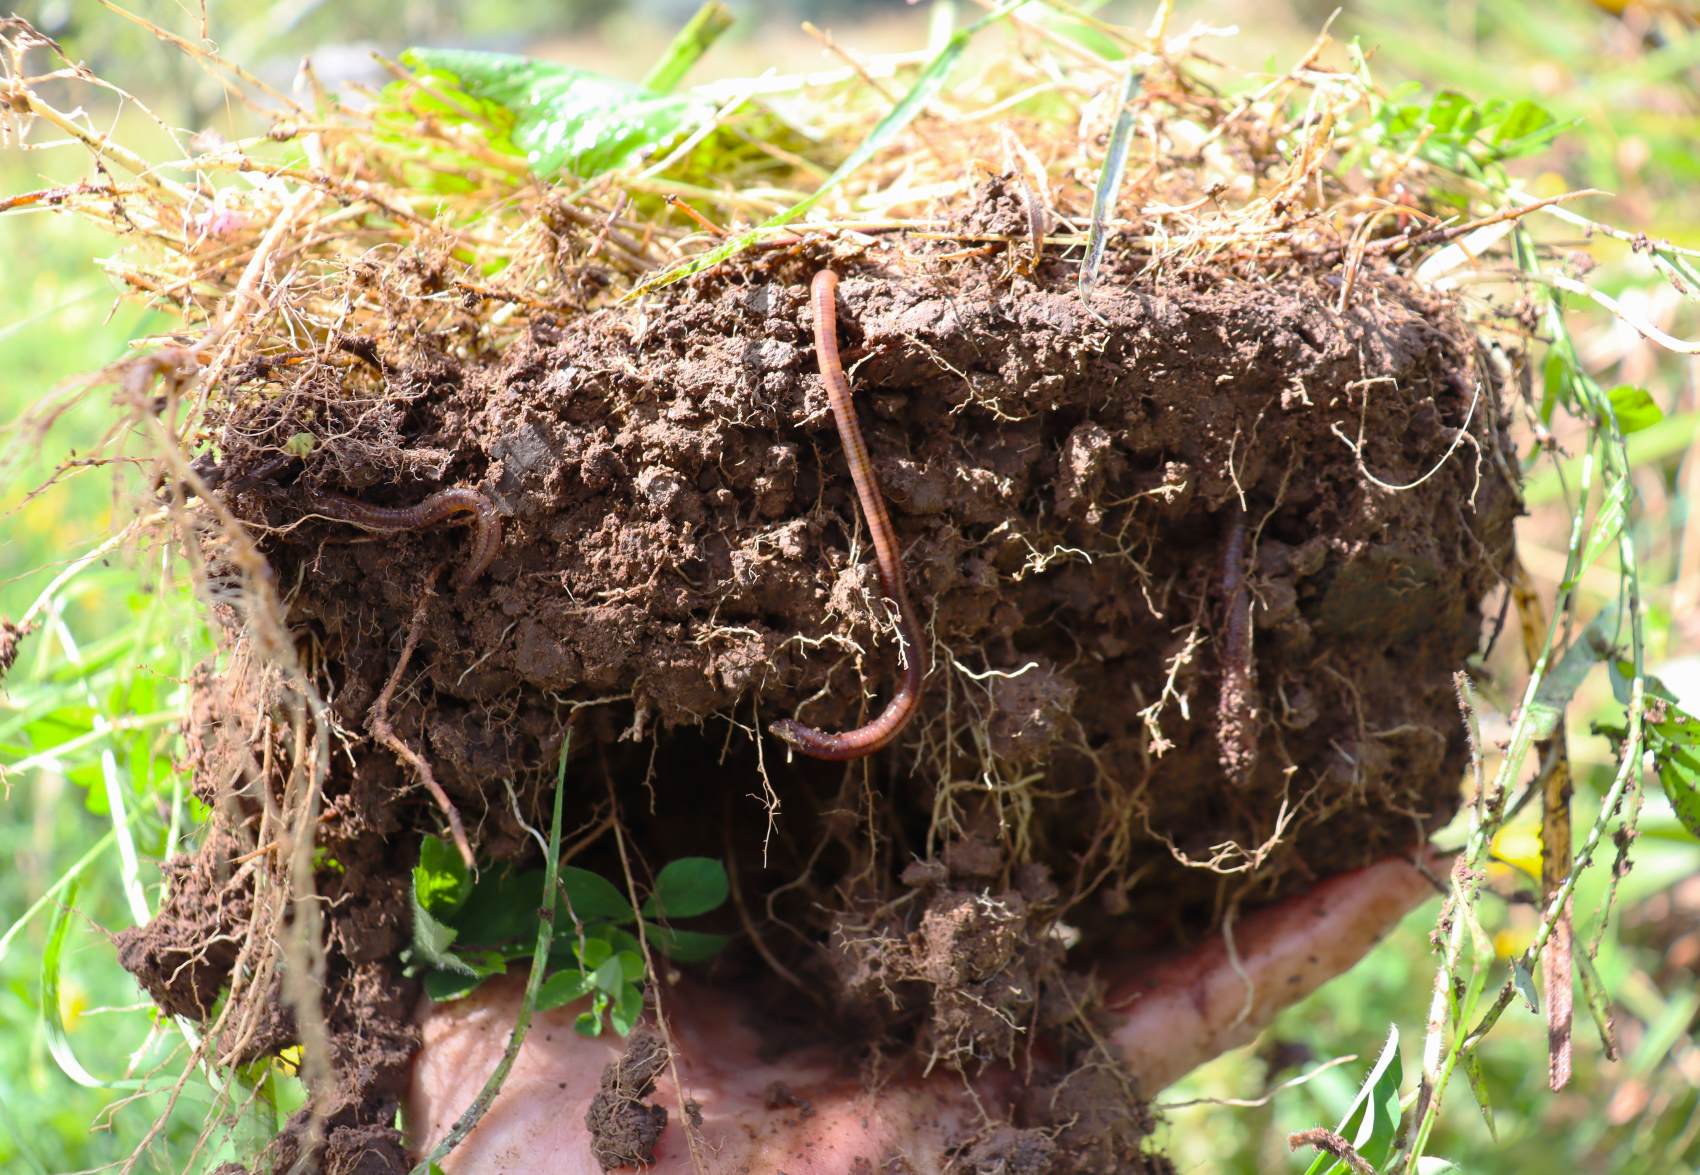
Healthy soil is a spectrum so there isn't an exact set of specifications to aim for. That's why this is really general, but general is plenty enough for the home gardener.
Compare your soil observations to my descriptions of good health below. Tally the healthy aspects up against the unhealthy to see on balance "oh there's only one or two aspects of good health missing - my soil's not too bad!", or "wow my soil is amazing!" (rare as hens teeth), or "goodness we have work to do!" This is the most common result, but also the most rewarding!
Doing this test gives you a yardstick to compare improvements year on year - if it's measurable, it's repairable! Repeat your test in about the same place, and the same time of year until you no longer need to, because your soil is awesome.
In a spade by spade by spade sample of soil, good health looks like:
- A spade will slide into it with a little resistance. If you hit a hard bit that you cannot get the spade into, or have to jump on the spade to penetrate, that indicates compaction which must be sorted before best health can be achieved - I'll show you how in the Healthy Soil Project #2.
- The clod of excavated soil will break apart with a little resistance, into clumps and crumbs. This shows good structure.
- There will be a tangle of different sized, branching roots - some fine, some thick. If roots stop suddenly and/ or veer off it will be because of compaction or a high water table. Work out which it is - compaction is easily sorted. A high water table is no place for food gardens.
- There will be 20+ worms.
- The topsoil (the top 10cm), will smell earthy and good.
- After the squeeze and shake test, soil will be in a mix of clumps and crumbs. If it doesn't break apart, nudge it with your thumb - if a little nudge easily breaks it its not far off healthy!
When you look in the hole, good health looks like:
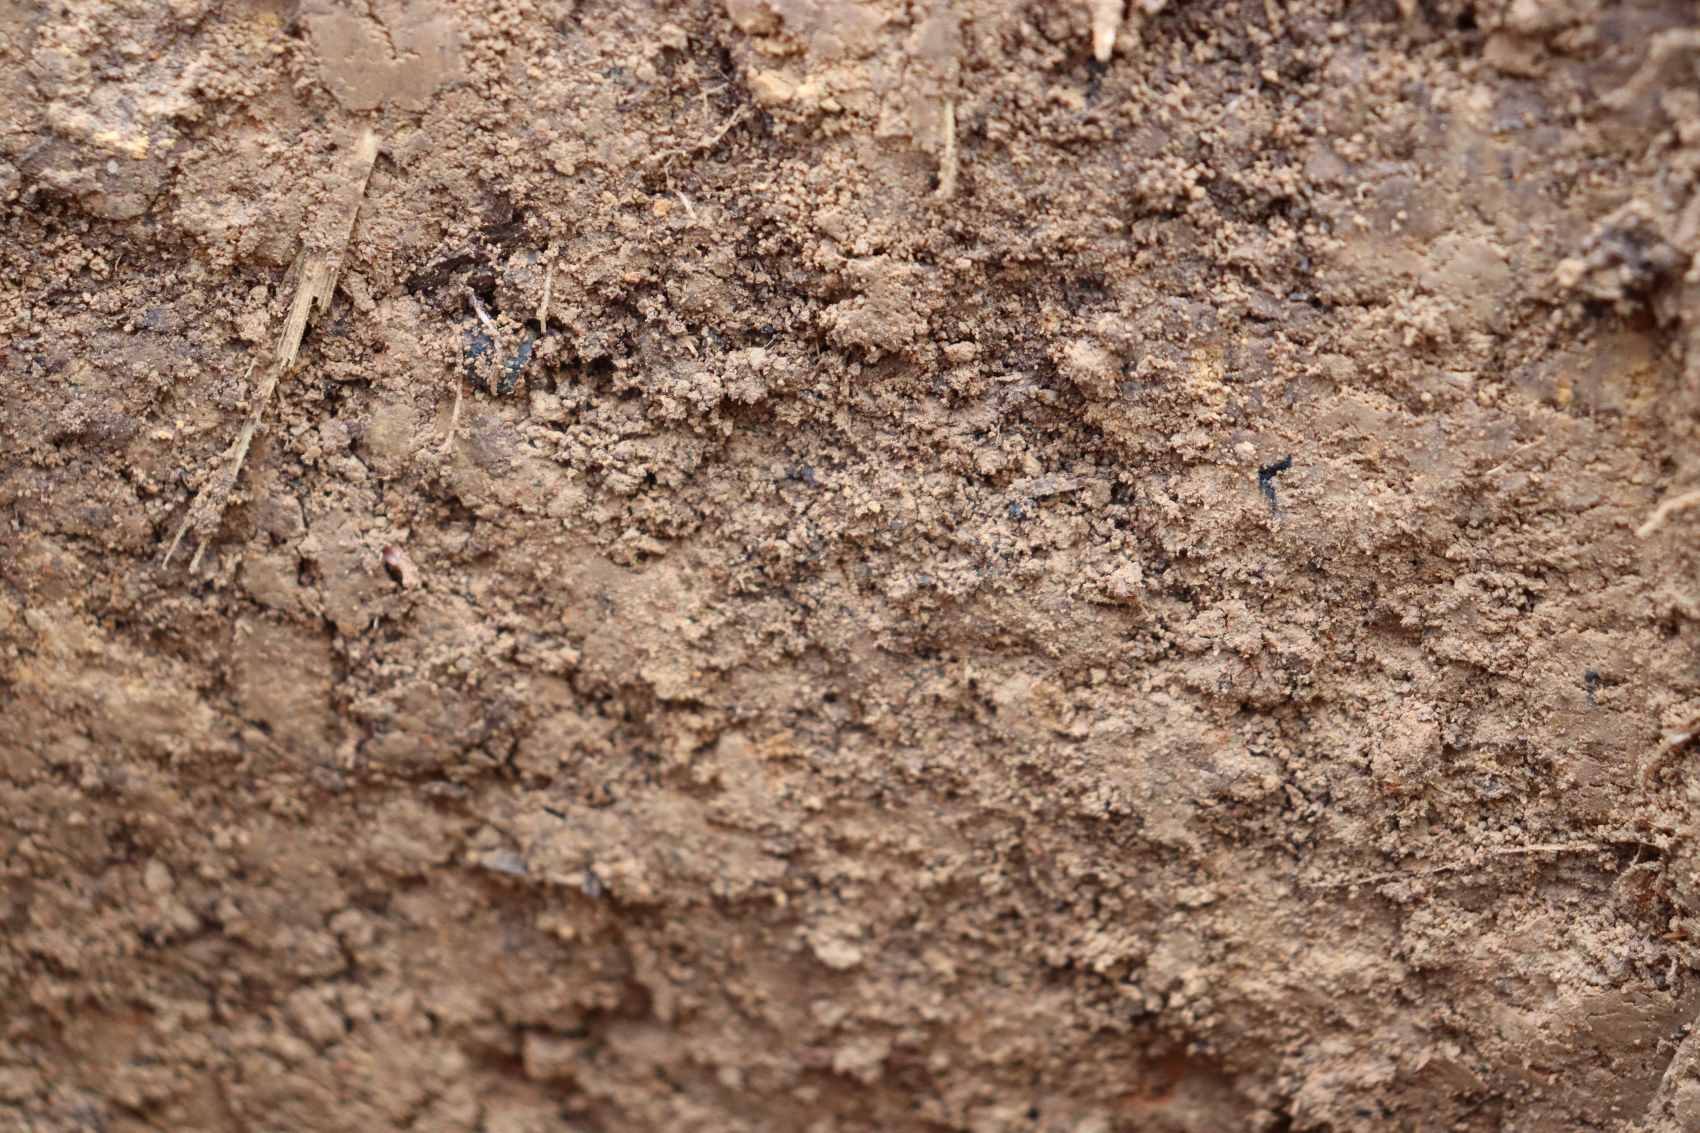
- Roots! Lots of them! Deep, wide, tangled.
- Lots of pore spaces and little holes, and you can start to see the outline of clumps as structure develops.
- The soil will gradually change colour. The darkest being the topsoil just beneath the plants, and getting subtly lighter as it goes down the hole. That being said you can still grow awesome crops in soil that's a bit pale, or looks a bit layered - there's no one perfect reading - we're just using this a gauge to get you going.
When you look at the weeds and grass good health looks like:
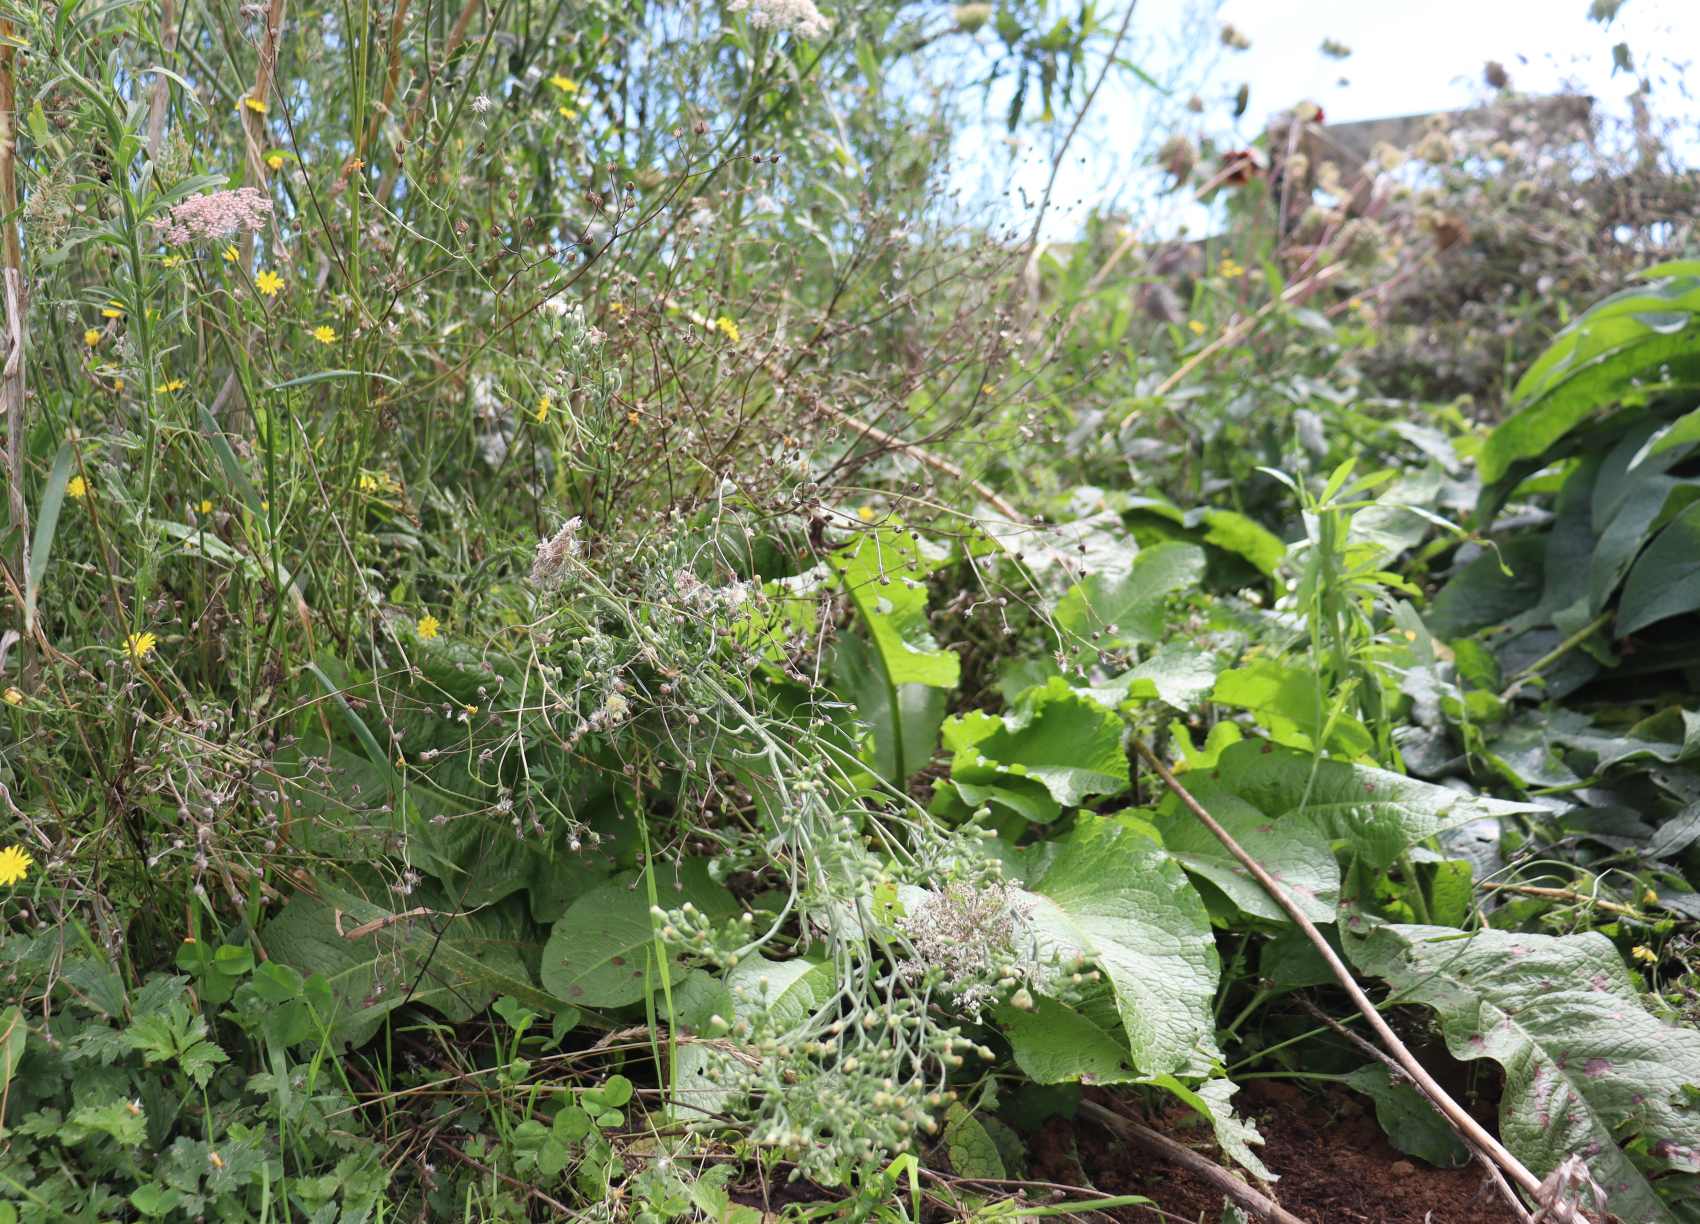
- Strong stalks and stems, lush foliage, steady, green growth, good flowering and seed production, plants that handle dry times and wet times, a variety of weeds not just one type.
Your next steps:
Improving soil starts with sorting drainage and compaction (hard soil). This is what we'll dive into in next months Healthy Soil project #2.
With drainage and compaction on the mend, we begin, in Healthy Soil Project #3 to get into the basic skills you need to grow fertile, brilliant soil without having to buy in all the stuff.
Don't try and rush soil improvements with miracle bought stuff (no such thing), or by bringing in loads of bought compost. Compost is fab, but most bought compost is not at all well, and anyway too much compost, even good stuff is well, just too much and no good at all for soil health.
Keep steady, my friends and trust the process. We'll go step by step and along the way create you a structured, living soil which in turn will grow sturdy plants that grow steadily, experience a lot less pests and disease, and crop like legends.

