Step by Step to Kickass Shelter

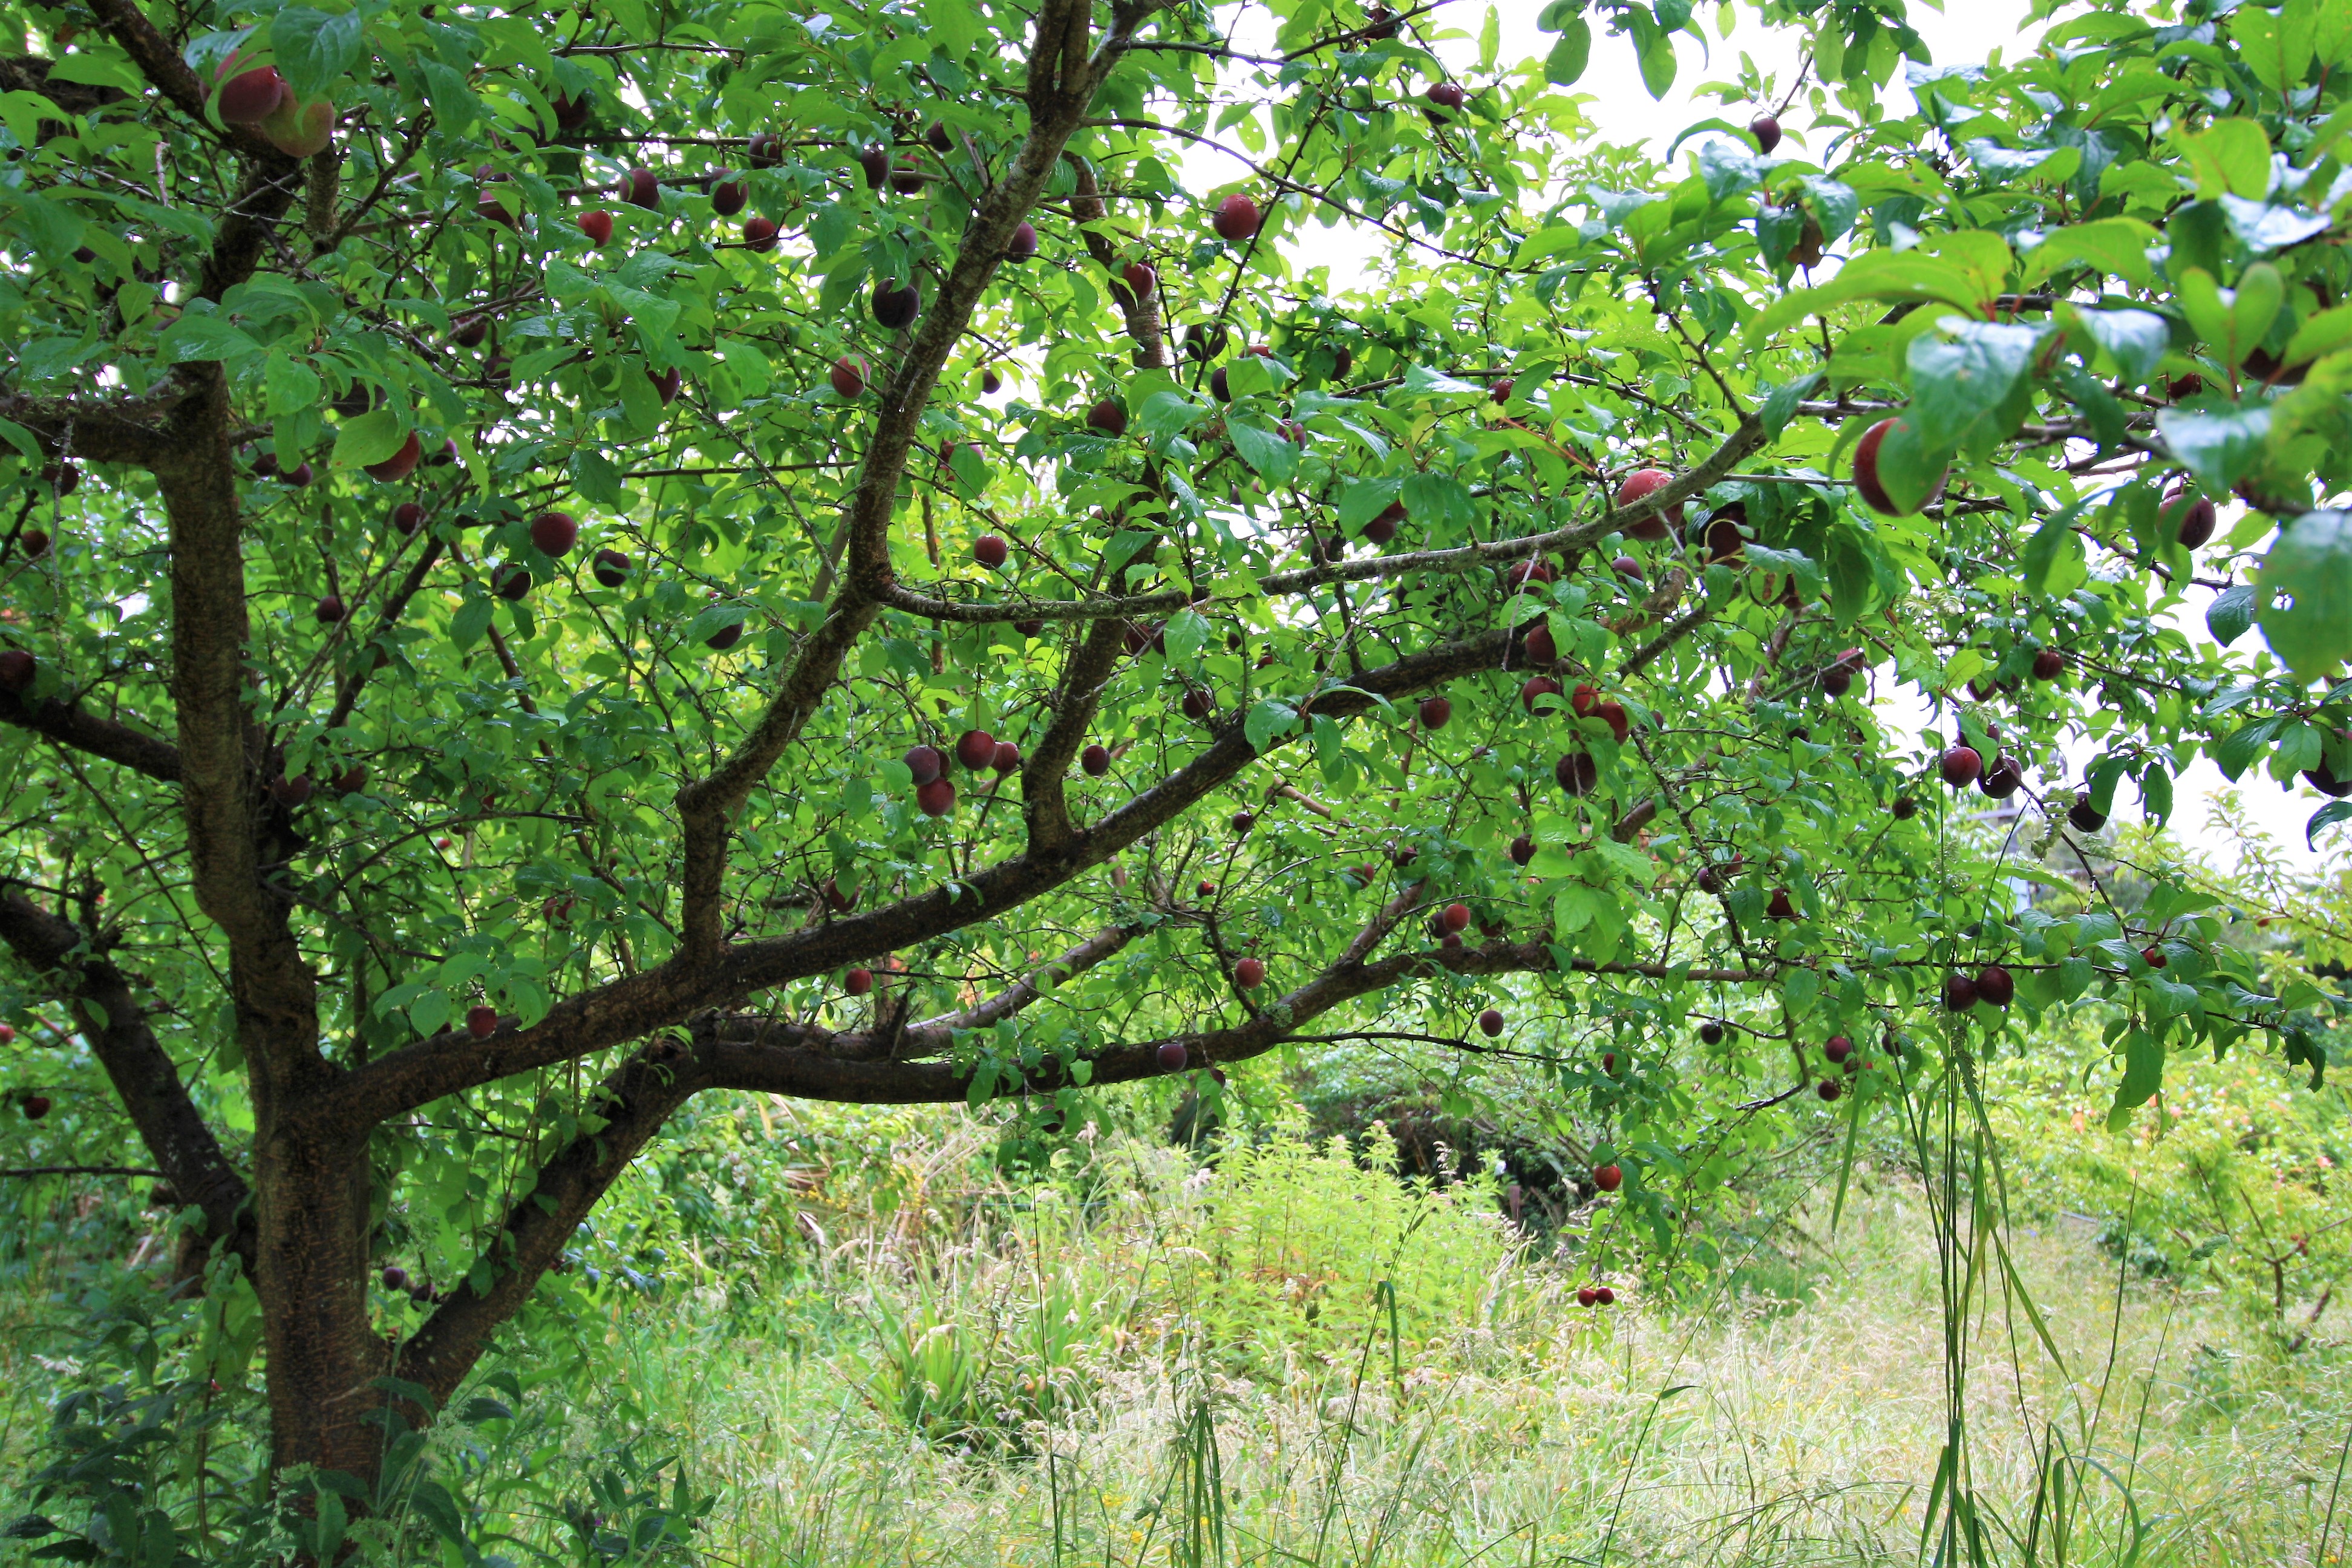
Shelter lays the foundation for a thriving food garden. What a difference to productivity when our crops are nicely tucked away! Today, I'm going to set you on the road to a handsome as, targetted and super low-maintenance shelter that once established, needs no pruning/ trimming/ fussing over. Kickass, don't you agree?
You only need shelter, where you need shelter.
Sounds obvious, I know but take a moment here to soak this up.
Surrounding yourself in trees is an understandable reaction on bare or windy sites where you feel exposed and whipped about. But its unlikely you need shelter on all 4 sides - even if it feels like it! The downside of surround-sound shelter is the shady, stagnant environment it creates later on down the track.
Rather than rushing in to plant shelter, sit with the exposure and get to know your winds first. When you've worked out exactly where the brunt of the wind hits, you can be targetted with your shelter plantings, choosing simple slat fences or low companions to soften the wind around the vegetable patch and small trees on the windward side of fruit trees. Keep your land open as much as possible, for airflow and sun and perhaps a few peep holes for a friendly hello over the fence.
Learn Your Wind
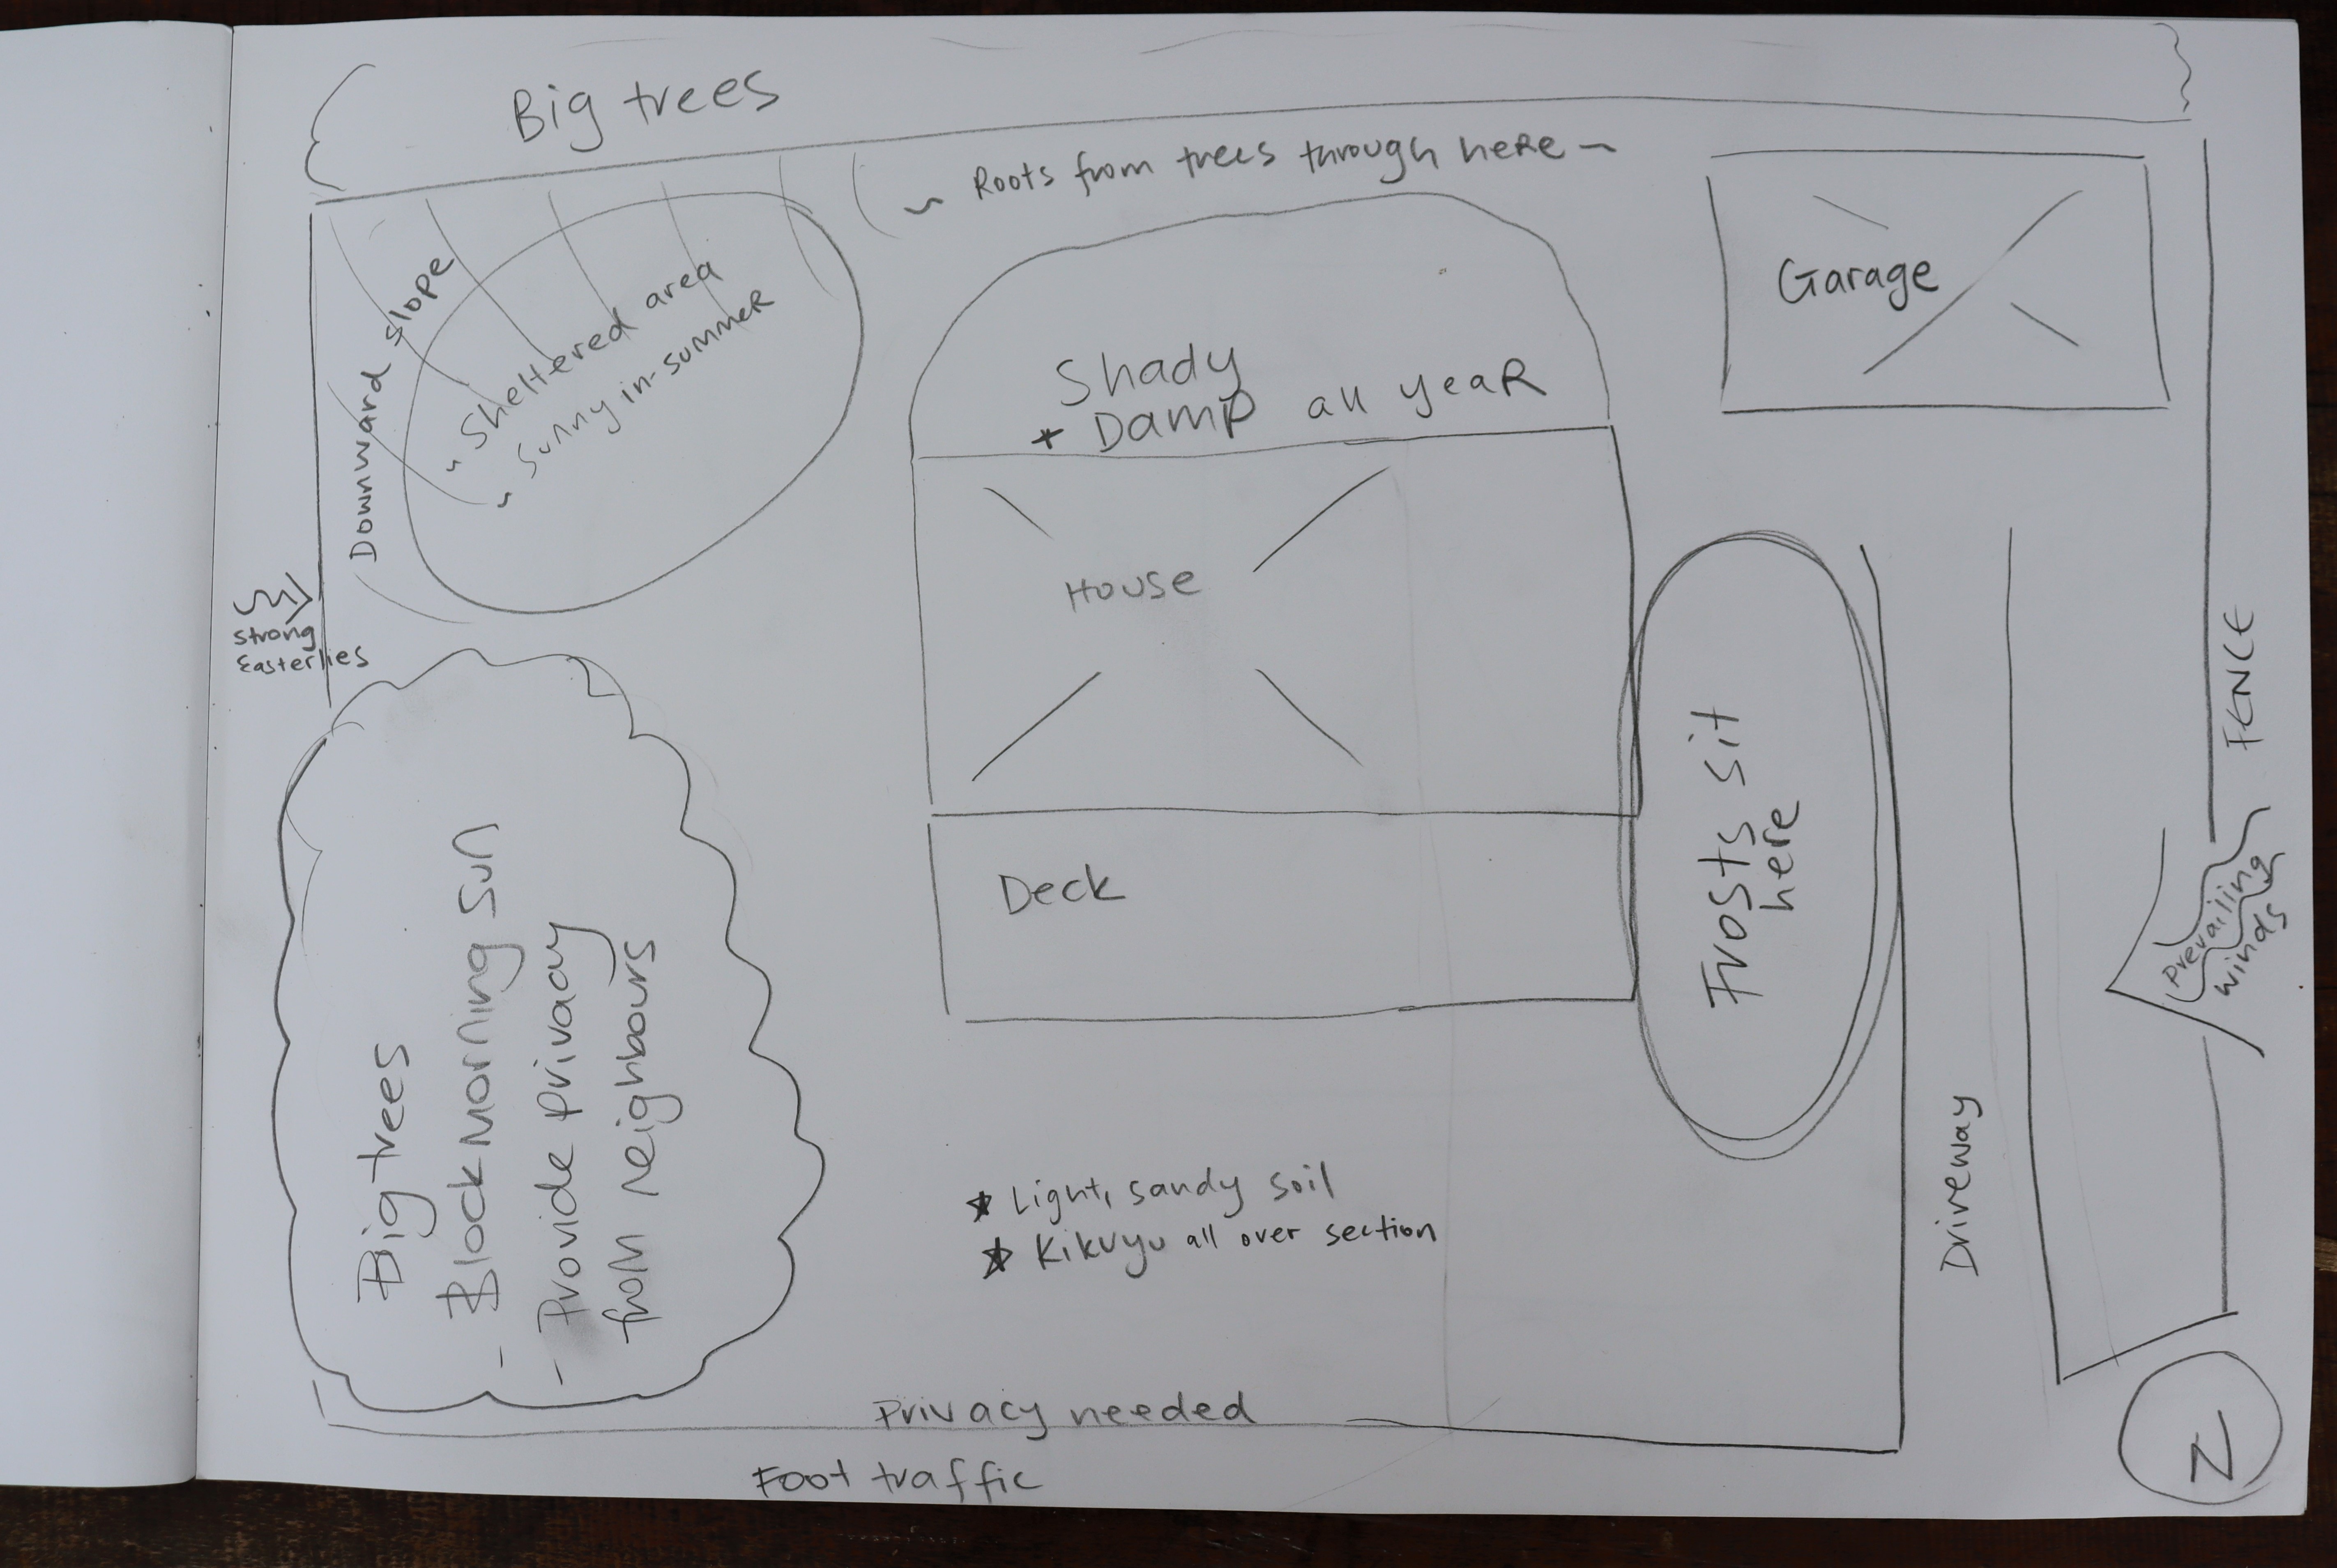
It takes 4 seasons to get the full picture of how the wind rolls in your little corner of the world. Get to know not only your winds, but your land as well. This is called making a basemap, and you can read all about it here. This pause is of enormous benefit, bringing you a far better set up than if you'd rushed in. Getting to know your climate more intimately is a huge help for running your food garden.
Get your beanie on, on windy days and get outside. Its the only way to learn all the nuances of the wind at your place. Experience wind from all the directions and describe each as best you can. Strong or gentle, cold, buffeting, with rain or dry, common or rare or only in spring, for example.
Wander all over your place, and as well as getting to know each wind, find all the sheltered, north facing nooks and crannies. Earmark these for future use, for the plants that are the most tender or as the kicking off point for your food gardens.
Sketch up a rough map of your place and draw the winds on as you learn them. Leave this really important piece of art out, perhaps taped to the fridge, so that every time you observe something, you can easily draw it on. In time, this handy visual will make it clear where shelter needs to go. What a useful bit of information to leave for the next people who inhabit your place.
Filter + Redirect the Wind
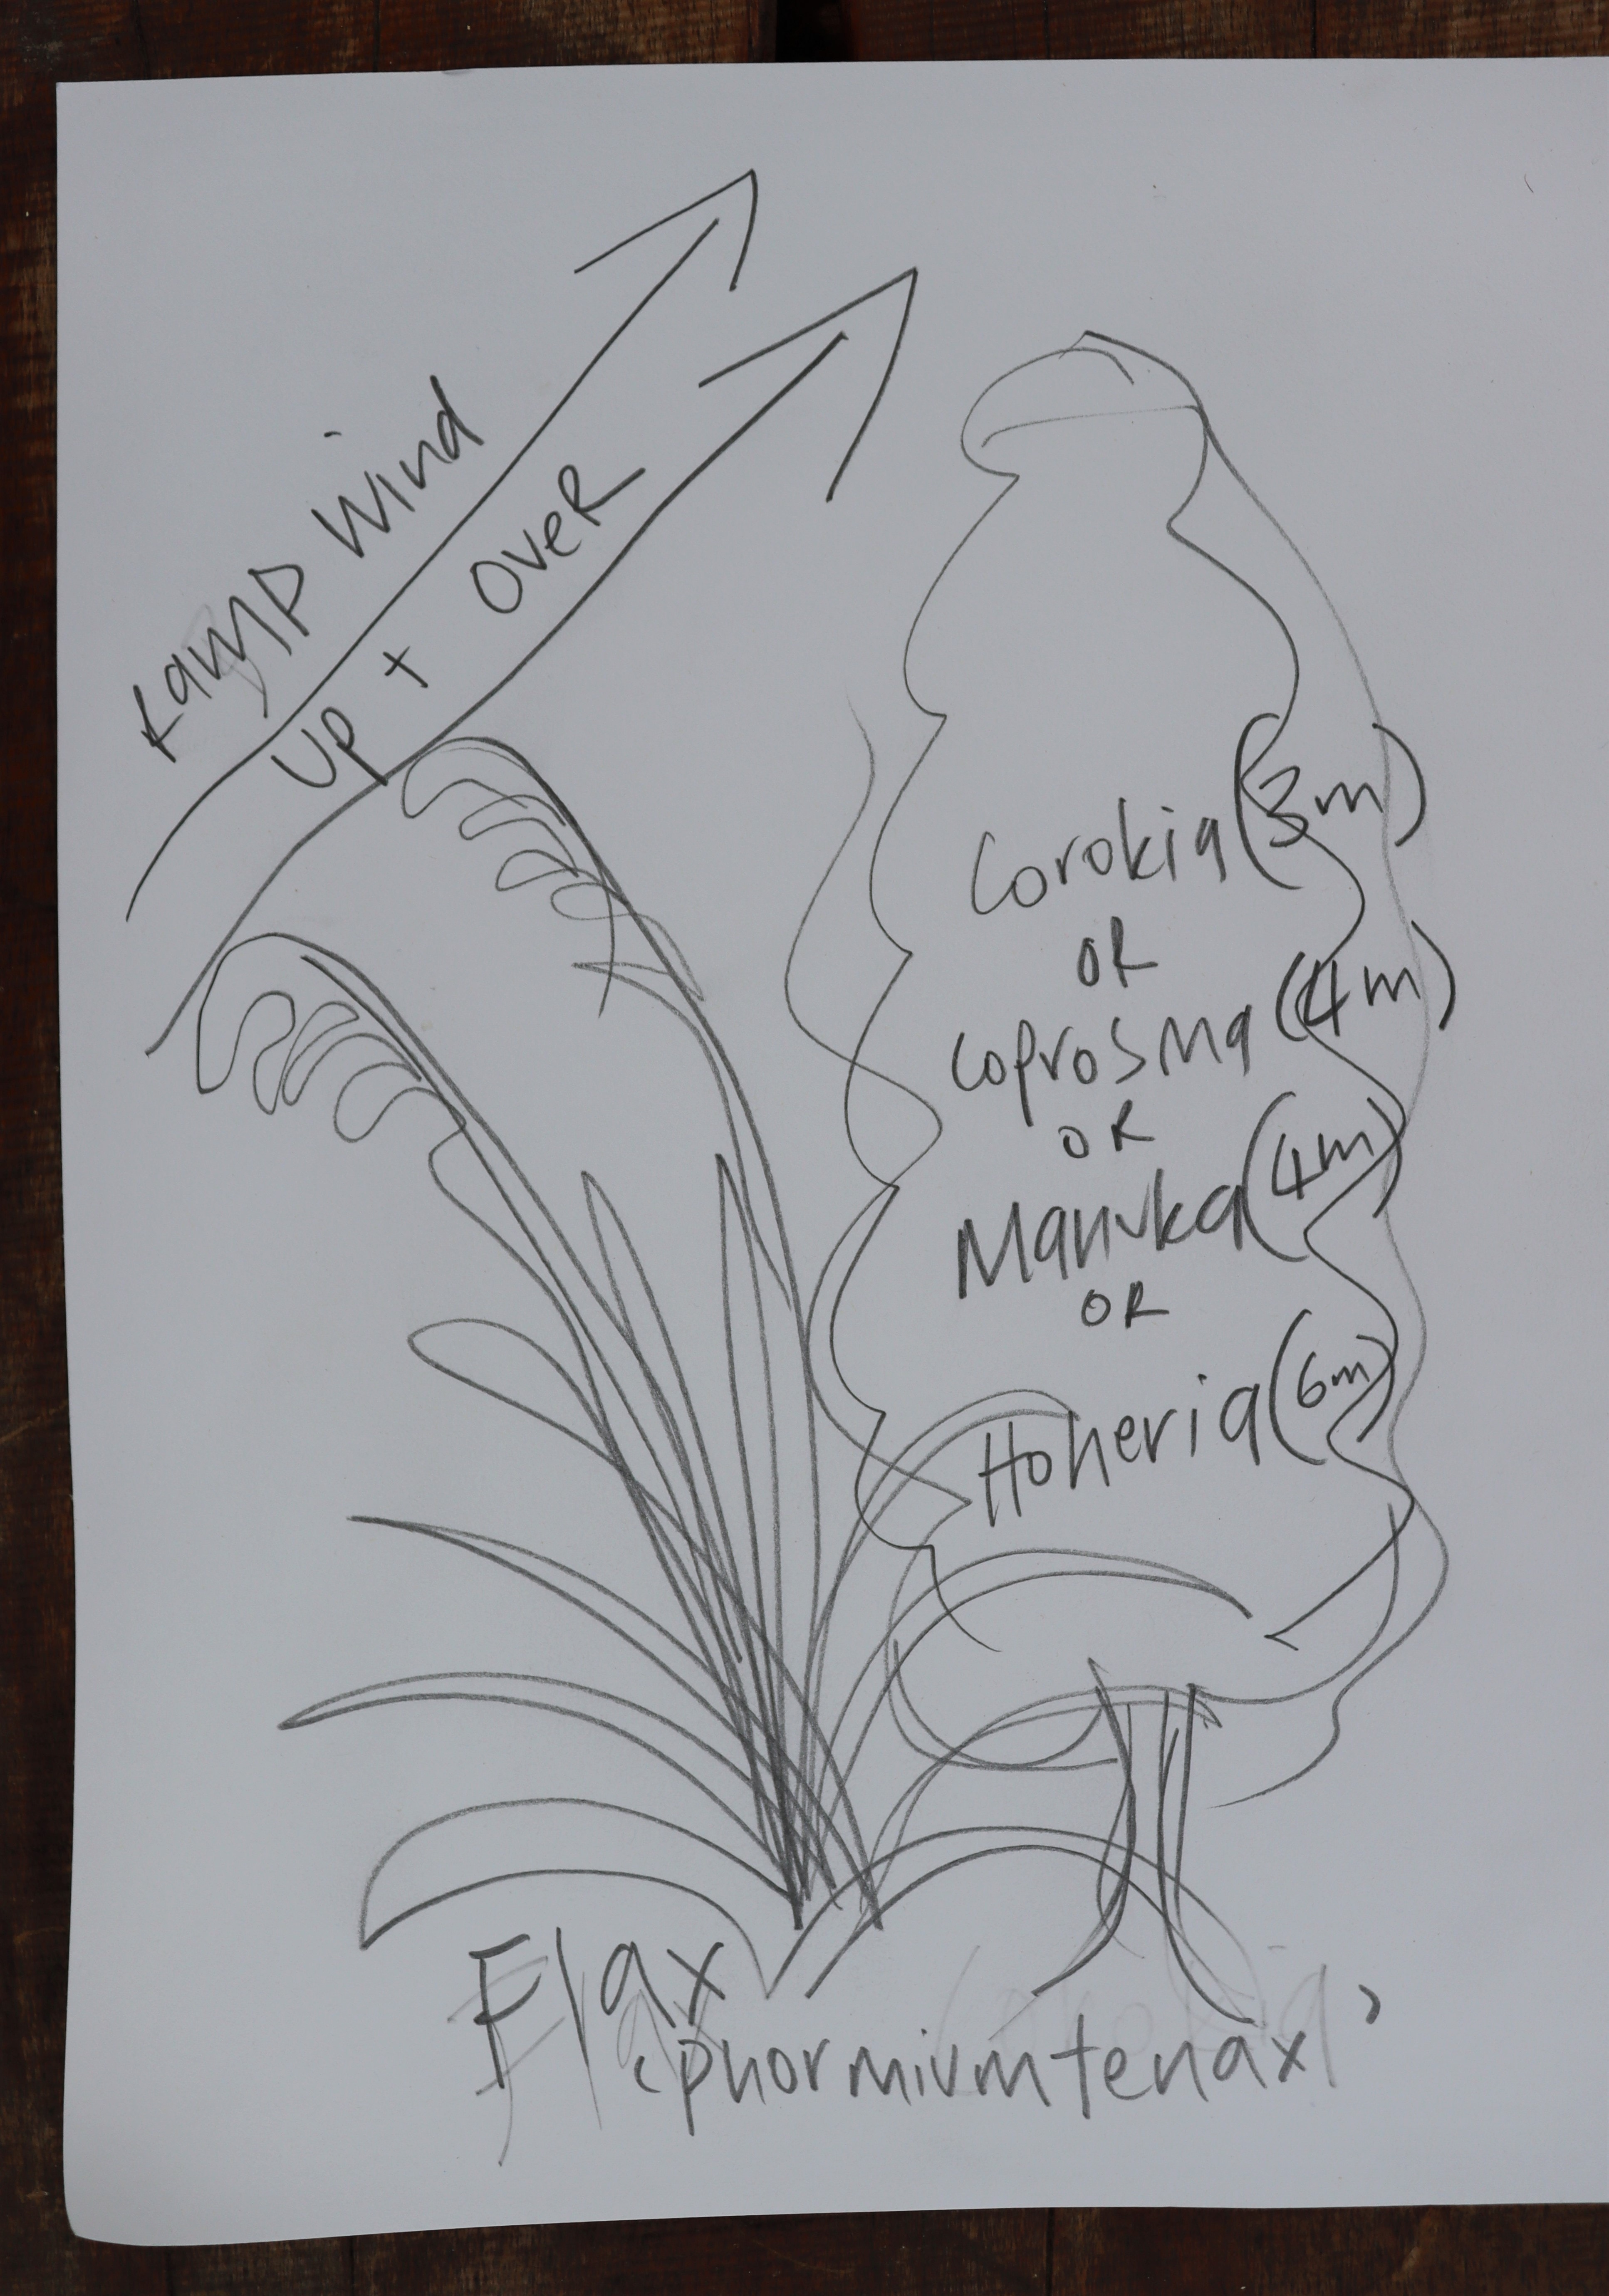
The mighty force of wind is best managed by channeling your inner karate kid and redirecting the energy rather than confronting it head on. Solid blocks send it ricocheting elsewhere. The ricochet may not be on your place, but its a better world when we consider each other don't you agree.
Effective shelter is a three step move.
- Soften the blow by filtering it through leaves and twigs or slat fences.
- Send the wind up + over the area you are protecting
- Push it out around the outside of the area you are trying to protect.
Wind is fluid, you see. It flows over the landscape like water, responding to whatever it comes across. Banks, hills and trees send it upward, leaves and twigs soften its blow, narrow spaces strengthen its force and just as a river swirls and eddies, so too the wind when it comes up against solid blocks.
This fluidity means that a nor'wester may not arrive at your place due nor'west. It may be funnelled by roads or buildings and, for example, arrive on the western corner instead. Which is why its so important to experience the winds first-hand rather than relying on weather reports or apps. Gardening neighbours are a big help if you are new to the area.
Work it Out
Once you've got a good idea of what's going on, sketch bubble shapes onto your basemap to indicate where you think shelter should go. Dont worry about what plants you are going to use or get hung up on getting it right this first time round. You aren't likely to, so dont even try. You are however off to the very best of starts because unlike all the guess shelters out there, you actually know where your wind blows, and are only going to put your shelter, where you actually need it as opposed to everywhere!.
Wind is tricky when you are navigating valleys or taller buildings and swirling currents - be patient, you'll work it out with trial and error over time. Don't rush into fruiting plants while you are working out strong winds. Use existing sheltered spots, grow in pots and containers and/or make simple, movable slat fences to shelter vegies. Make temporary your mantra during this learning time, which if you think in circles like me may become your overall style - because as we learn and evolve so do our gardens and temporary is awesome when you change your style later on. At the very least, stay away from concrete and permanence until you feel sure.
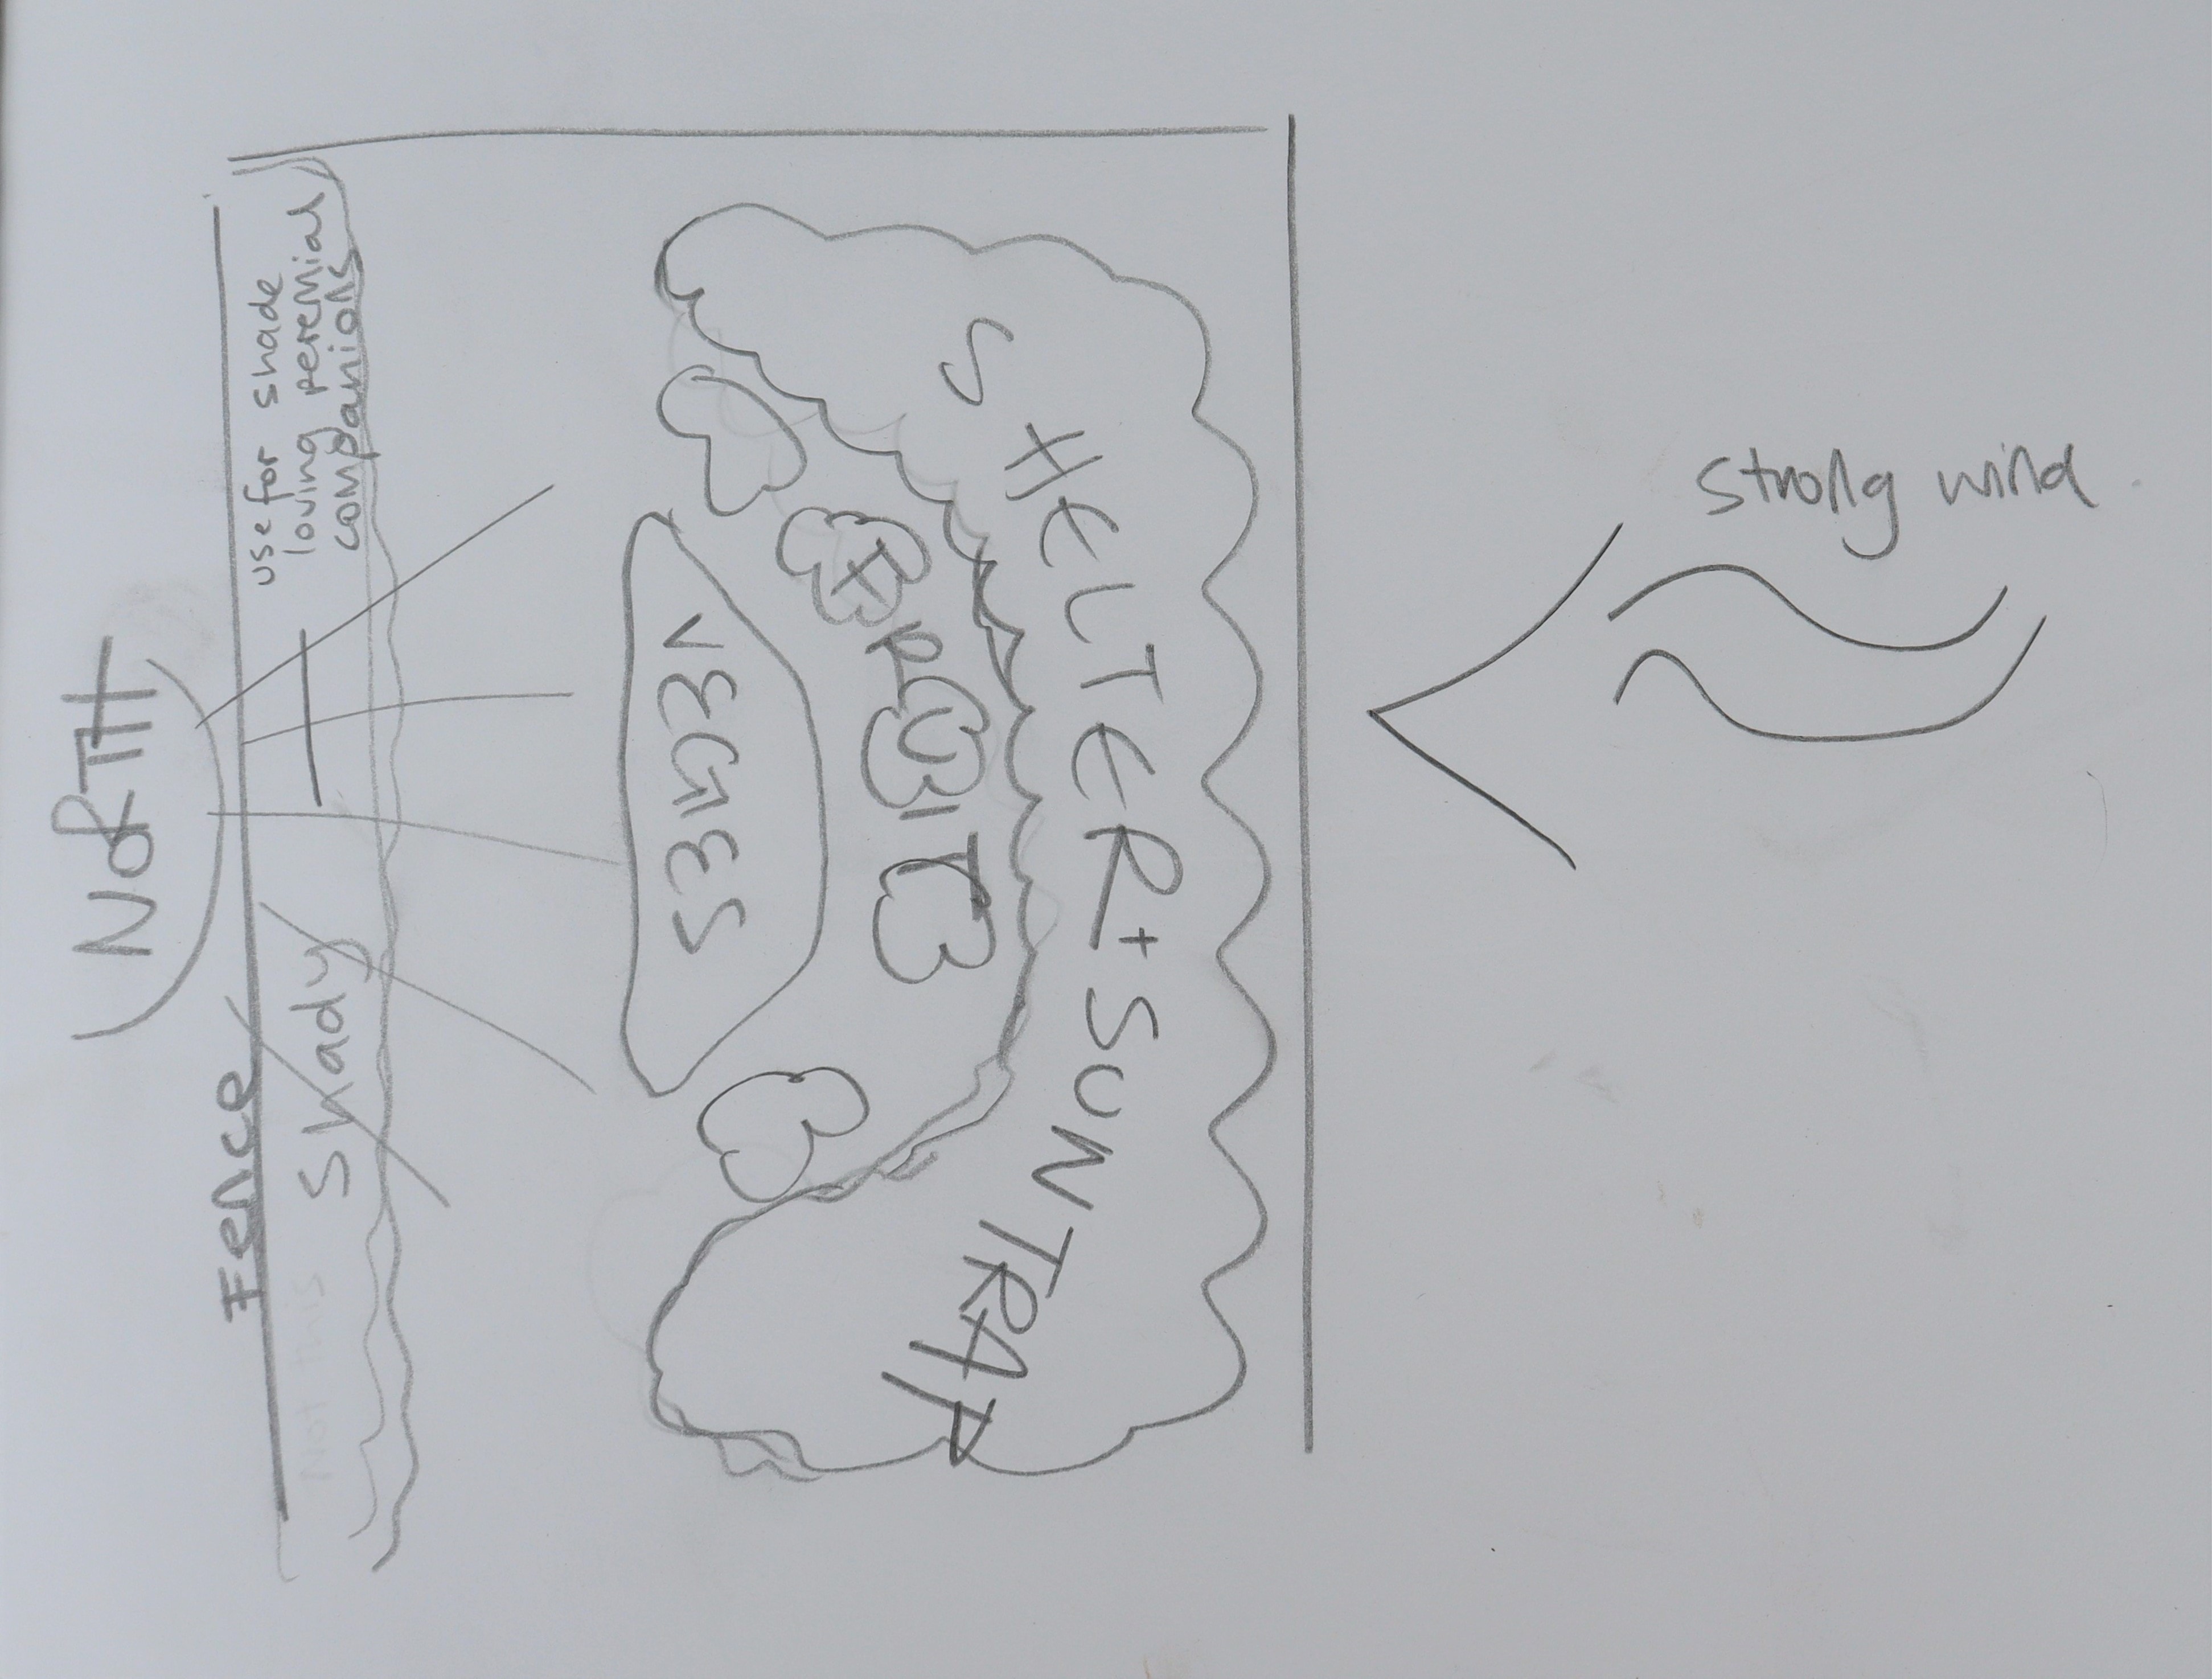
Wind is also tricky when it arrives from the sunny north. Do your best to retain as much light as possible. If you need to plant your northern line up, be sure to leave enough of a gap between the shelter plants and your food gardens to ensure that they wont disappear under a blanket of shade in 3 or 4 years time.
Buildings are fantastic shelter and help soften frost. Consider the buildings you have - can your vegie patch be on their sunny side? If you are planning any sheds, greenhouse, chookhouse or extensions - have a play with locating them in a way that holds the sun and or protects from the wind. Be sure you dont block light or create wind funnels. Set up temporary shelter to tide you over until you get around to your building.
Choose a Height
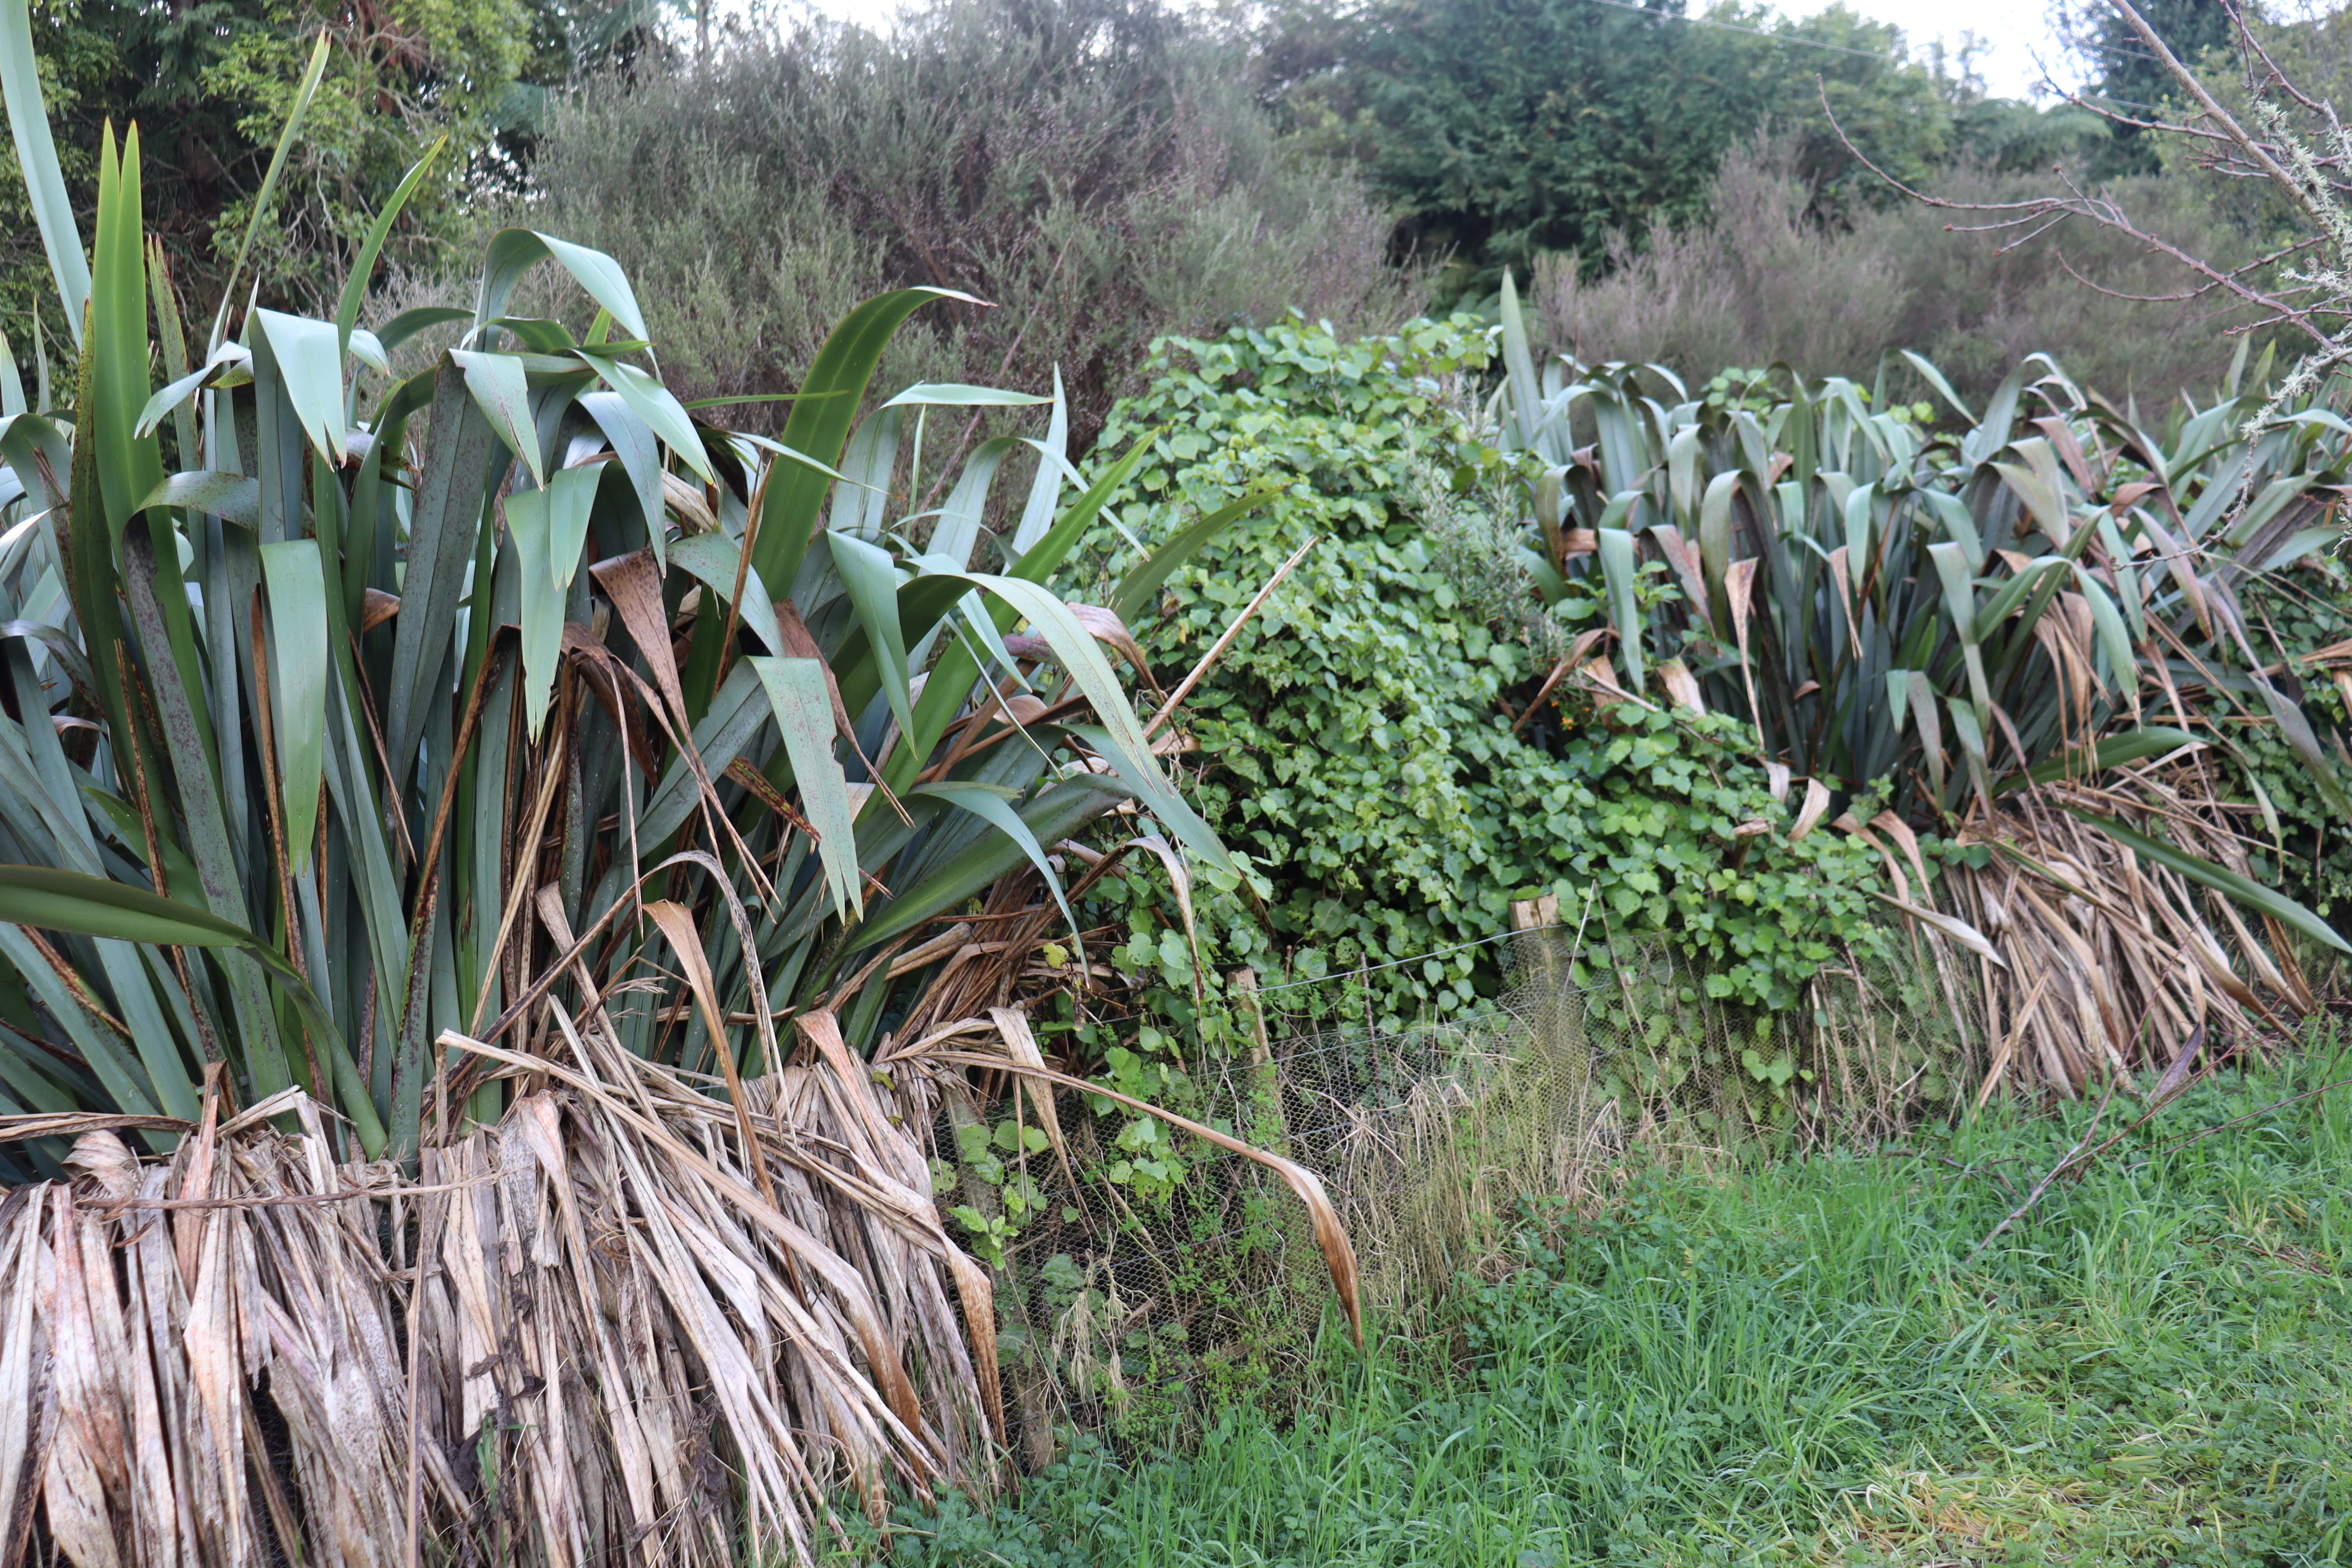
You dont need tall trees! Oh the time and money and heart ache that goes into trees that are too tall for the space they occupy - expensive pruning or removal or the need to trim annually can all be avoided when you decide the height first, then choose trees within this range.
For every 1m up your plants grow, you achieve about 6m worth of shelter in front. This will bring you ease and hopefully steady your desire for tall and fast.
You only need to go as high up as whatever it is you are protecting. Vegies only need about 2m. It may work best at your place to dot shelters about where you need them rather than trying for one big shelterbelt.
If you need to protect 5m fruit trees - choose shelter trees that are a little bit taller, say 6m at their max. height. Eliminate shelterbelt trimming from your life, not only to save yourself the annual job, but also to enjoy natural shaped trees.
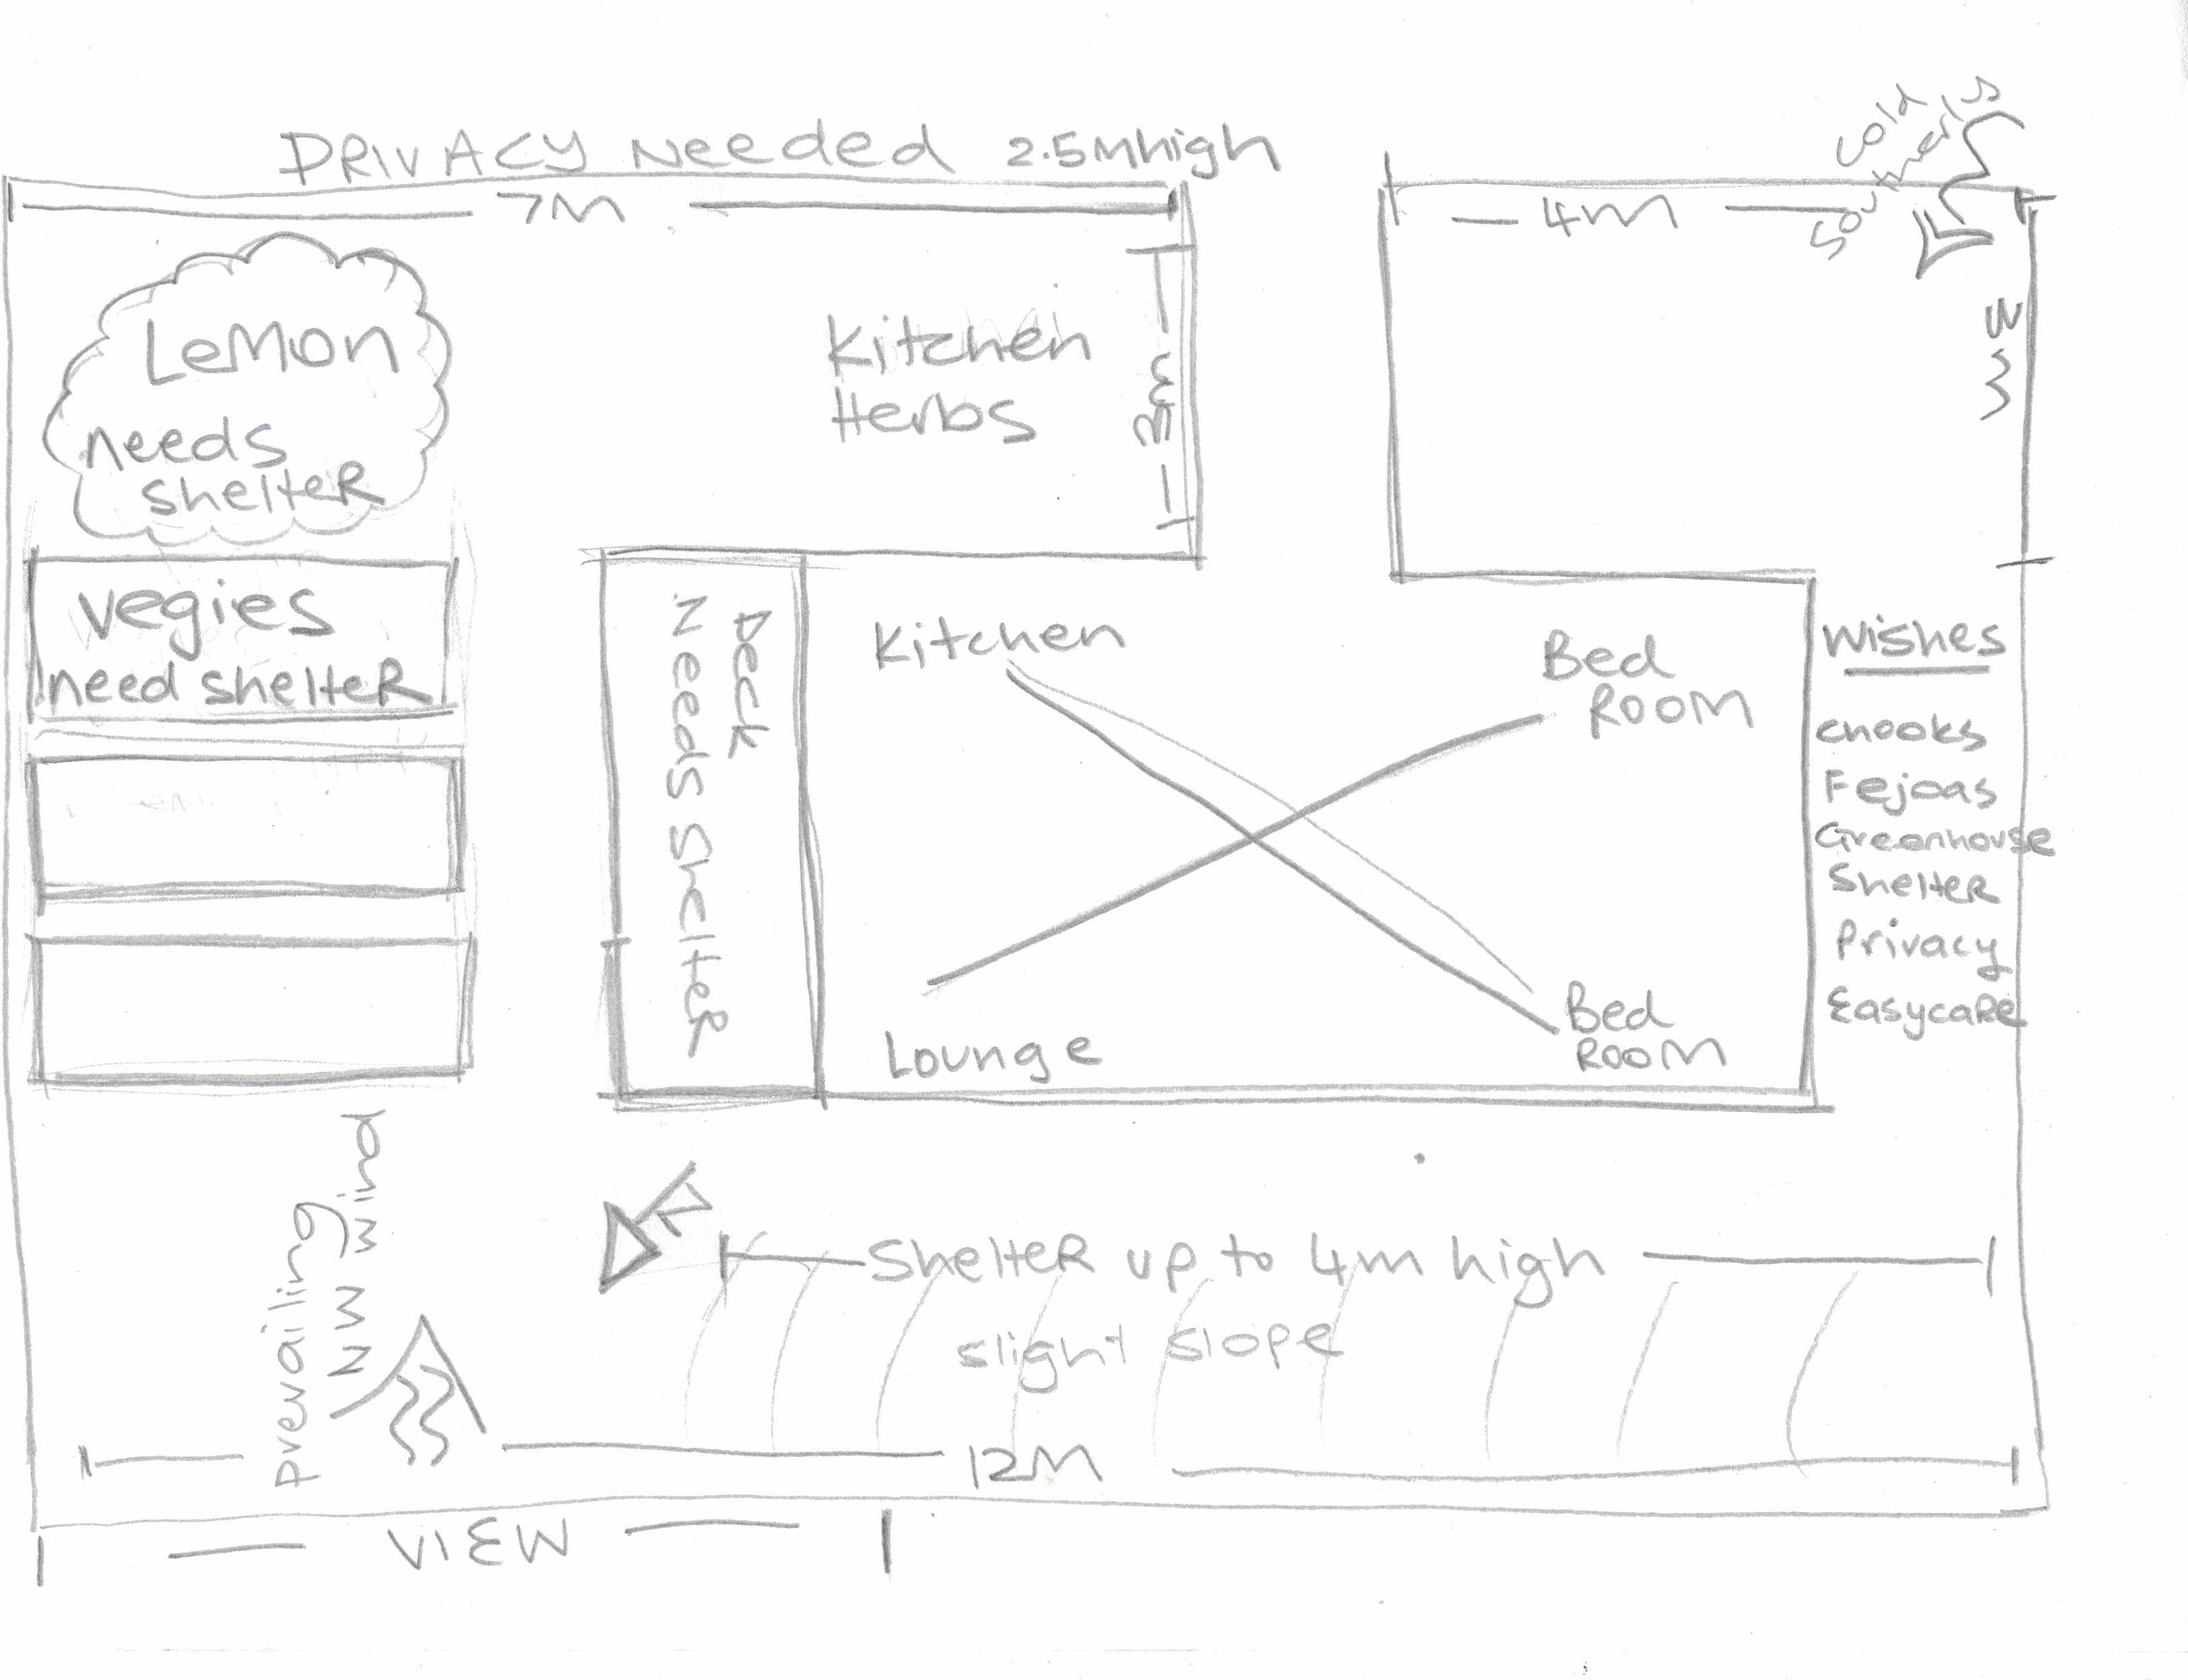
The other downside of tall trees, are trunks. They create a cold wind funnel that edible gardens are far better served without. Eschew tall and troublesome, for easy to manage squat plants that hedge from the ground up creating a cosy environ within.
The southern line is an opportunity to play with taller trees seeing as theres no light coming from this direction. Do consider your neighbours here though.
Choose Hardy Plants
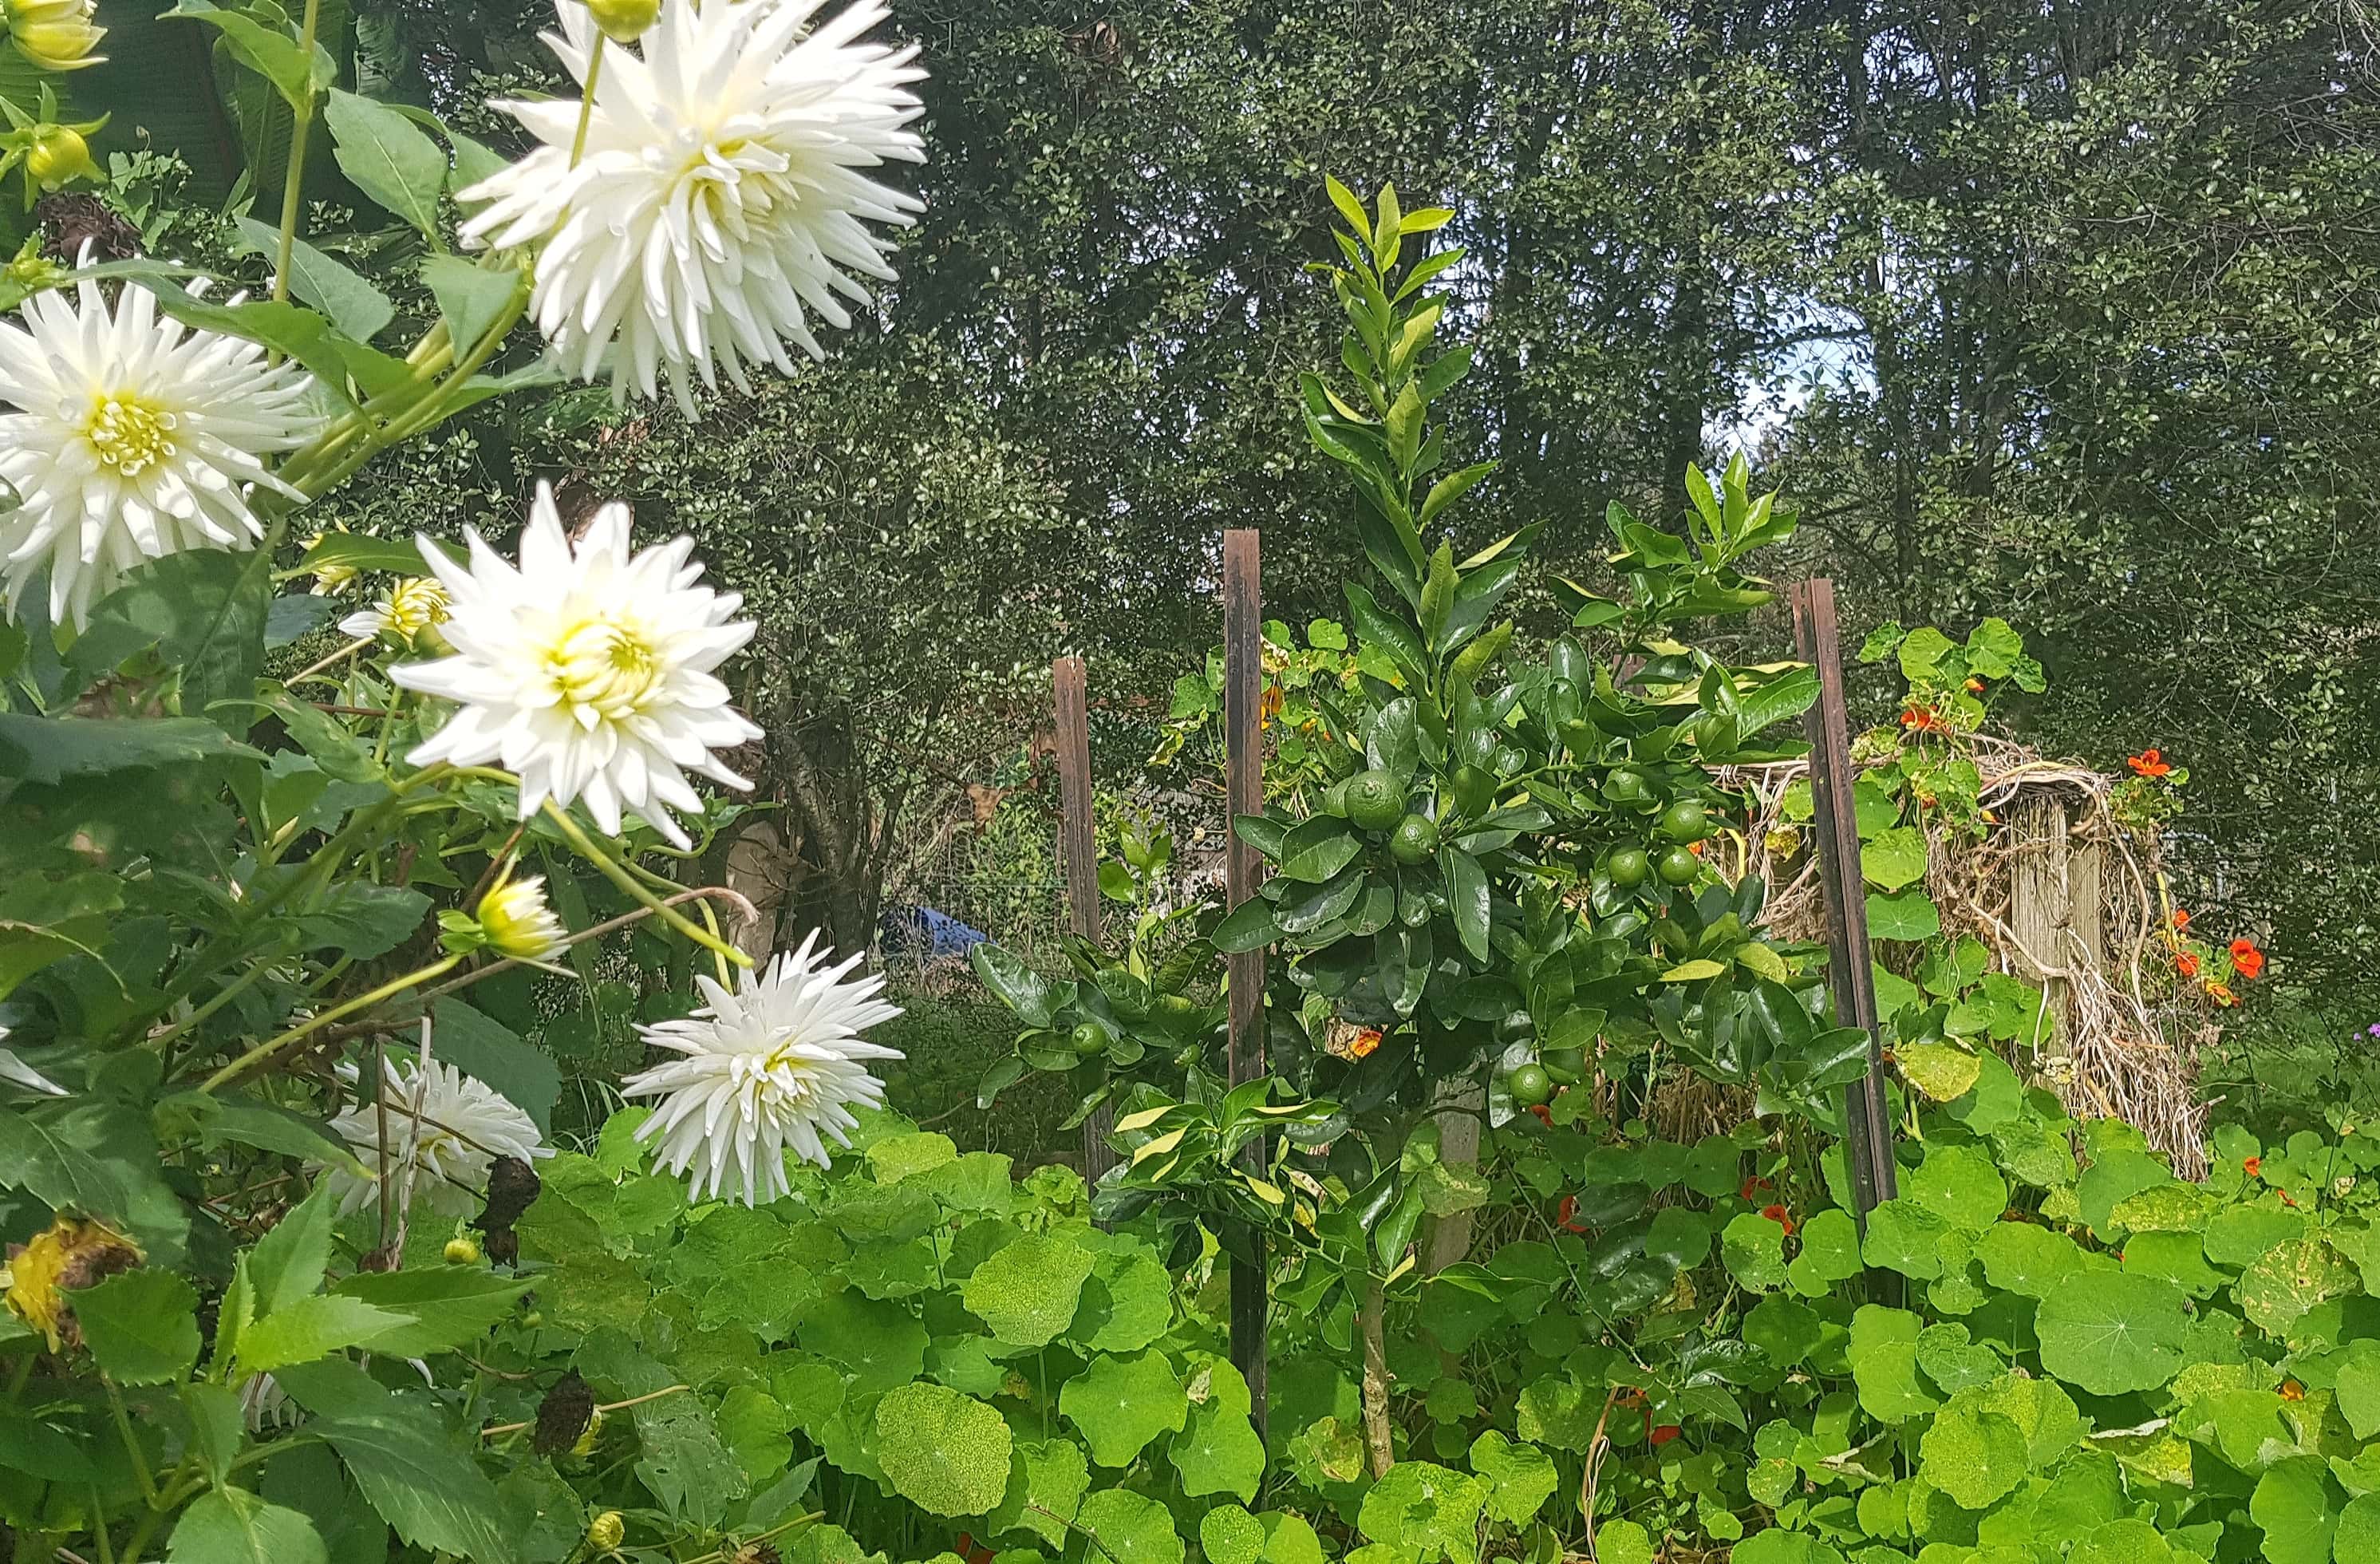
Permaculture teaches us to copy the wisdom of nature. For a low effort, smart shelter, you'll always win, with the forest as your model. Choose a bunch of varieties that suit your site, and repeat them in drifts or groups, the same way nature puts together a forest. Dont be sad if you are in an extreme zone and can only find 2 or 3 - this isn't a fancy specimen moment. Consider your shelter a green screen for the beauty within - a frame around the painting as it were.
Include coloniser plants (also called pioneer species) if on bare land. Colonisers are the fast growing plants that mother nature sends in to cover and improve land - think manuka, koromiko, gorse, makomako, toetoe et all. They boost away quickly because she always chooses species that match the conditions they'll be growing in. Lets take the cues here! In a spirit of generosity we could all aspire to, these coloniser plants change/improve soil (many are also nitrogen fixers) and alter the environment (provide protection, add organic matter, attract fungi) paving the way for the next succession of plants. On and on they cycle in this way until the forest reaches its climax trees like rimu or kauri which also cycle, they too will meet their fate and when they do, the cycle rolls round again.
Multi Purpose Shelter
Shelter is doing far more than preserving a calm space for humans, its also creating homes + dinner for a divergence of life above and below ground. In the quiet, nourished roots of trees and perennials, soil life gathers - a wellspring of fertility for nearby soils and above the ground the same again for insects, lizards, birds - all the diversity we seek.
This in itself is benefit enough, but if you are gardening in a small space, make the most of it by including edible, medicinal, coppicing plants, stack the benefits! If you've got room though, you don't necessarily need the whole gazillion uses thing. Shelters plenty worthwhile as it is.
Windcloth + Other Temporary Shelters
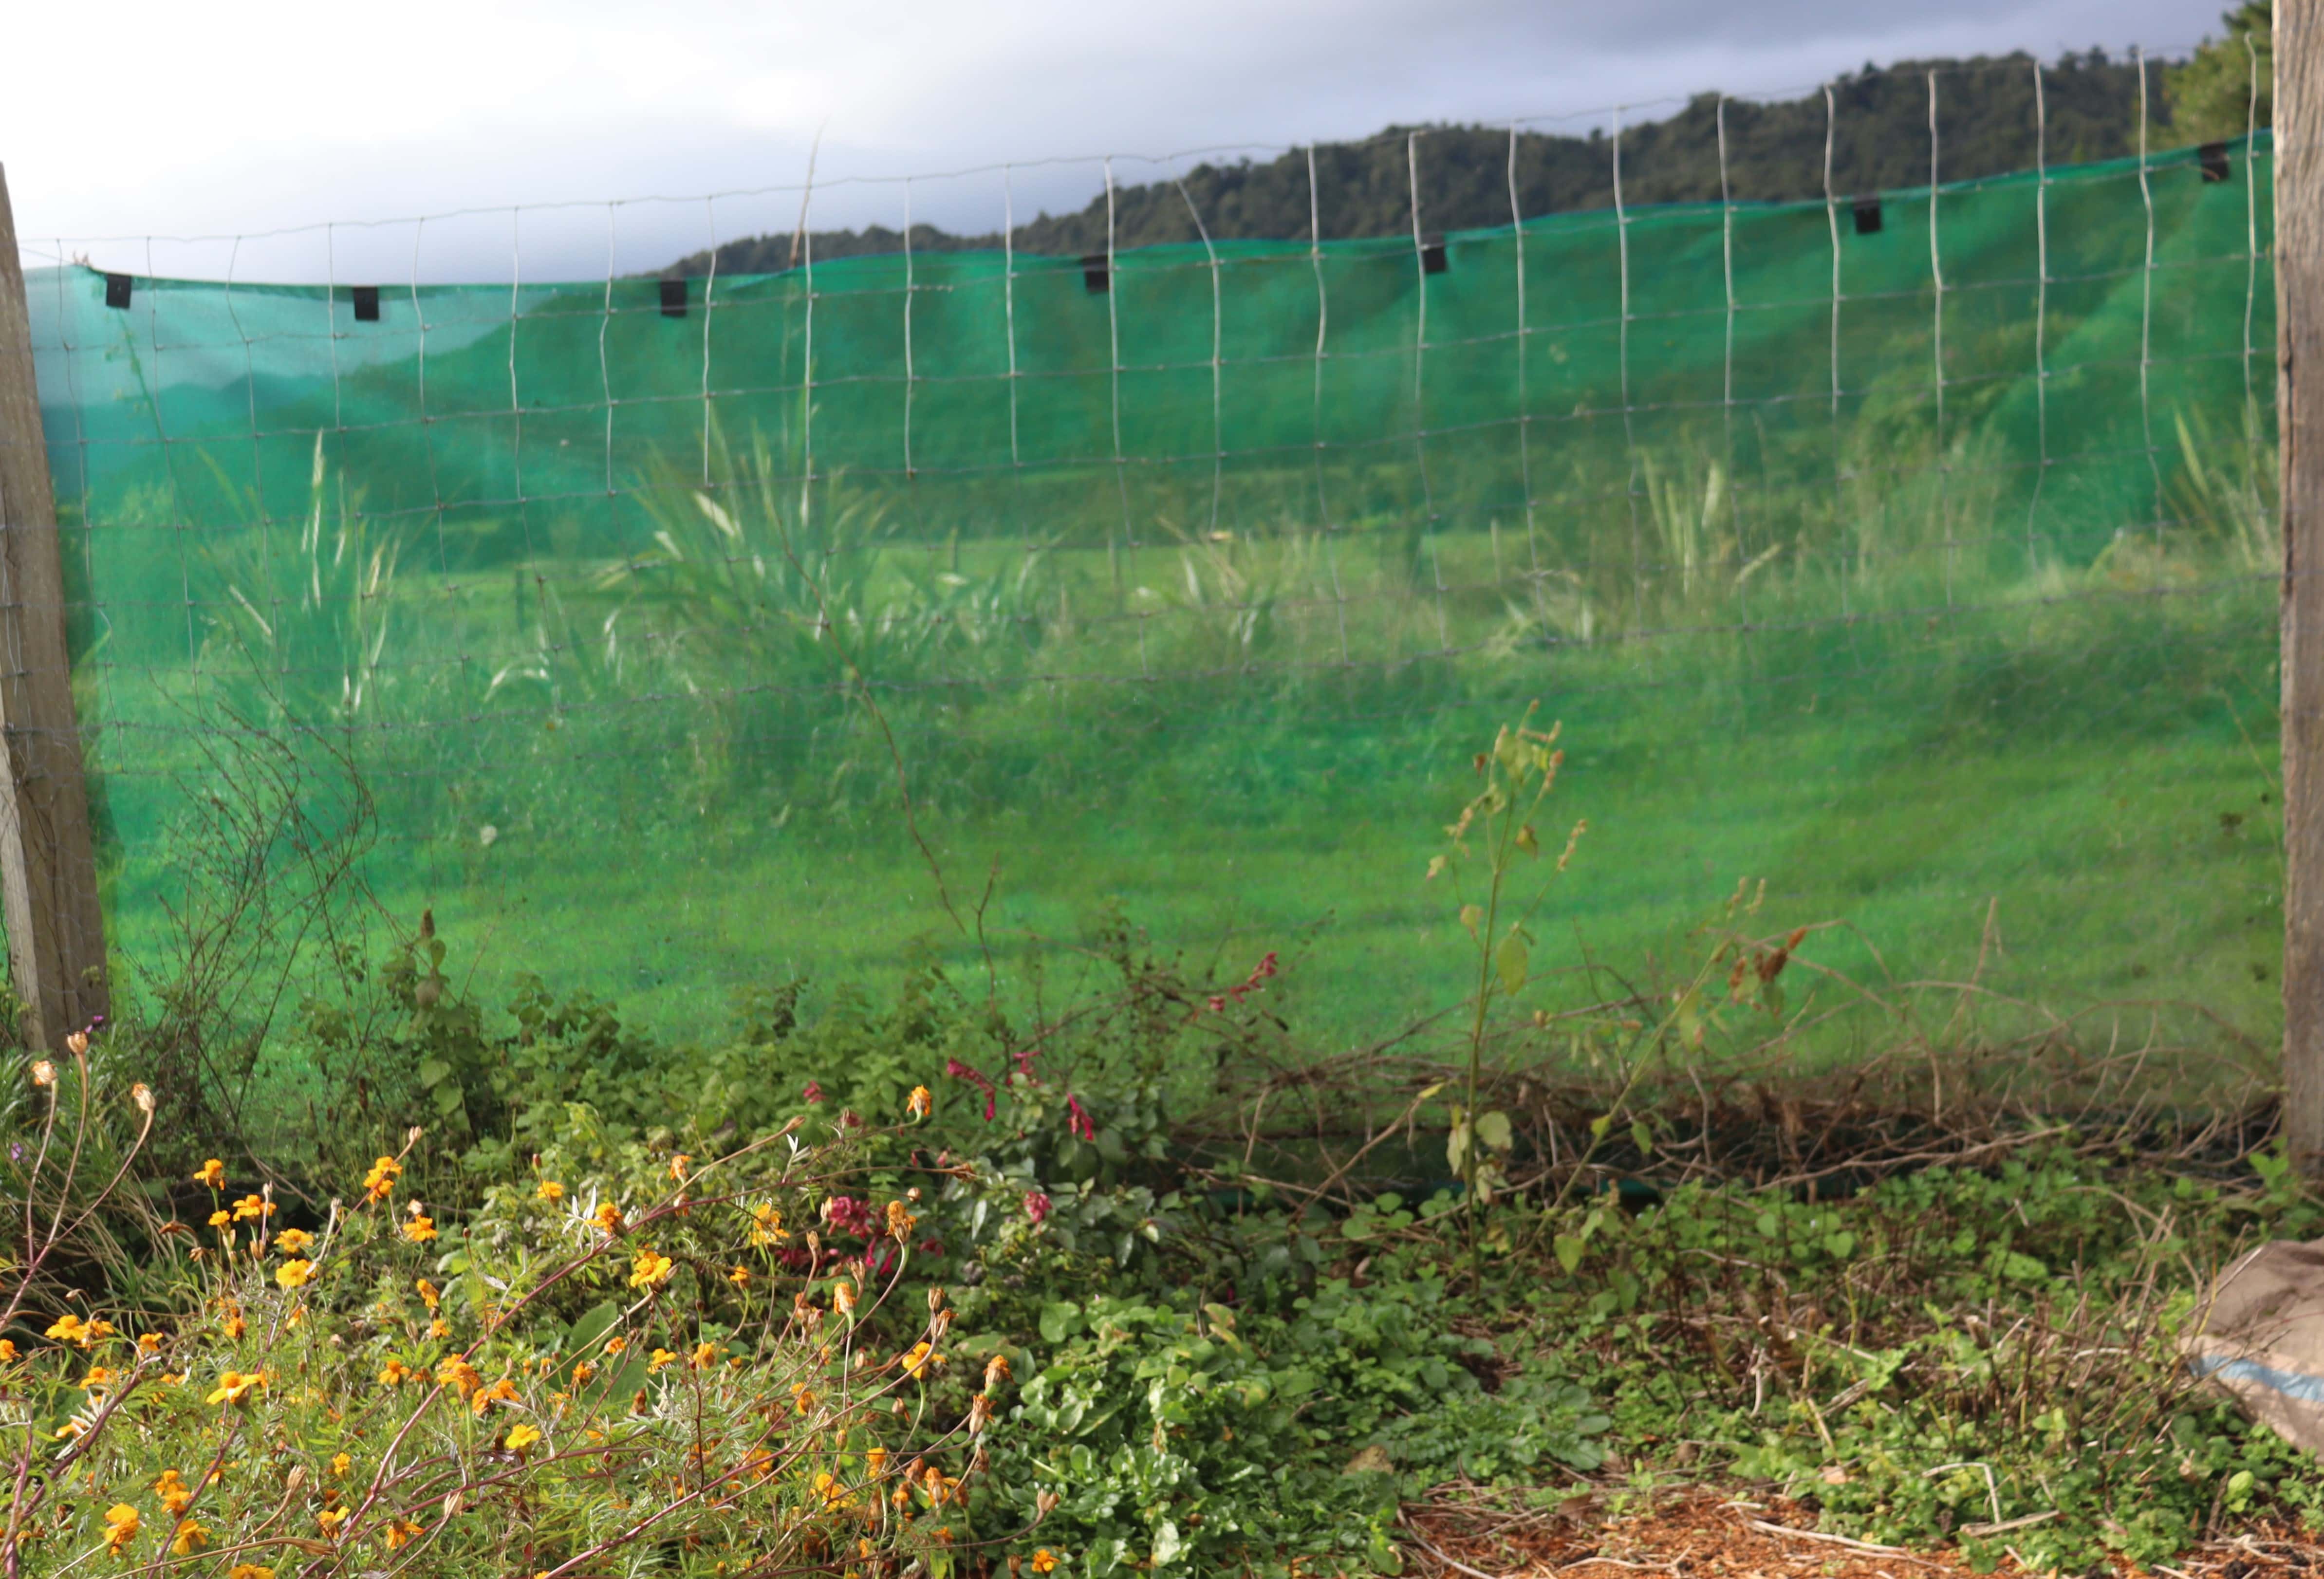
Wind cloth (not shade cloth) is purpose built for shelter but bear in mind it is temporary. Use it to buy you time while you work out what to do, or gather resources or while shelter trees grow.
We have windcloth along the eastern edge of our vegetable patch. Its not my favourite visually but boy do I appreciate it when a rare easterly howls up the valley and smashes into our property. It does a great job of protection while the shelter grows. As soon as the flaxes, manukas, hazelnuts, seedling peaches and cabbage trees are tall enough, the windcloth will come down. Man will that be awesome to see the hills again and score all that vertical space!
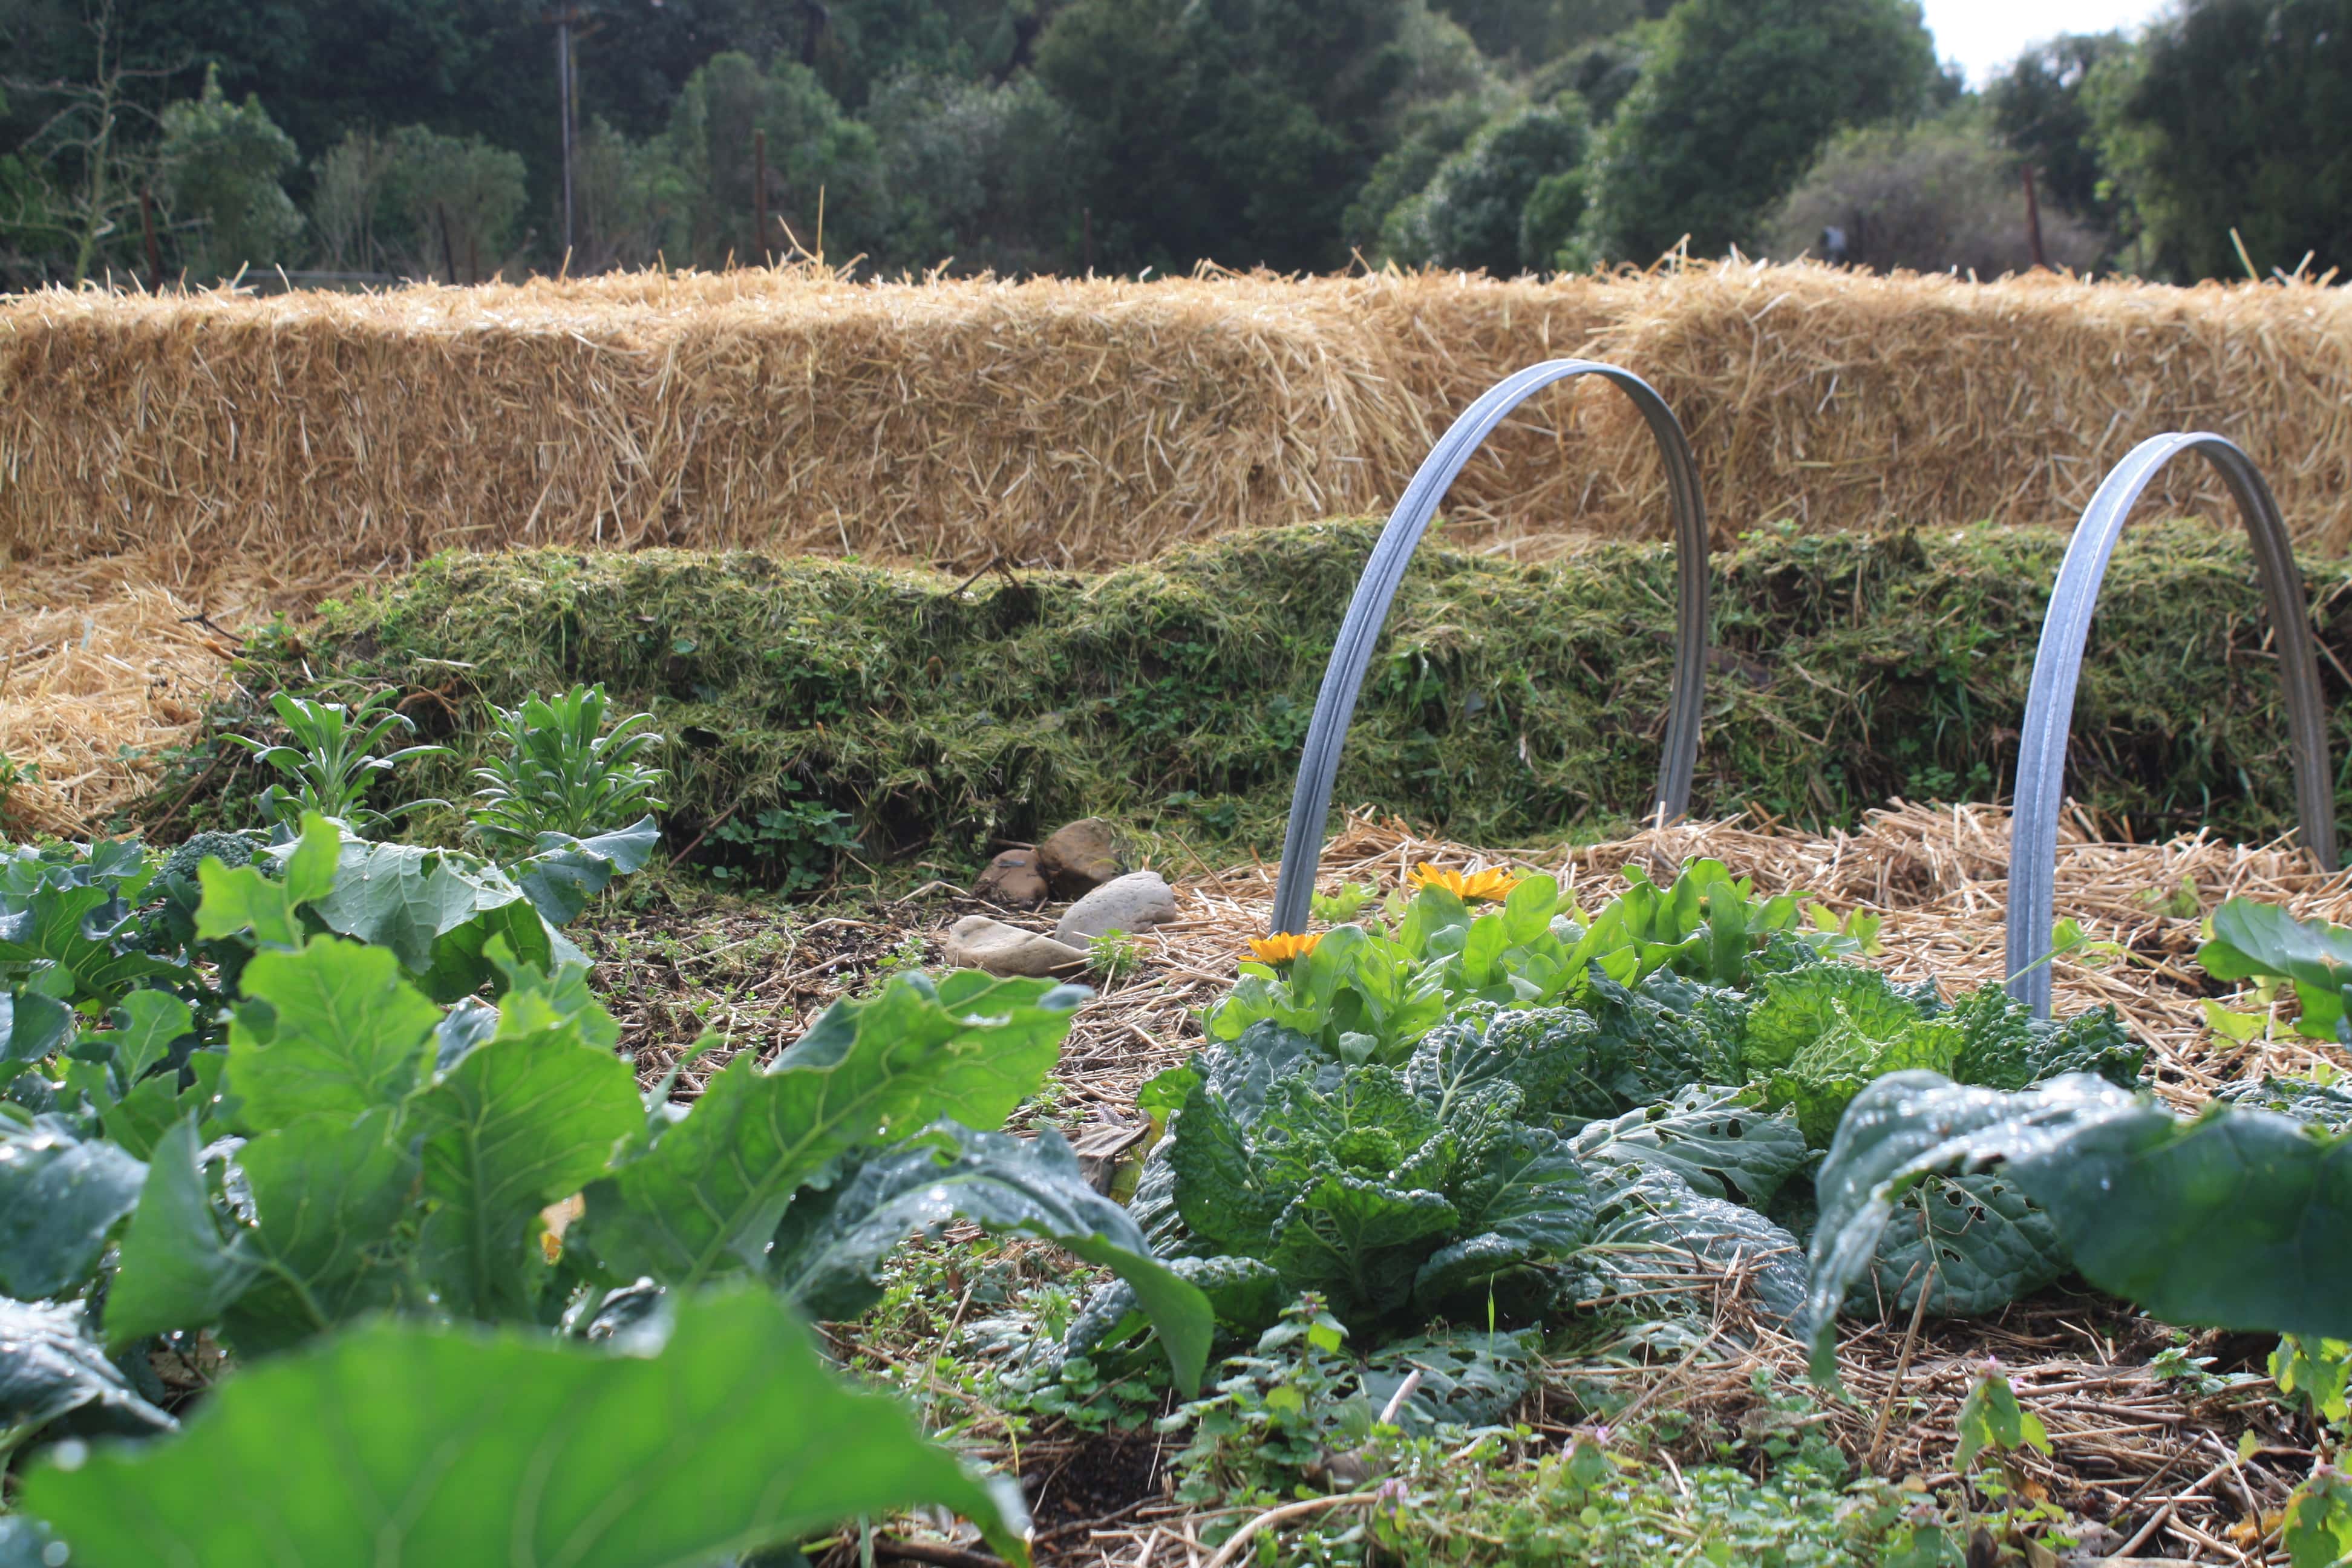
Stacked up bales of straw make an awesome temporary vegie garden shelter that doubles as mulch supply later on when its rotted down.
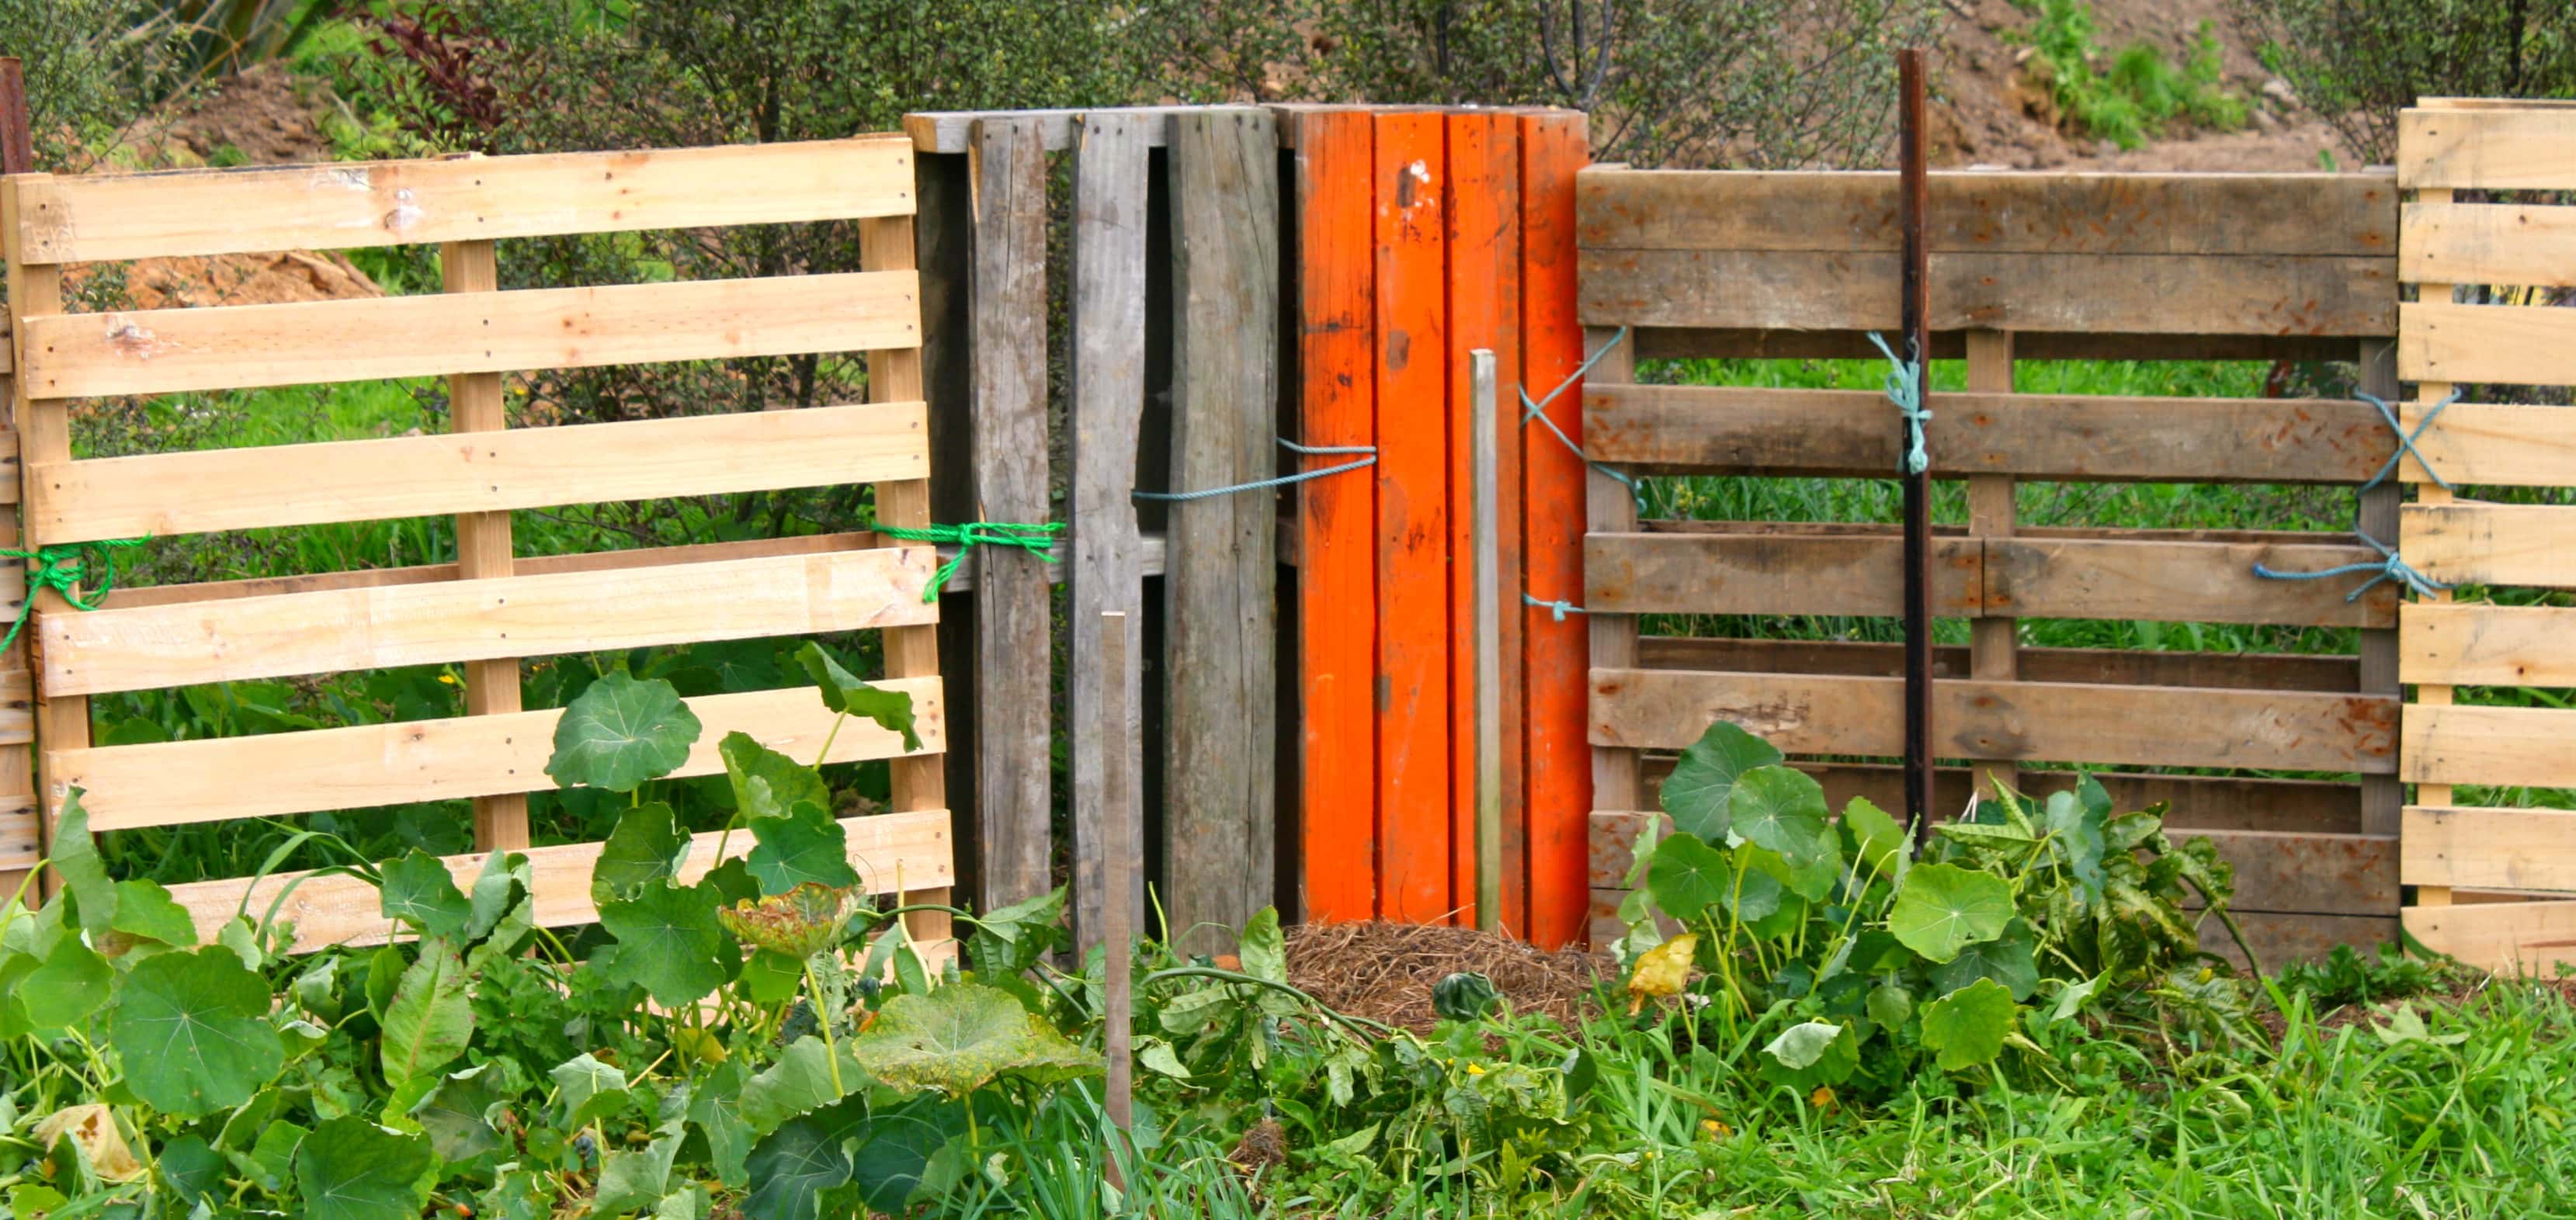
Pallets are another easy temporary shelter. I used these in the beginning to provide shelter for citrus and avocados while our southern shelter grew.
Tips for Small Spaces
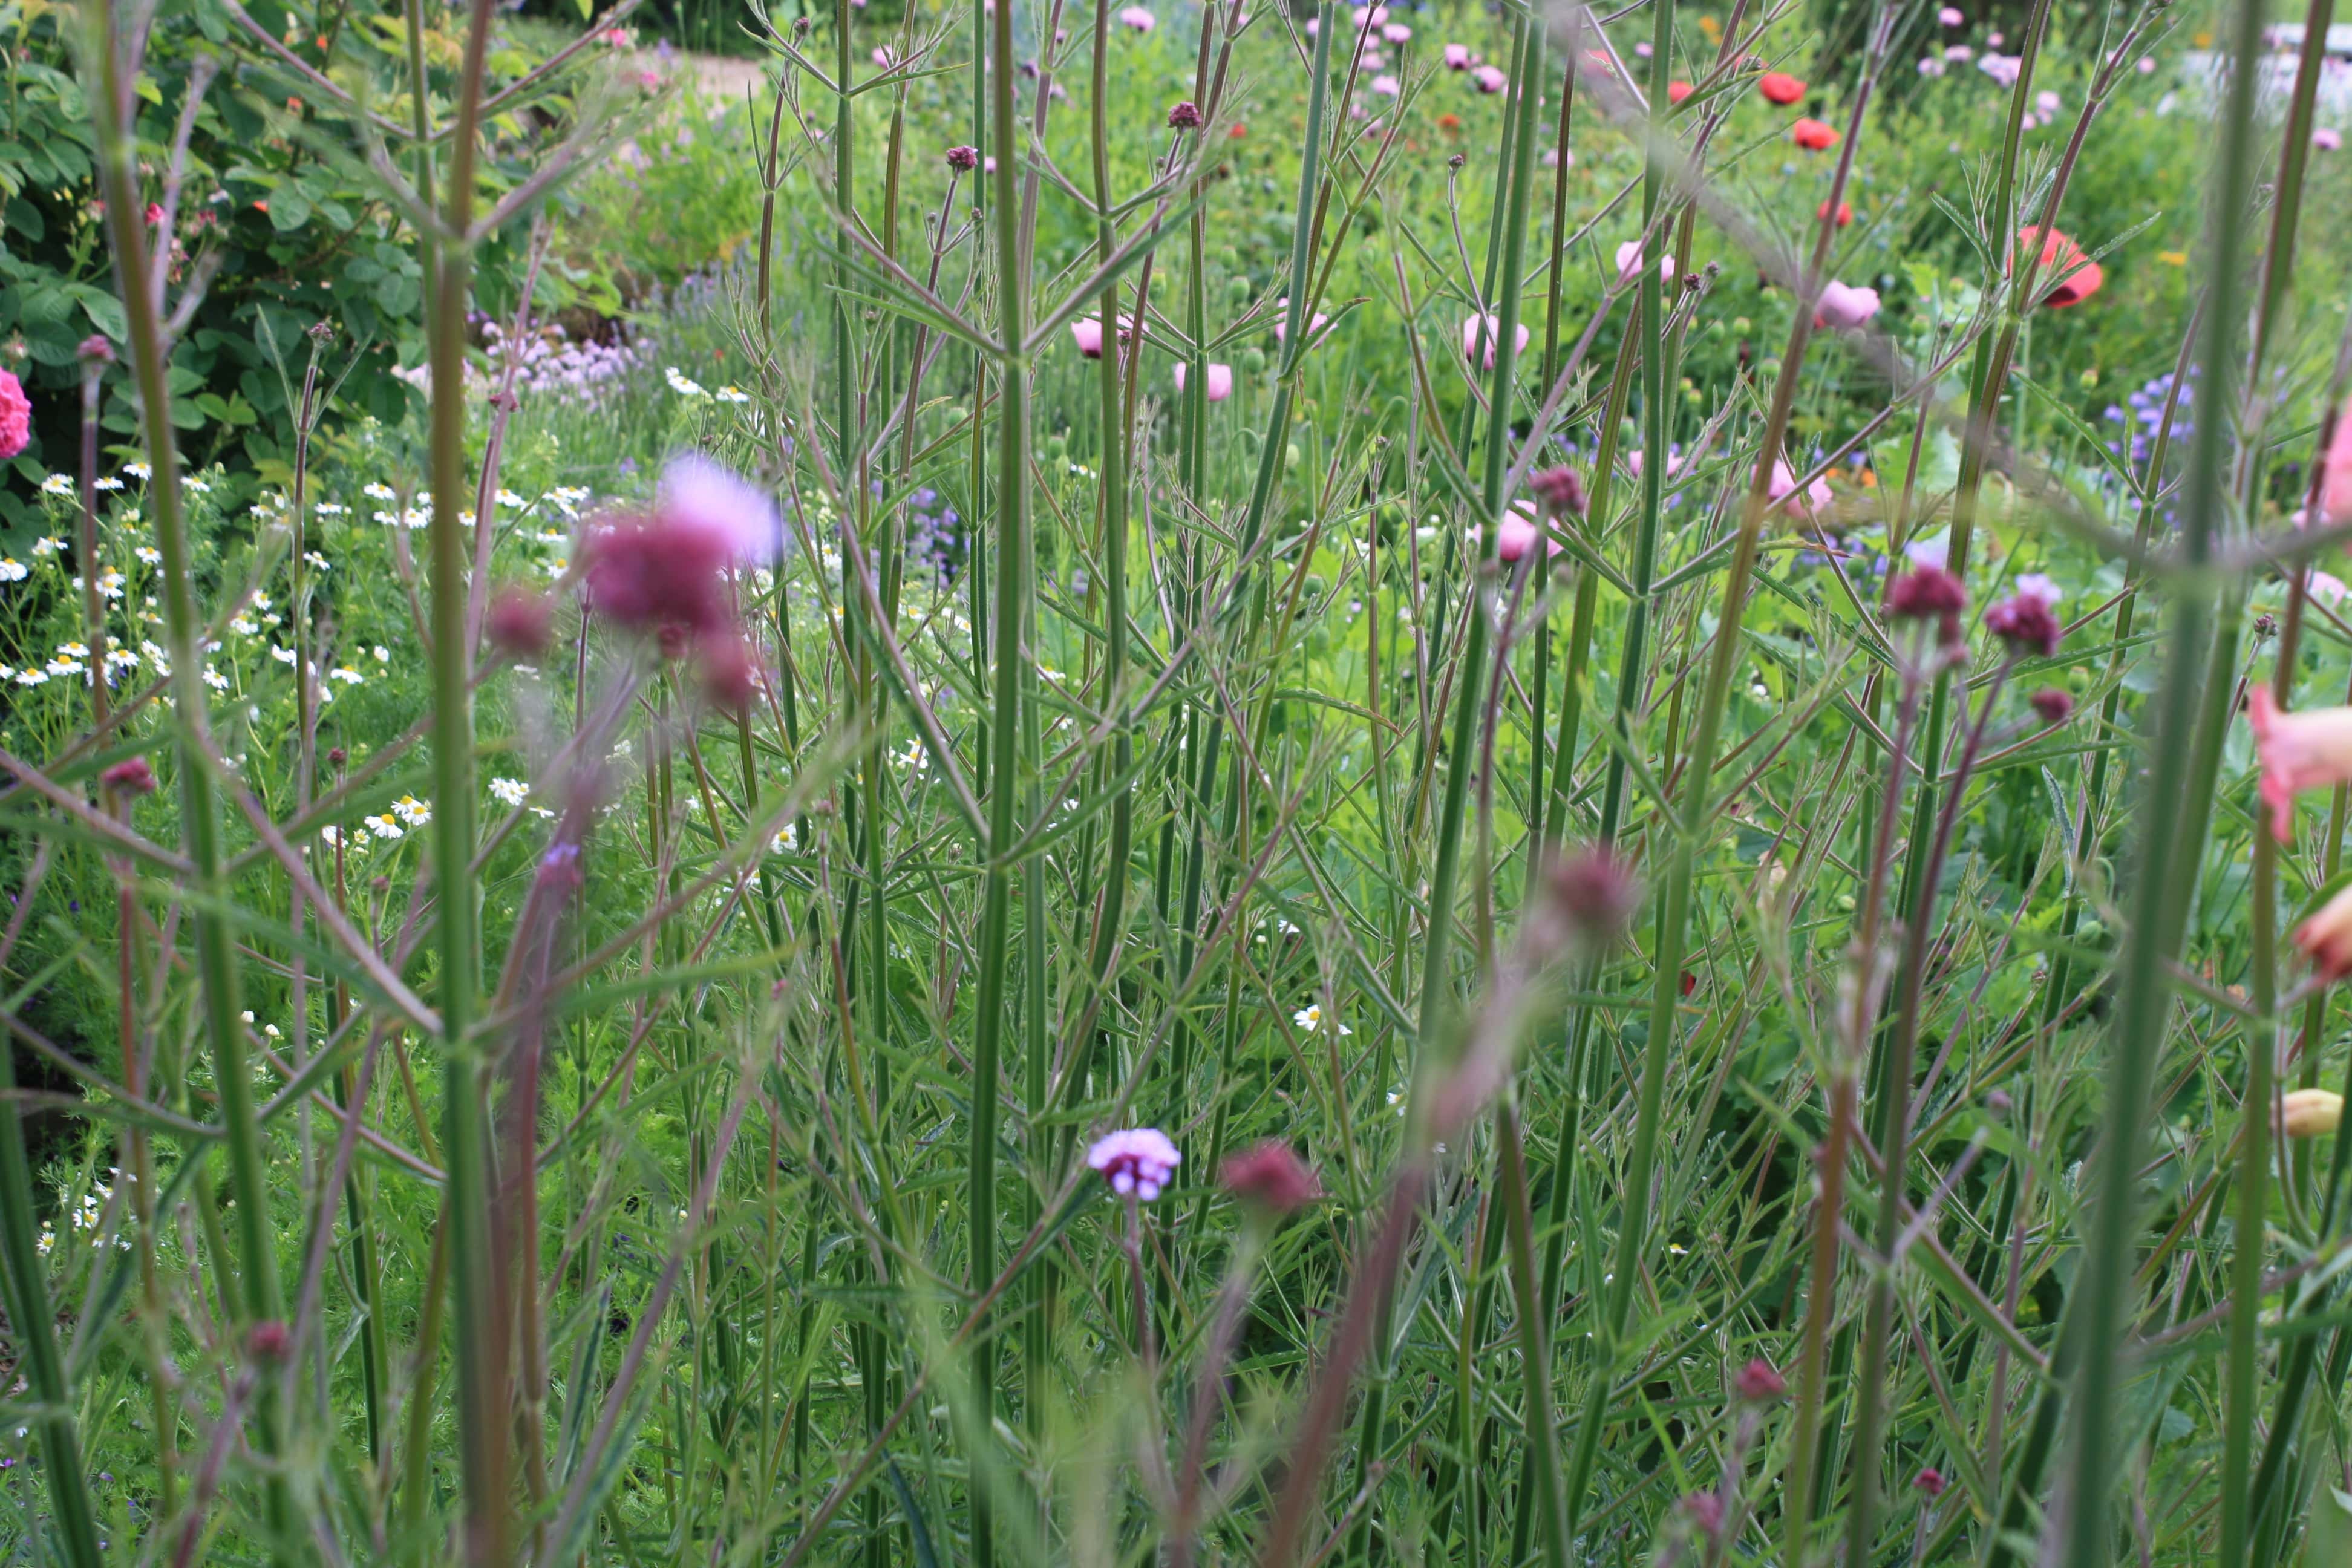
Dot tender plants around in all sheltered, sunny spots you've already got.
Make friends with shade - there's a heap of leafy greens, edible perennials and brassicas that'll grow steadily in shady spots.
Short slat fences like pallets, or simple woven screens dotted about in key spots soften the wind without creating too much shade. Make these easily movable and shift them to protect younger seedlings and more tender plants as required.
Grow your vegetables amongst tall stalky wind filtering companions like verbena bonaresis or lupin in a wild kind of way. Create planting guilds that work for you.
Choose bush varieties that are short and easier to tuck out of wind.
Fall in love with root crops and wind hardy greens like sprouting broccoli and NZ spinach.
My Favourite Shelter Plants
There are so very many options here. Hop online, using NZ references to scout out wind hardy varieties that suit your place.
Natives are awesome for so many reasons, but you don't of course have to use them. As long as the plants you choose match your place and the height you need (dont go taller!), you are good to go.
For small spaces
Rugosa Rose: hardy as, suits most soil types, rosehips are edible/ medicinal, plant close together and prune into a hedge by going around the outside roughly with clippers
Rosemary: free draining soil, winter flowers for bees, prunes well
Hebe Speciosa: suits most soil types, prunes well, winter/ spring flowers for bees
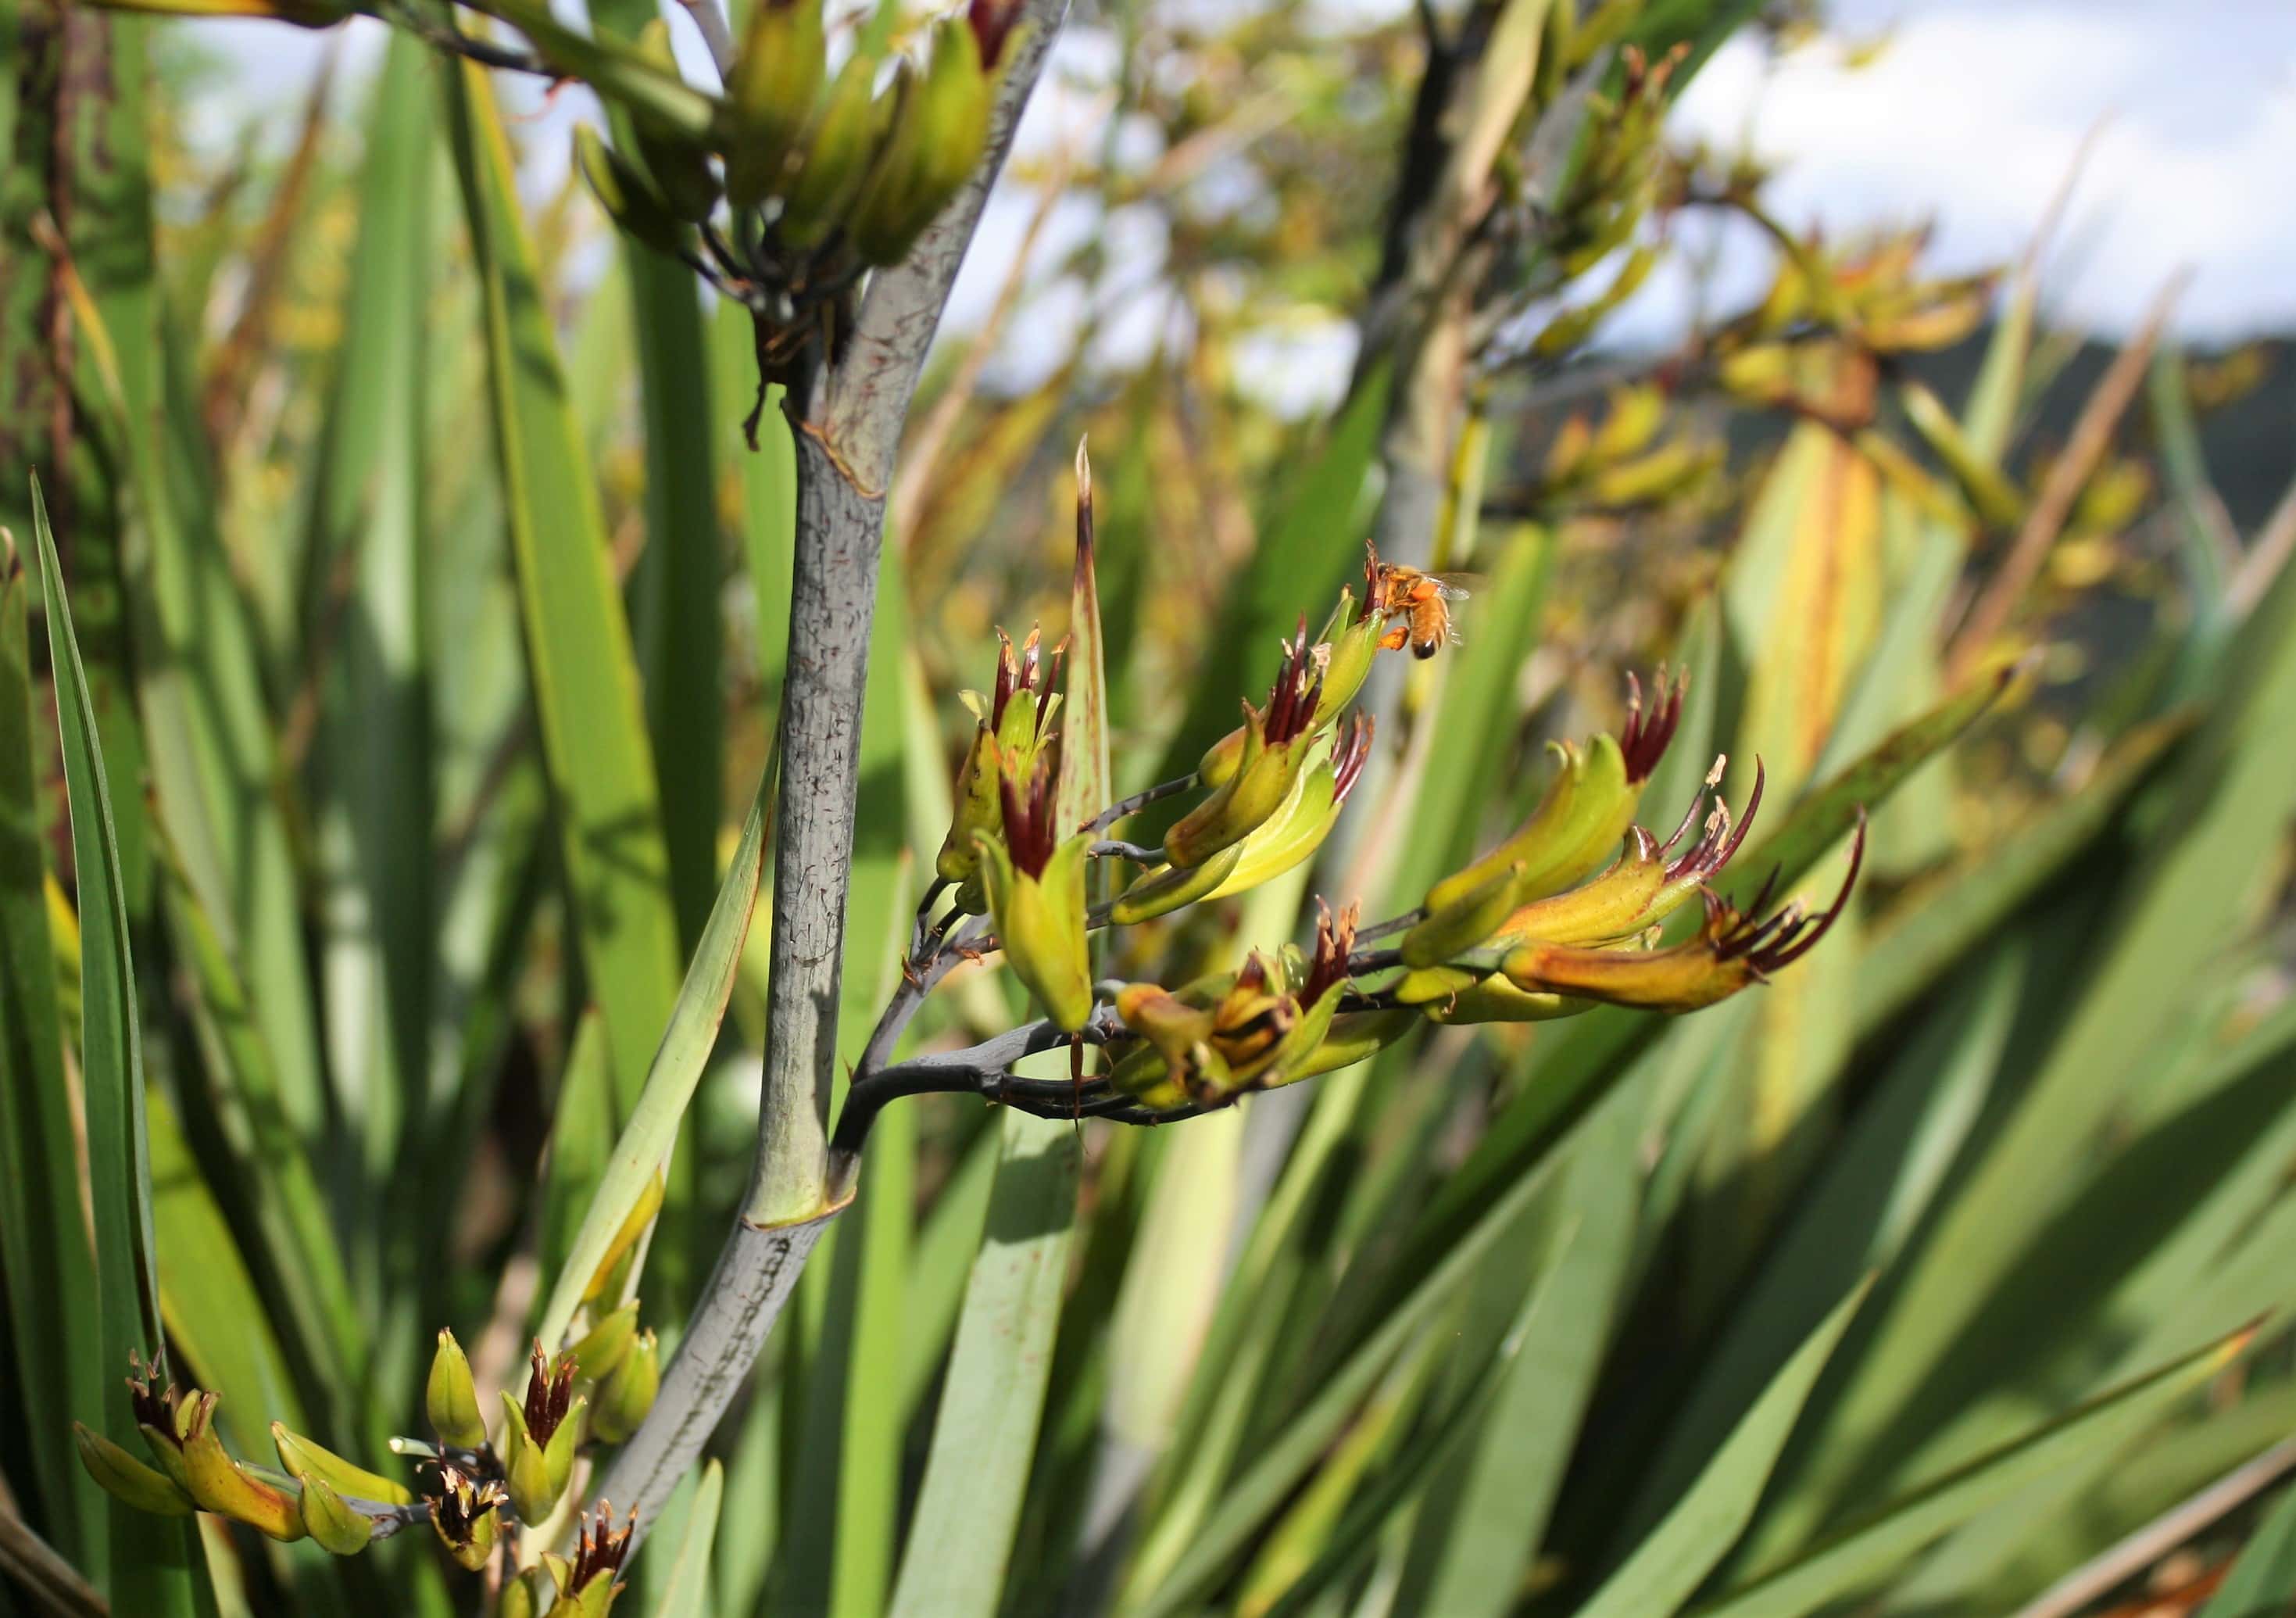
Emerald Gem Flax: 1mx1m, excellent wind shelter, from ground up, habitat for beneficials, nectar for bees and birds, suits dry to wet, coloniser plant
For middle sized places
Corokia: flowers and habitats for beneficials, berries for birds, excellent wind shelter, hedges from the ground up, prunes well, coloured cultivars not as robust as green ones, suits dry to wet
Coprosma: Suited best to dry/ free draining (except ‘propinqua’ for wet coastal), berries for birds, prunes well, salt wind ok, coloniser plant
Olearia: Suits free draining, flowers for beneficials, ‘Paniculcata’ is fragrant, delicate, light green foliage, prunes well, hedges from ground up
Phormium tenax, Flax: 2mx2m, excellent wind shelter, from ground up, habitat for beneficials, nectar for bees and birds, suits dry to wet, coloniser plant, surely the best NZ shelter plant of them all.
Toetoe: suits dry/ free draining, excellent to beat weeds out, habitat for beneficials, coloniser plant, excellent shelter for stock
Muehlenbeckia Astoni: Suits dry or freedraining, twiggy and dense providing habitat for beneficials, prunes well, pretty.
For Bigger Spaces

Manuka: flowers and habitat for beneficials, trunk, frost tender when young, suits most soils, wood and medicine, 4 - 8m, coloniser plant, not a fan of hard annual pruning
Kawakawa: 6m but will happily prune, medicinal, edible, gorgeous, excellent for beneath taller deciduous trees to cover bare trunks,
Ngaio: pale green, round tree from the ground up, frost tender when young, suits sandy, freedraining, 6m, coastal, fast growing
Tagaste (tree lucerne): suits dry/ free draining soils, 5m, winter flowers for bees, fast, tap root, nitrogen fixing, great for slopes
Hoheria: fast growing, 6m, suits heavier soils, trunk, flowers for bees, fragrant, prunes well
Kanuka: 8 - 15m, coloniser, flowers for beneficials, firewood, medicine, excellent for stabilising slopes
Myrsine: pretty wavy pale green foliage, red stems, fast grower, flowers for beneficials, 5m, suits dry to heavy soils but not wet, prunes well
Pittosporum: flowers and habitat for beneficials, trunk, prunes well. For clay: pittosporum eugenoides; pittosporum mountain green; pittosporum tenuifolim. For sand: pittosporum crassifolium; pittosporum stephens island
Alder: nitrogen fixing, fast, stock fodder, tall (1m) narrow shape, tap root. Suits heavier soils.
- For shelter plantings along a sunny side look into deciduous trees for winter light or ones with light airy foliage like Olearia as opposed to heavy dense foliage like Grisilinea or Lawsonia.
- Underplant trees with trunks with lower growing evergreens to plug the gap eg flax and alder or rangiora and taiwan cherry.
Plant It Up – My Spray Free Ways
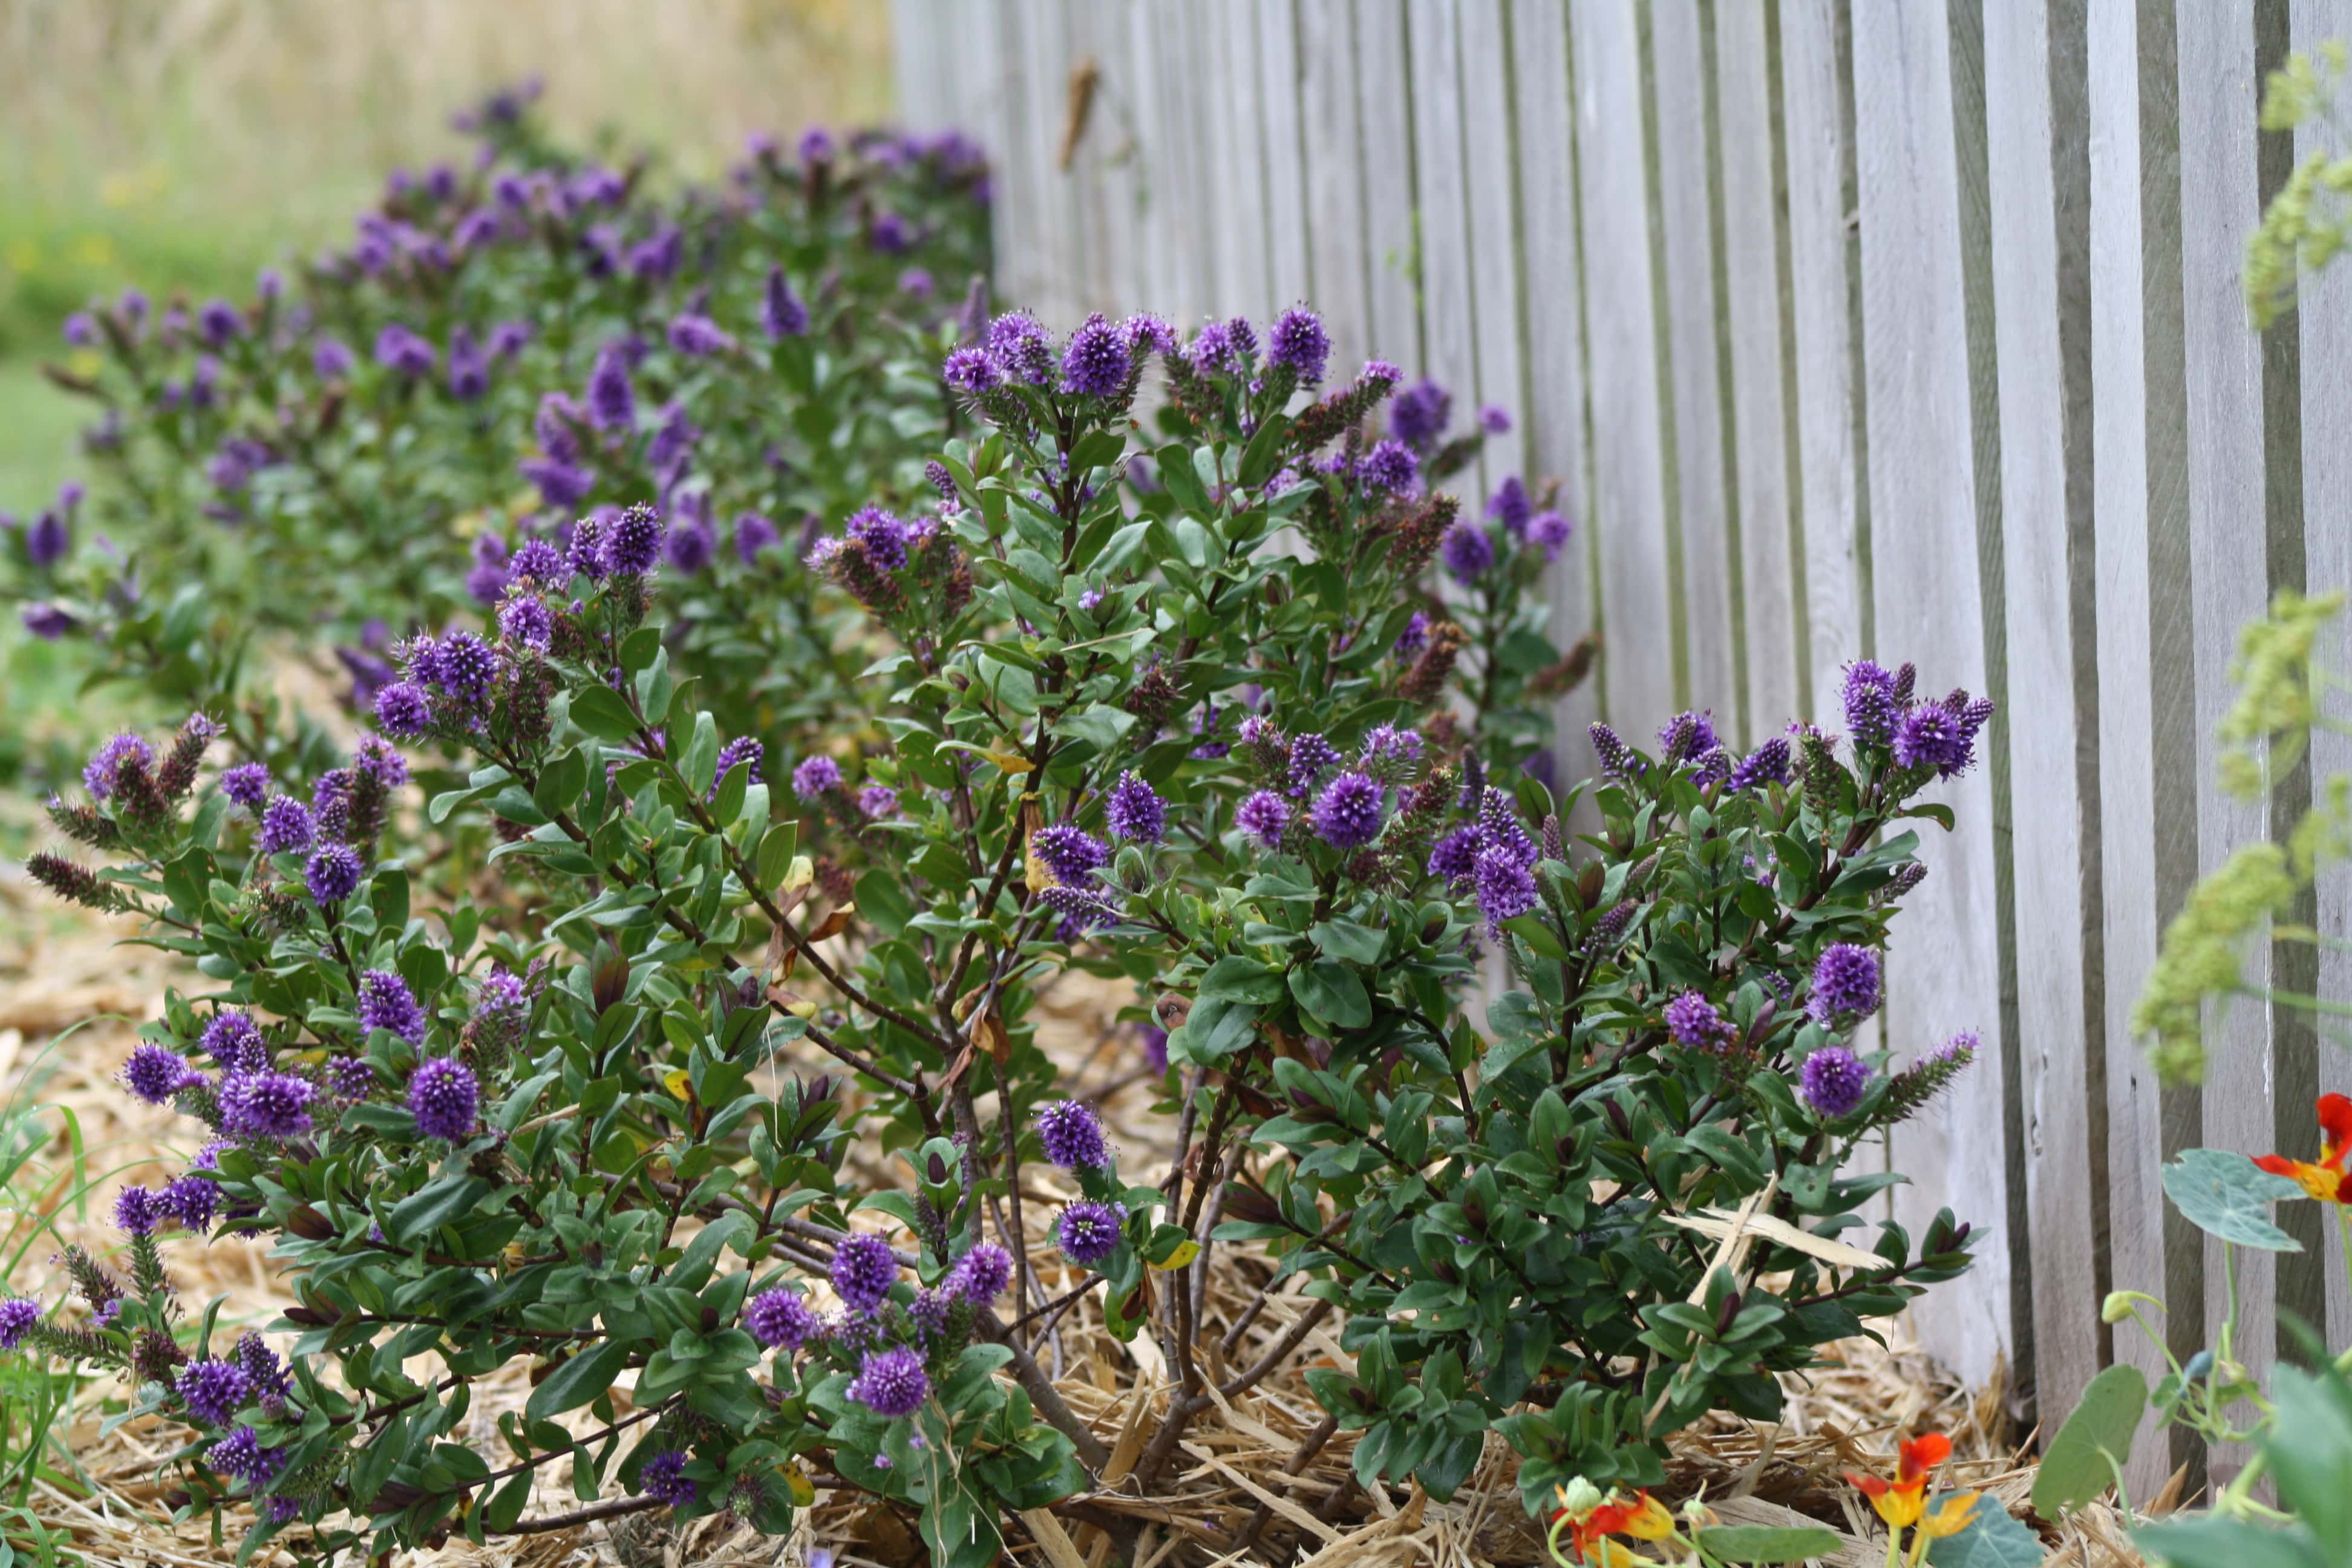
Aim for one species where wind is gentle and three species where its a brute force. Mini forests are awesome if you can fit them. In a smaller space, a slat fence is excellent. Team it with a shrub where wind is strong.
There's no need to spray the ground off prior to planting unless you have a serious situation like a festival of blackberry or acres of kikuyu. Coloniser species power up through grass without batting an eye - its what they were born to do and in time they'll outcompete the grass/ weeds. Save yourself and the soil the hassle of spray.
Spraying wipes out the soil dwelling mycorrhizal fungi that trees need, so if you can avoid spraying do. If you feel worried and want to clear the ground, perhaps get out the mower of weedeater instead. Or in small areas cover the grass completely with old carpet. Cut slits in it to plant into.
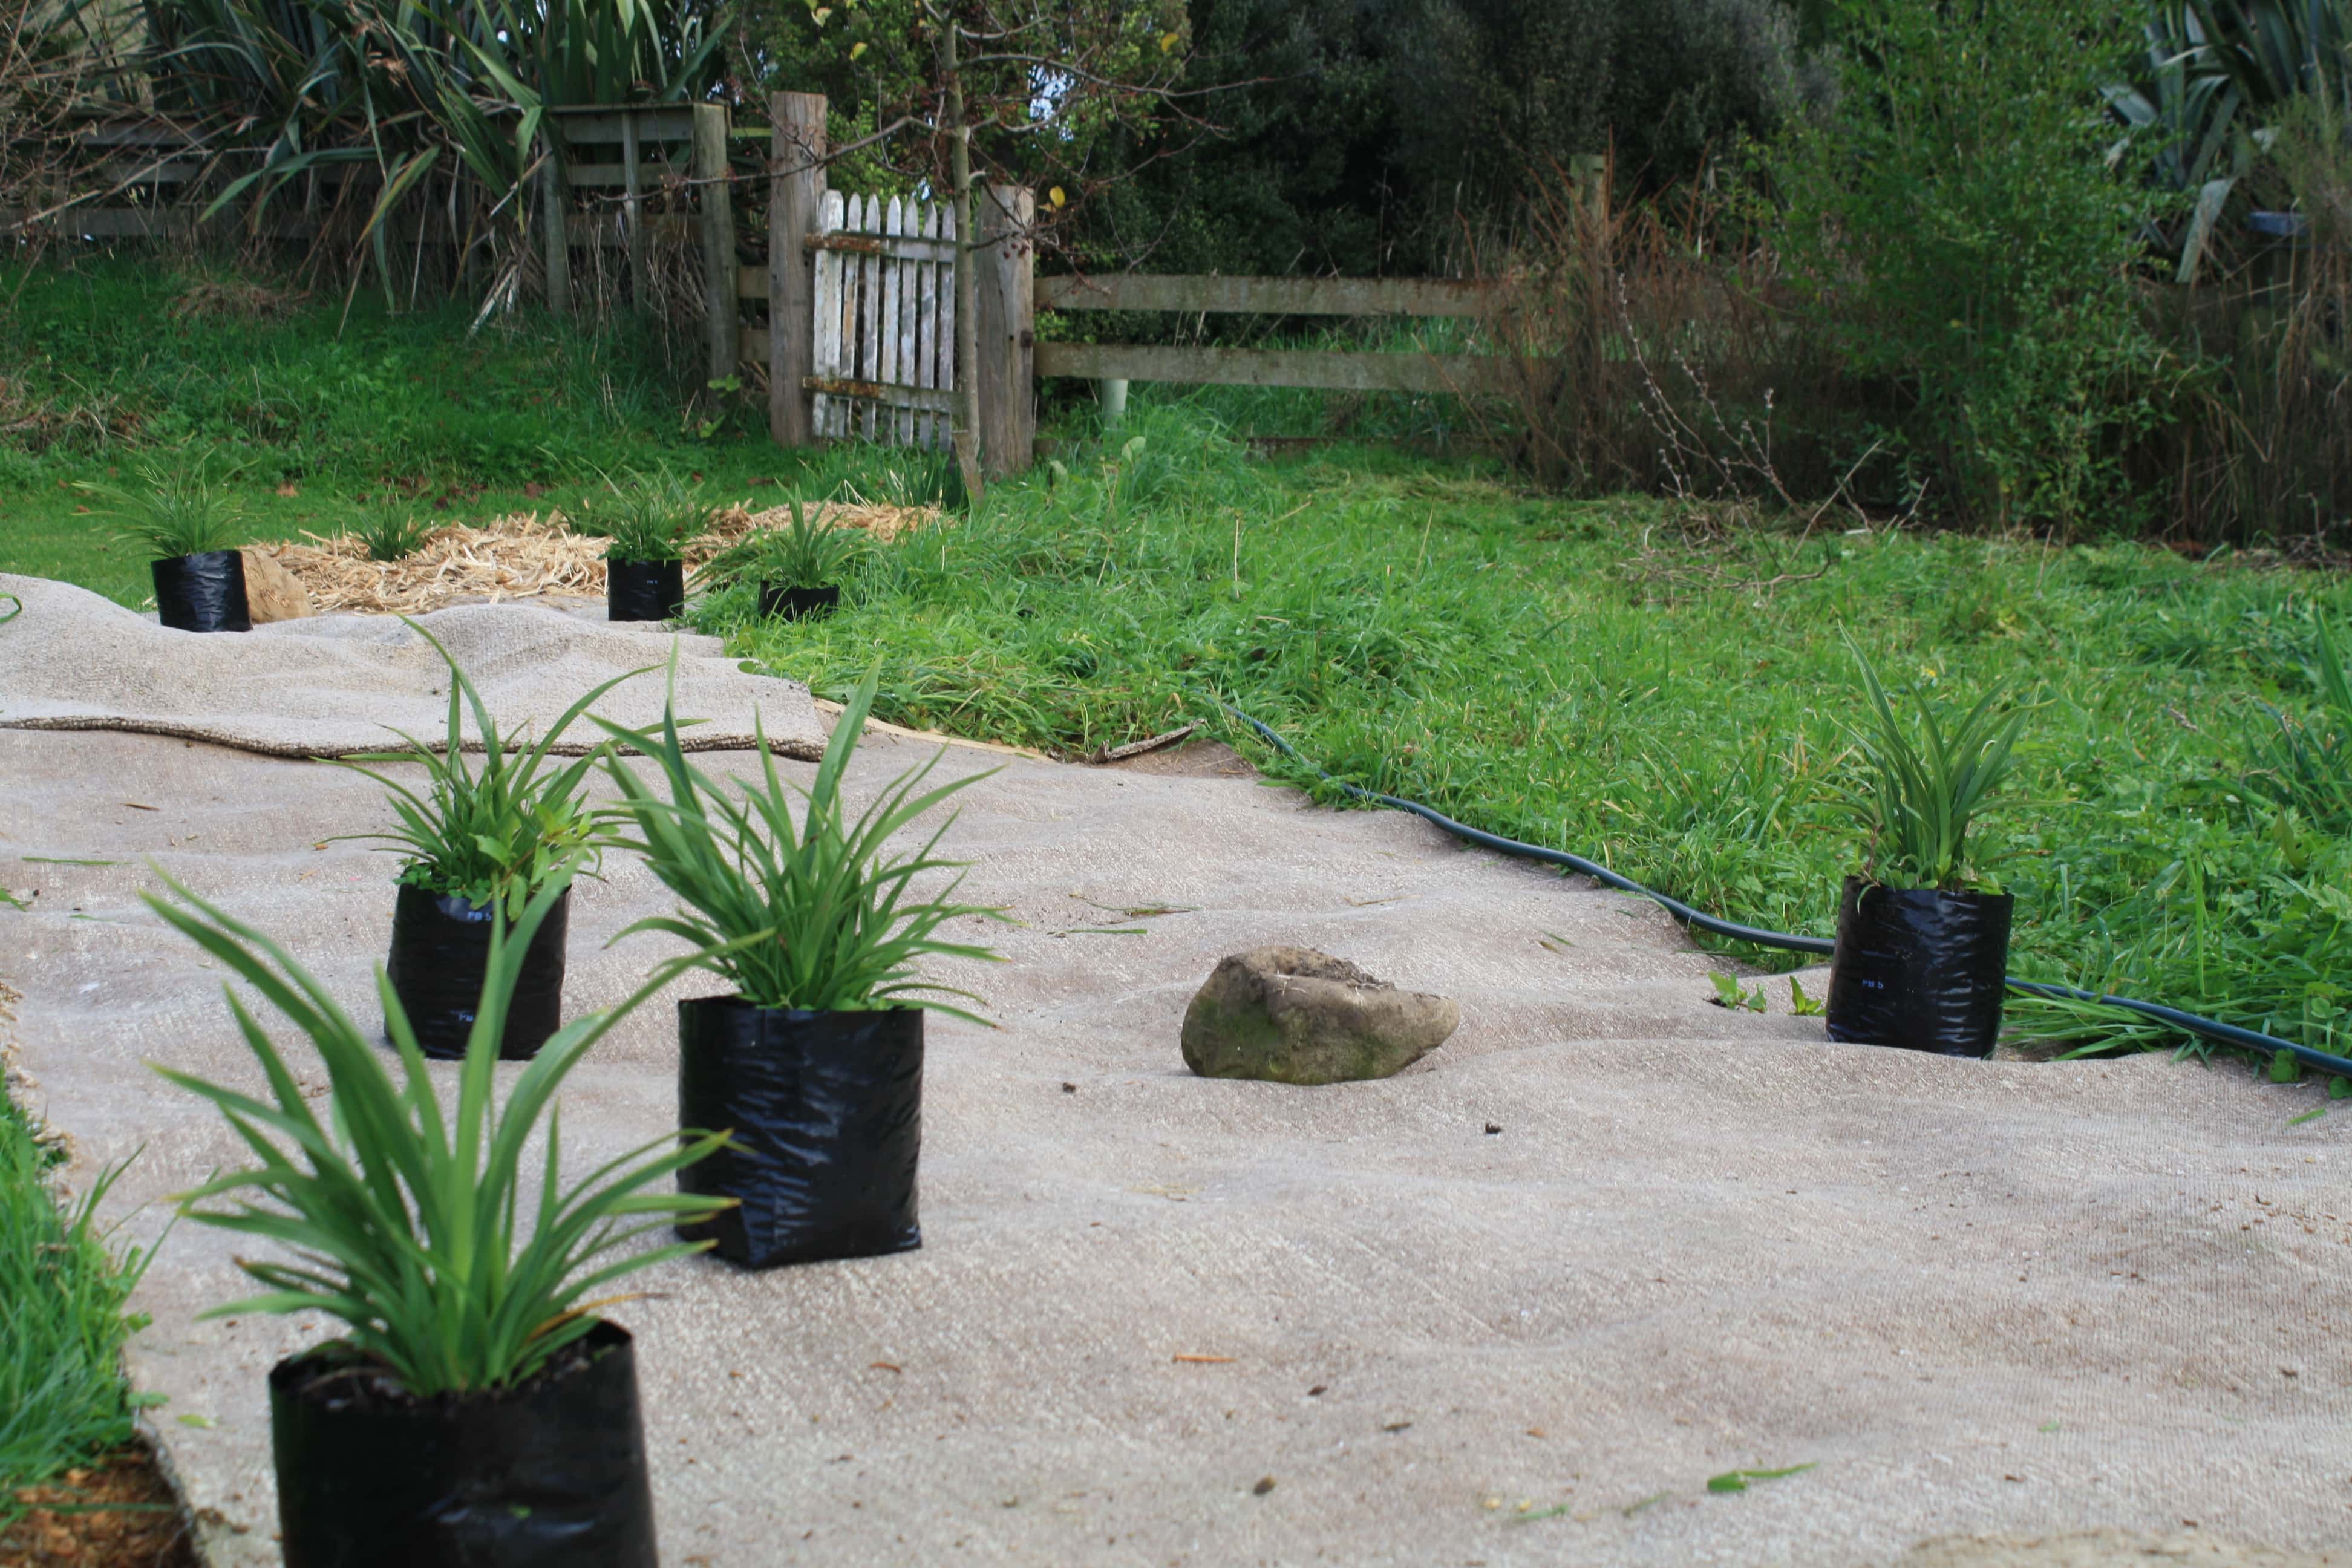
Lay all your plants out before digging holes to double check spacings especially if near buildings, roads or driveways. Look up to check for wires. And please please, don't plant hard against the fence! Plants are 3D after all.
Aim to have them close enough to each other so that they flow one into the other when fully grown. This makes for complete groundcover in a weed beating, soil building, labour saving, wind filtering and most handsome way.
If you're planting into dry/ sandy soil - soak plants first by sitting them in a bucket of water until bubbles stop.
Dig a hole the same size as the bag the plants came in and pop them in with a stomp to secure them firmly in the ground. If you've chosen plants that match your conditions there's no need for compost or fertilisers. Better to use a woody mulch on top to drive beneficial soil fungi.
Lay cardboard on top of the grass around the newly planted seedling and cover it with mulch to slow weeds and hold moisture over summer. If you are on a slope or planting an inaccessible area, use biodegradable felt mats that you peg down - you'll find these online.
If hares or rabbits are a problem at your place, then pop guards around or dip them into treepel.
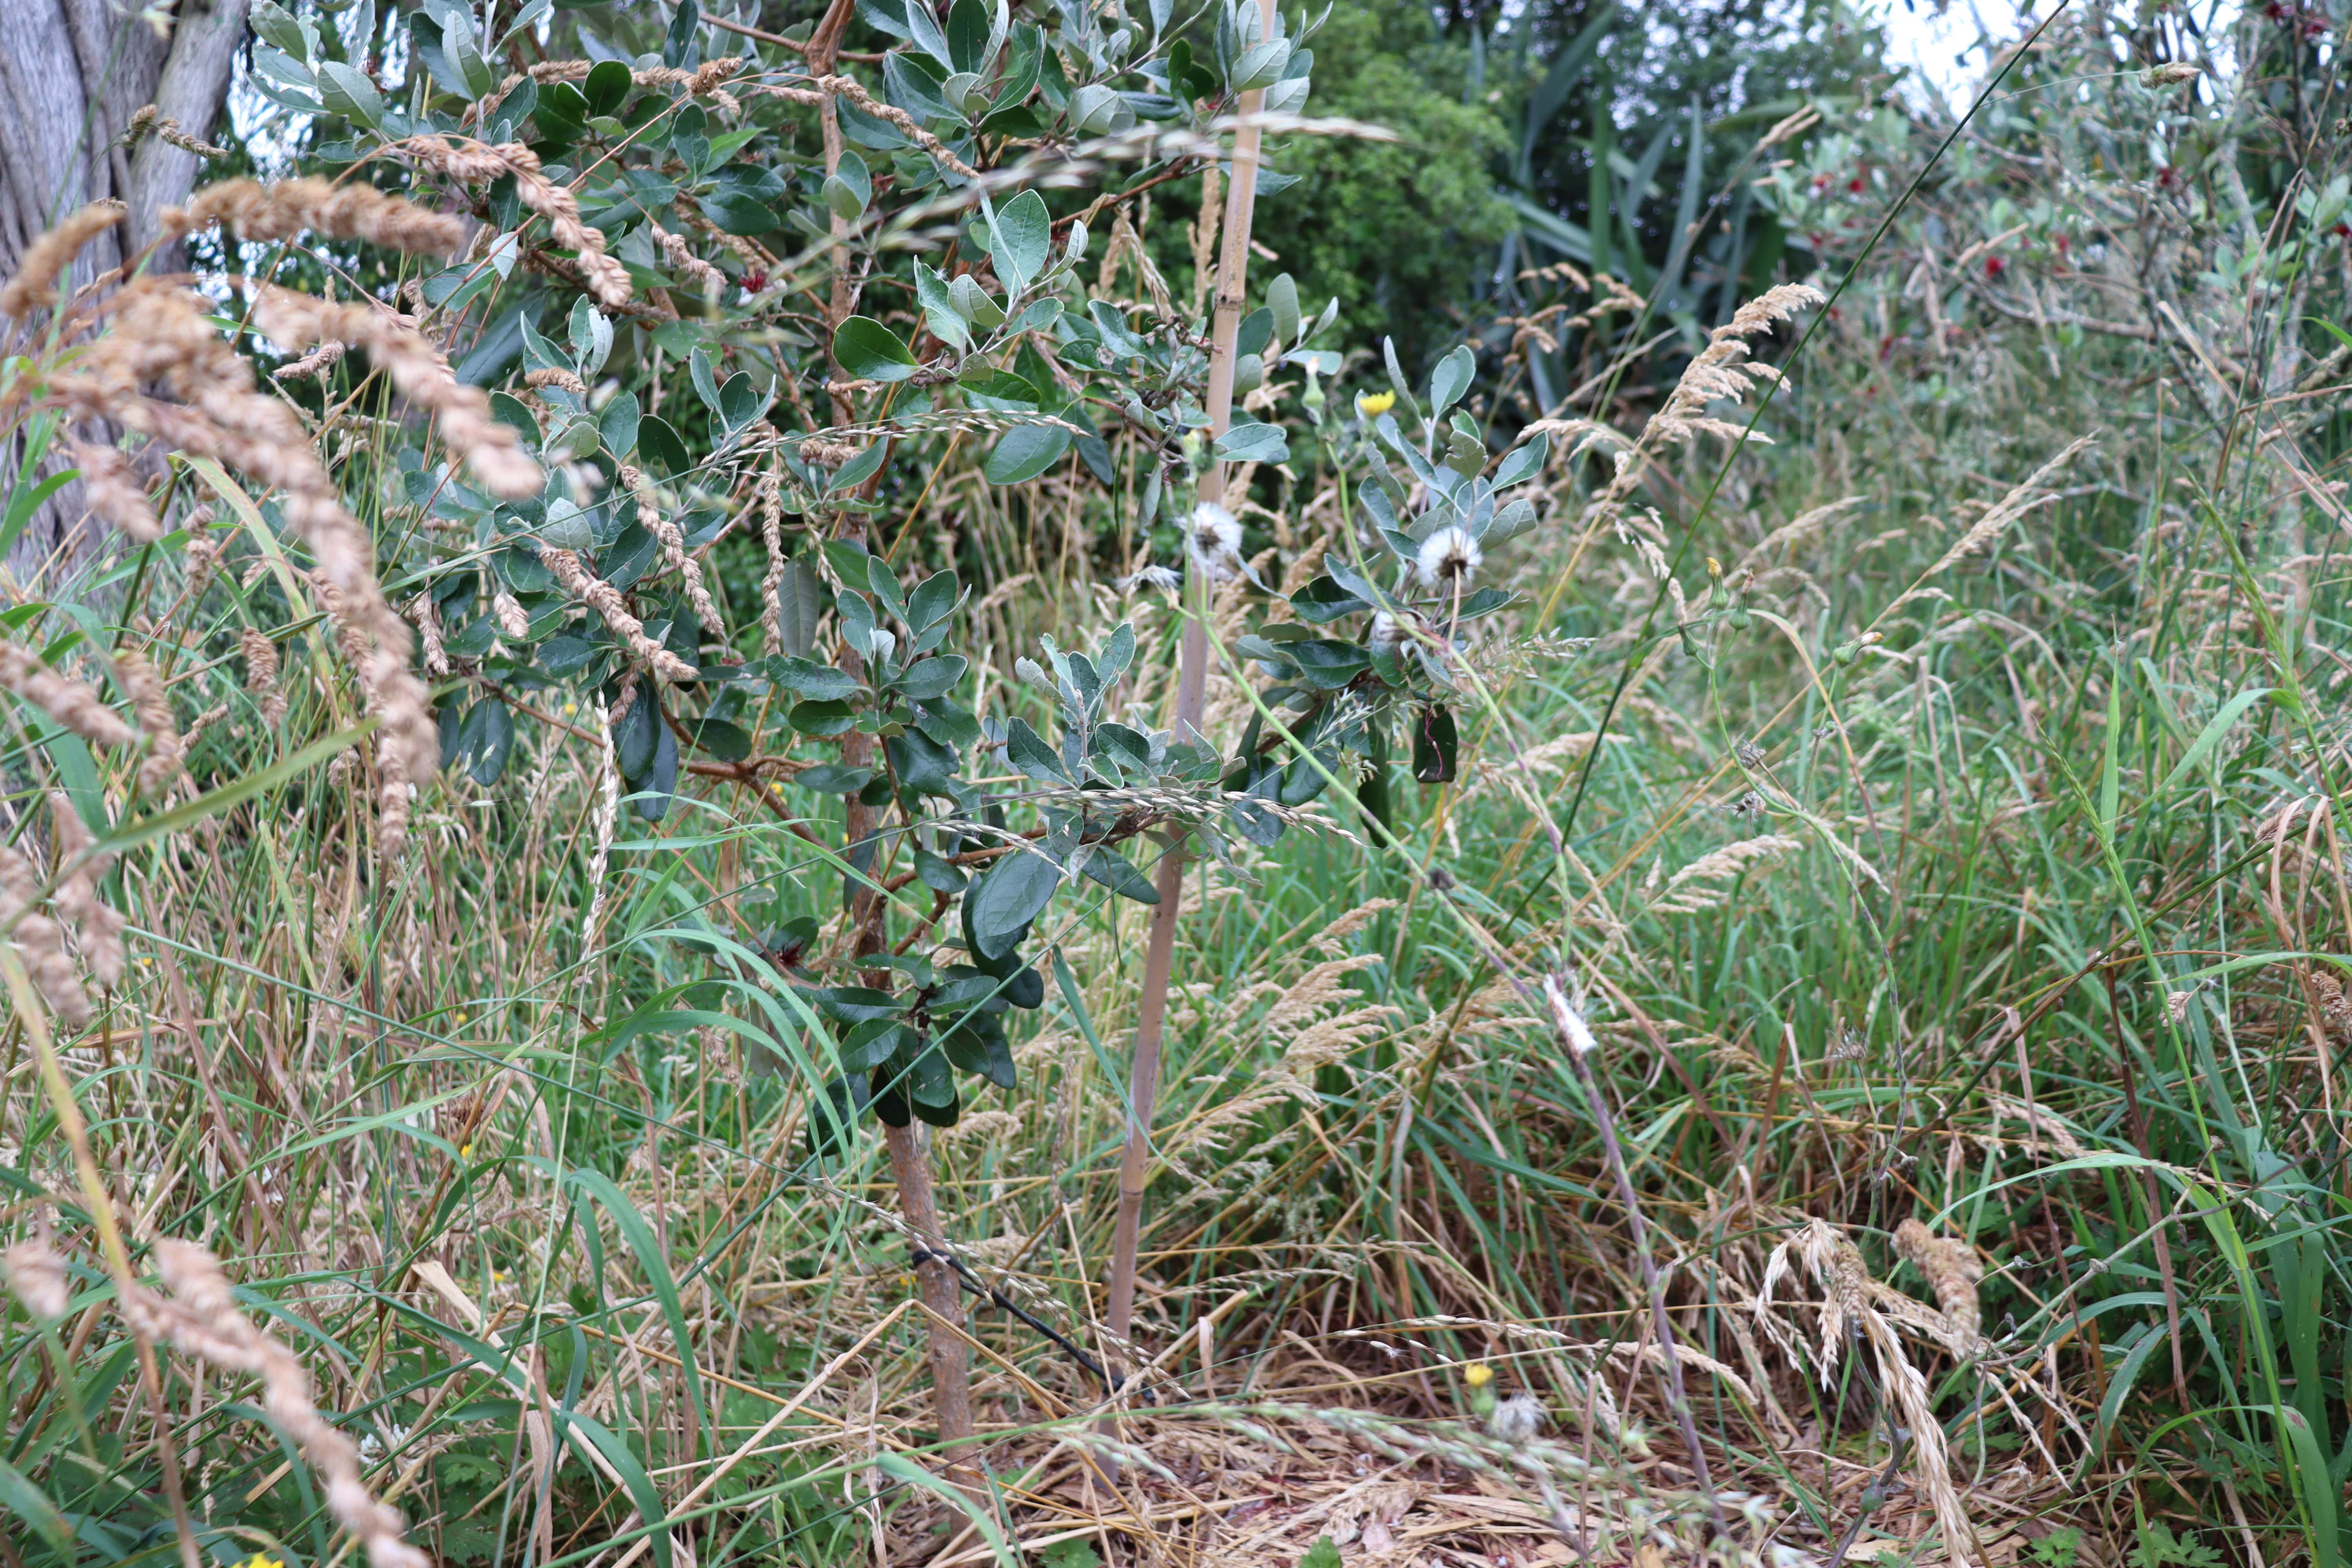
Check in on your new plantings once or twice through summer and autumn. With the base mulched, you can let the grass grow long around them as a natural wind/ sun shelter - its just the best (and easiest). Dont worry about grasses covering new plants unless its wet and cool in which case pull off any weeds that cover them. If its hot and dry they'll be nicely protected under cover until autumn rains begin. Trust your gut feeling here.
Clear the weeds away from the immediate circle around young plantings in late winter/ spring and top up cardboard and mulch. You'll only need to do this for the first 2 or 3 springs until they're away laughing. If any plants fails, don't be blue - it happens, just replace it with something that suits better.
Evolve it
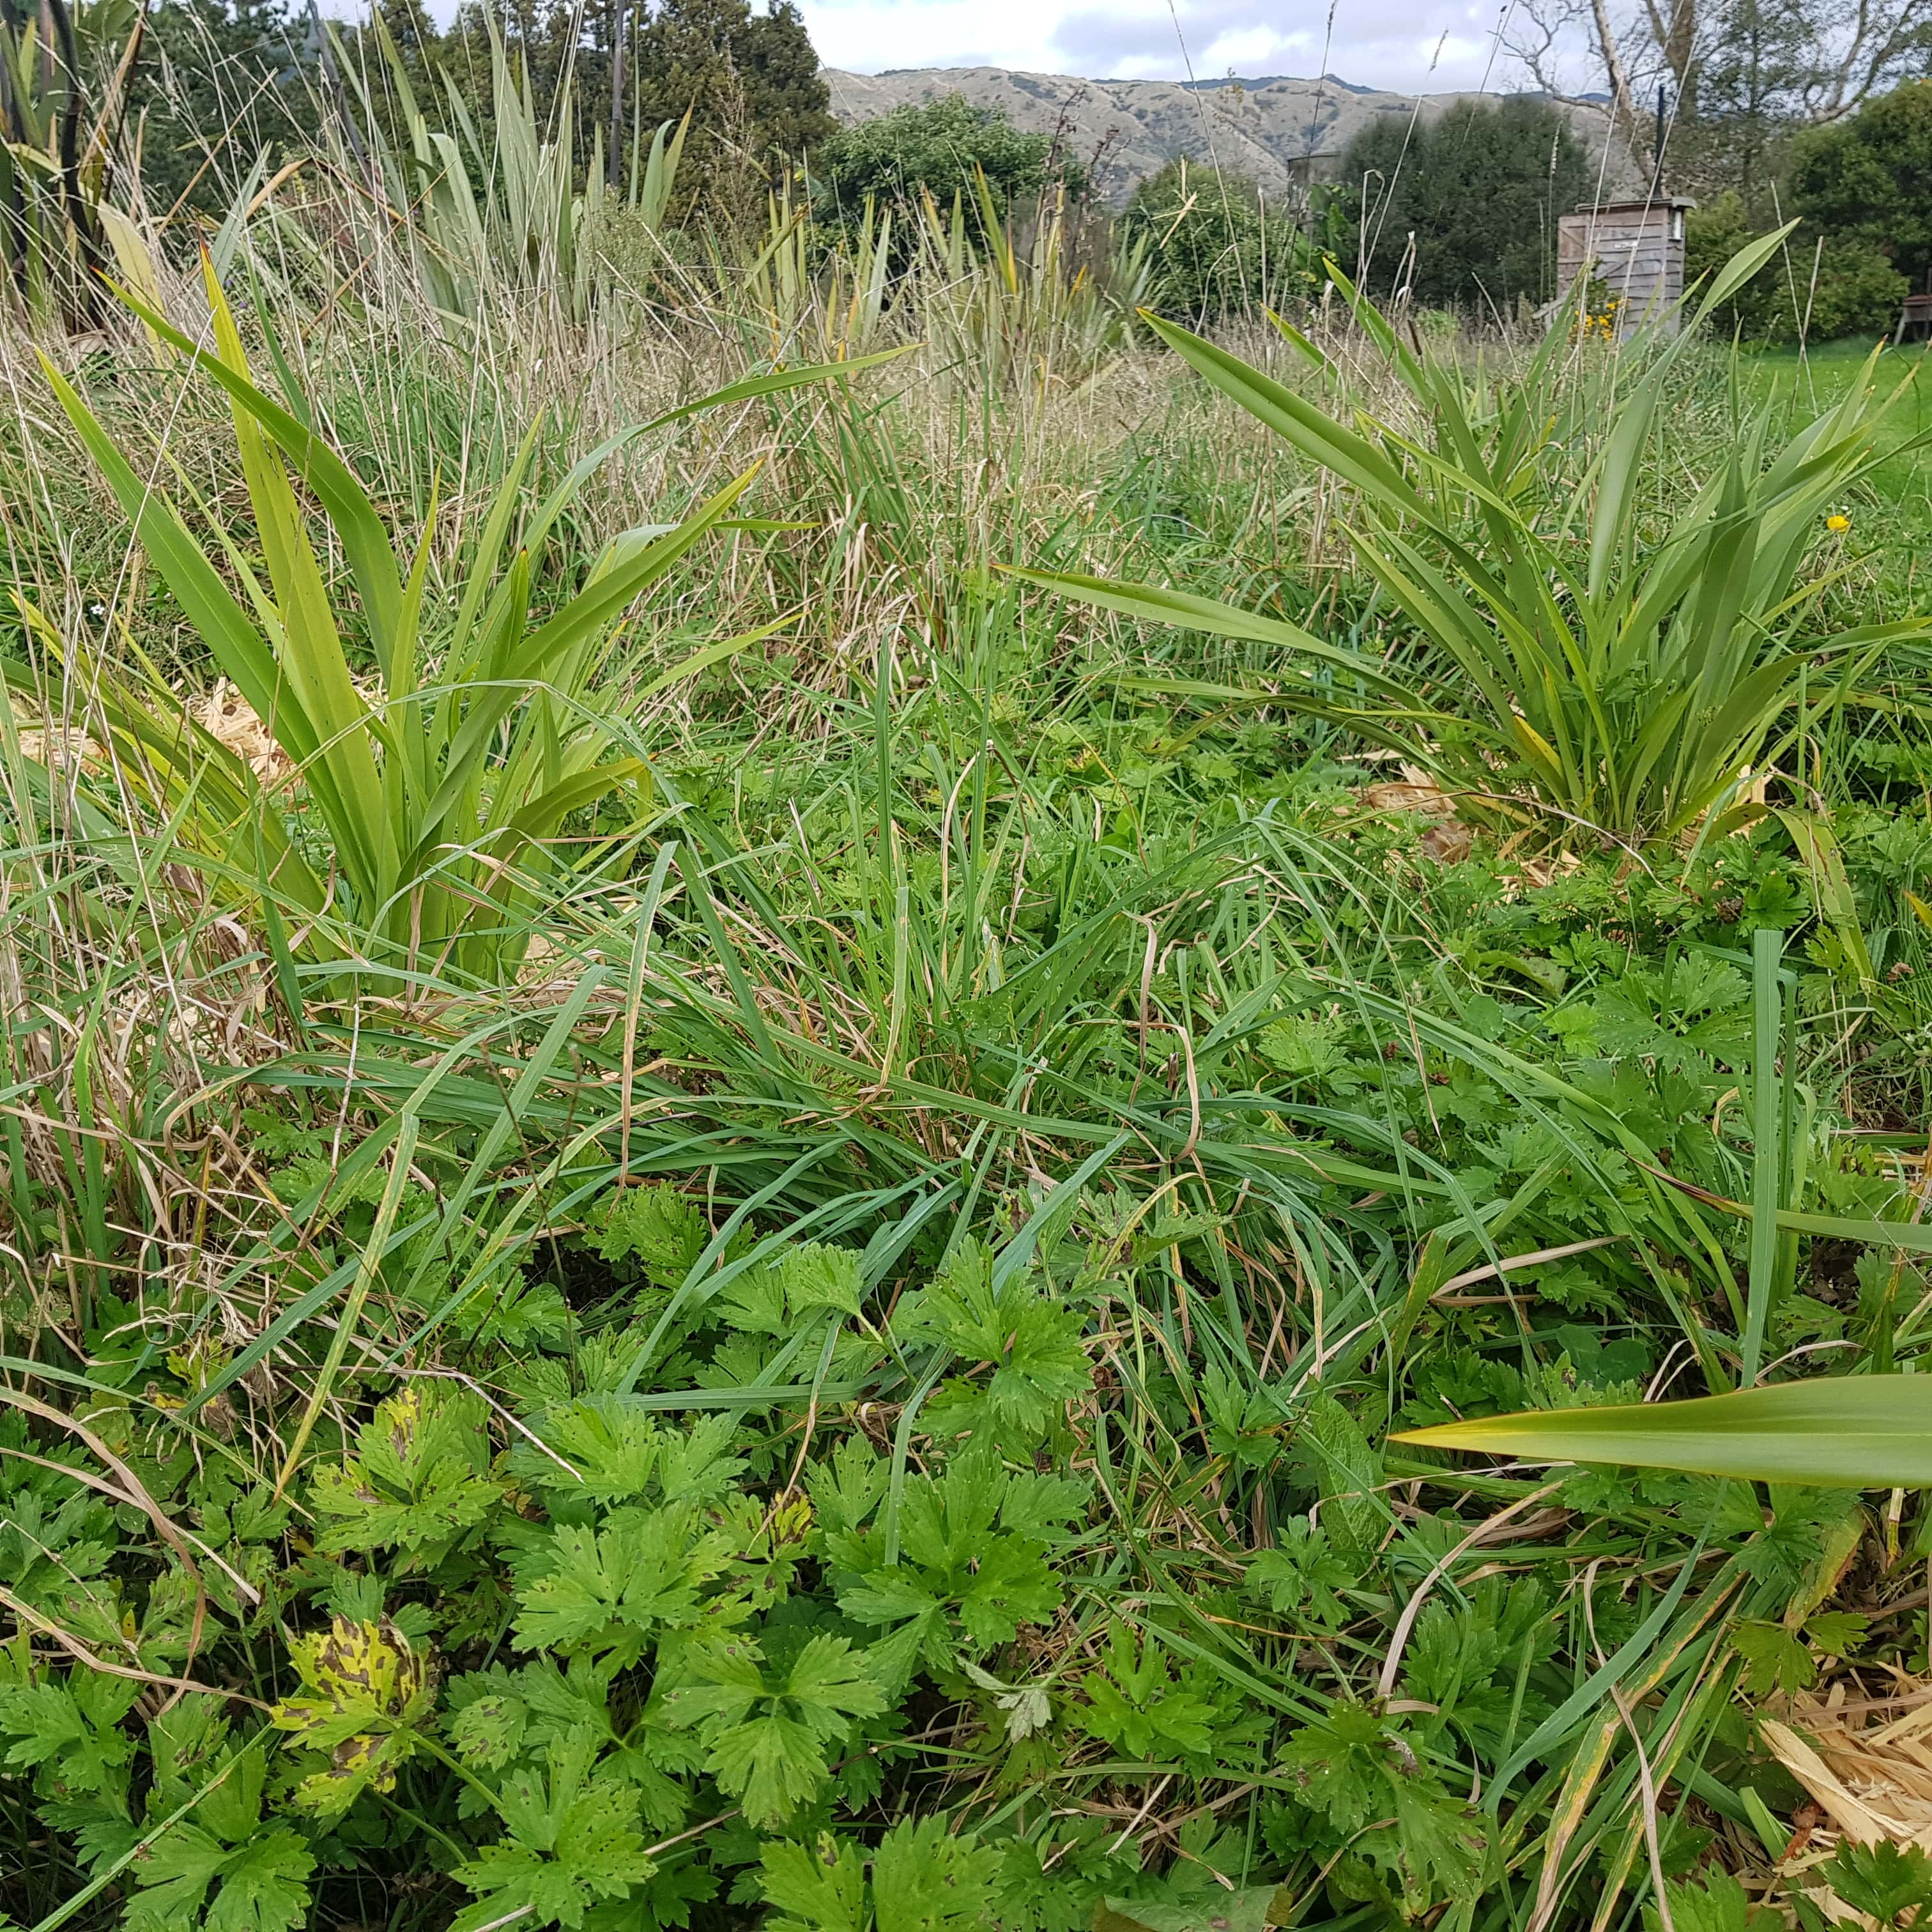
Shelter is an evolution over time. Stay in touch with it by getting out on those windy days. Go stand on the windy side and then the sheltered to assess how well its working.
Continue to tweak it adding a shrub or tree where the wind still whistles through and conversely removing a tree where you realise you dont actually need it and can instead score a much needed, sunny spot. One way or another, evolve it as you go until you've got a sweet set up.
Shelter is so satisfying. I know it takes time, but its worth is priceless. It is the strong stable foundation on which your soil and gardens rest and a wonderful legacy for those who follow you to this place. You are the coloniser, paving the way for the next succession.
