Turn Your Plastic Compost Bin into a Wormfarm

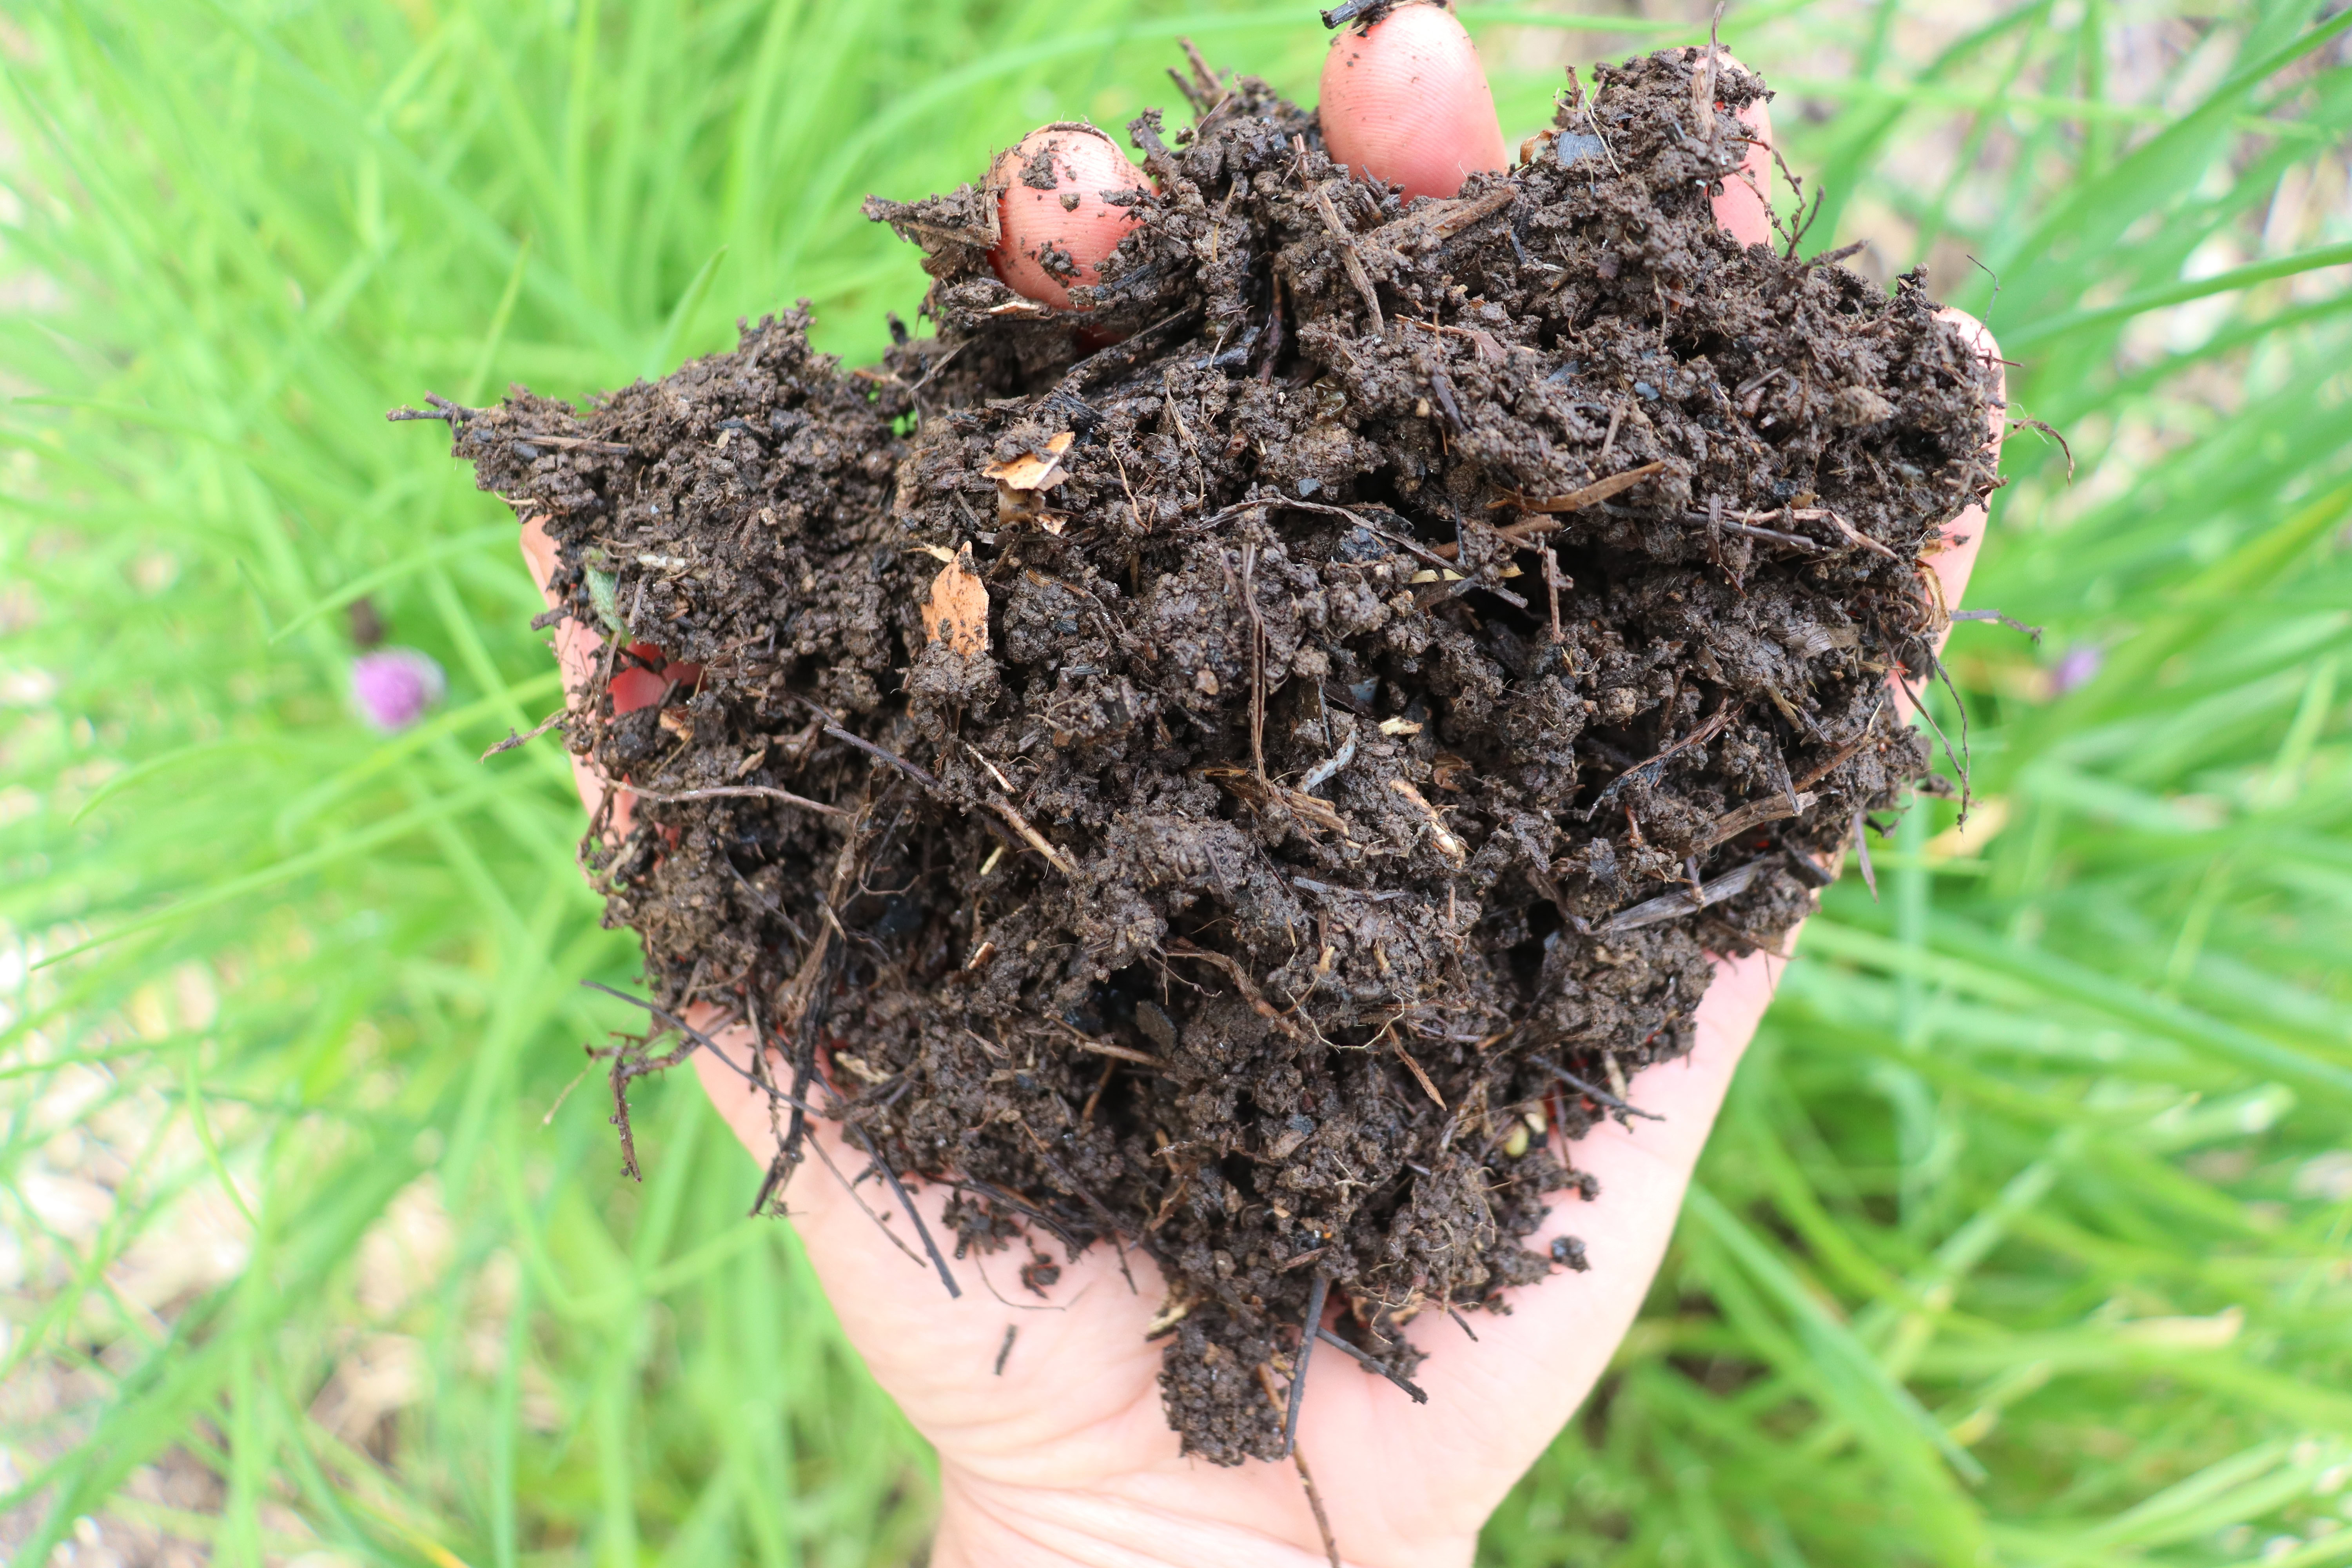
Worm-castings (worm poops), are the good-for-everything, by-product of your worm farm. It's no exaggeration to say that they have super powers. Team them with your homemade compost (your gardening dynamic duo), and your vegie garden will never look better.
There are plenty of ways to farm worms. My preference is a simple set-up that's either in-the-ground or on-the-ground, so that when (not if), the worm-farm gets too hot, too dry, too wet, too cold or runs out of food, the worms can escape into the soil.
Today I'm retrofitting those black plastic, dalek-like, compost bins into worm farms - because, lets face it, they're rubbish at making good quality compost, but just so happen to be perfecto for worms! Chances are you or your mum or your mate have one or two unused ones lurking down the back of the garden somewhere.
A good set up
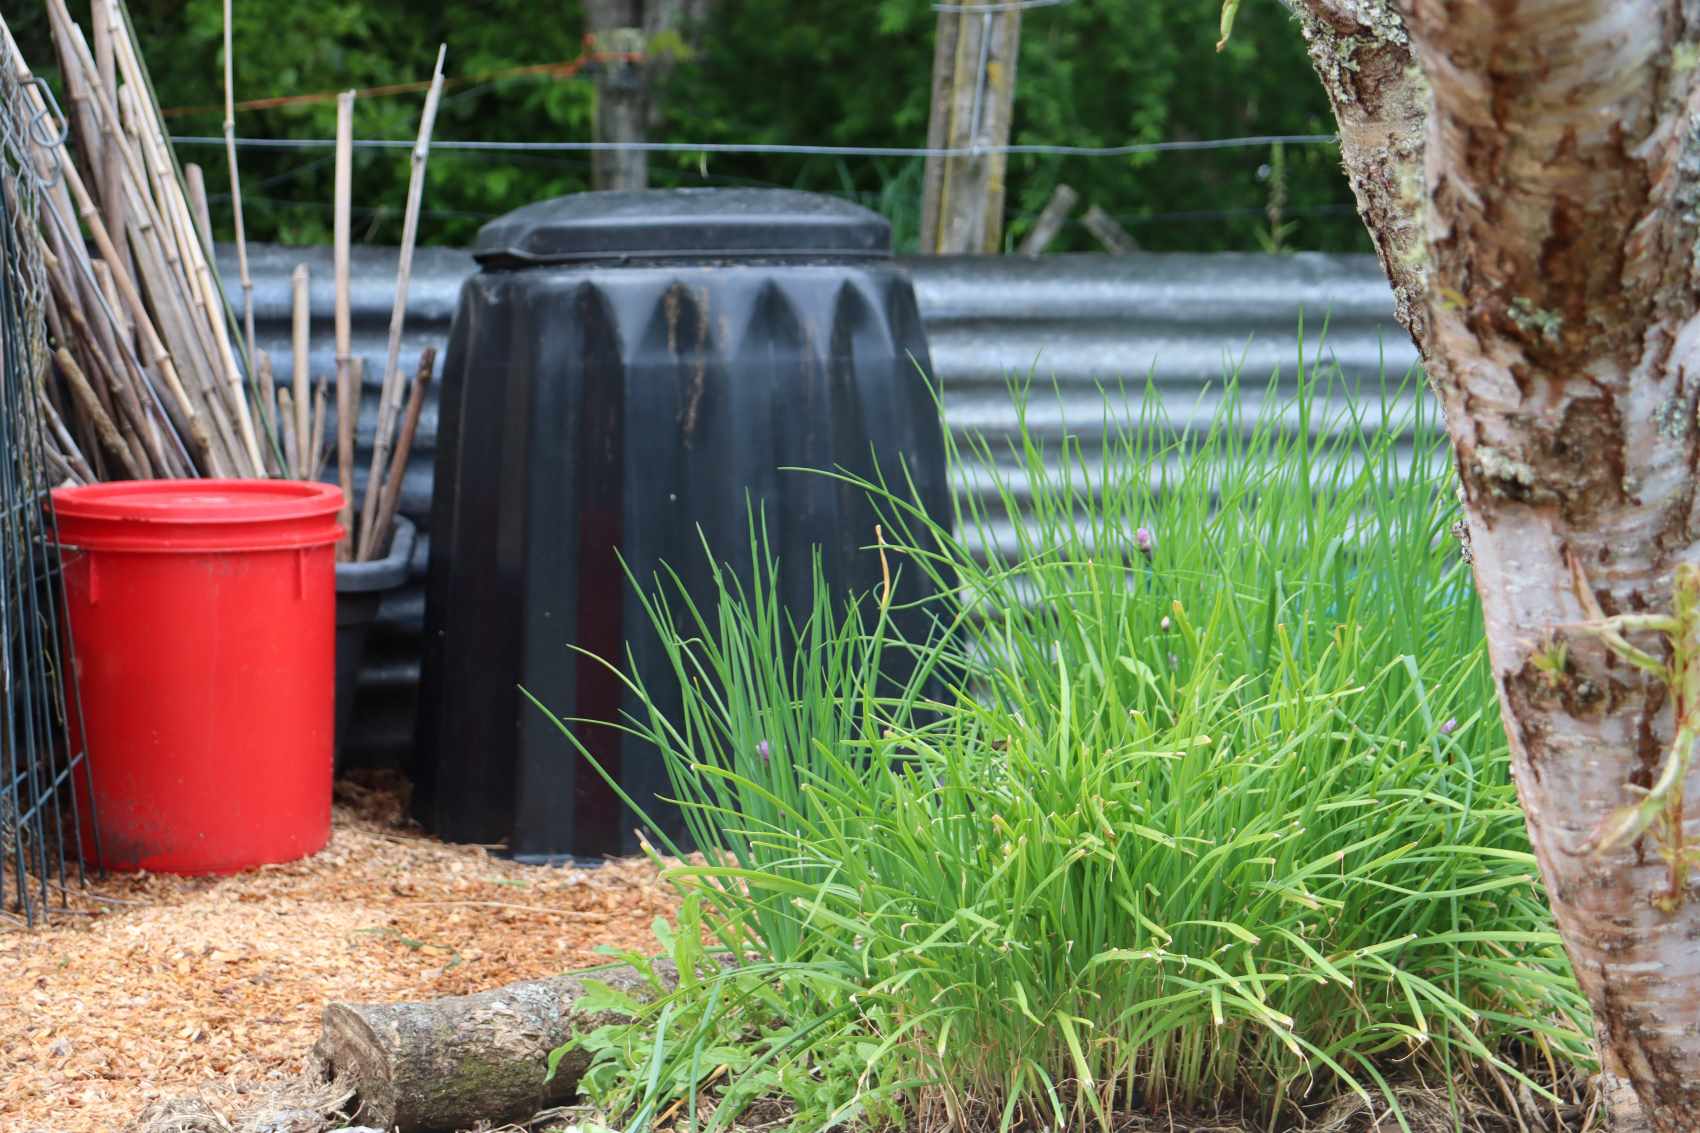
Two bins is ideal, and even better if you can sit them side by side. The optimum worm home is warm-ish year round - find a spot with winter sun to warm it up on cold days, and some summer shade to cool it down on hot ones. If you live in a climate of extremes, you may need one in a summer spot and one in a winter spot.
Locate the bins close to the veggie garden + greenhouse because that's where you'll use the castings. Plant hungry plants like rhubarb or citrus or veggies alongside to make the most of the nutritious run off.
- Lay cardboard over your chosen spot, water it to soften it and sit the bins on it.
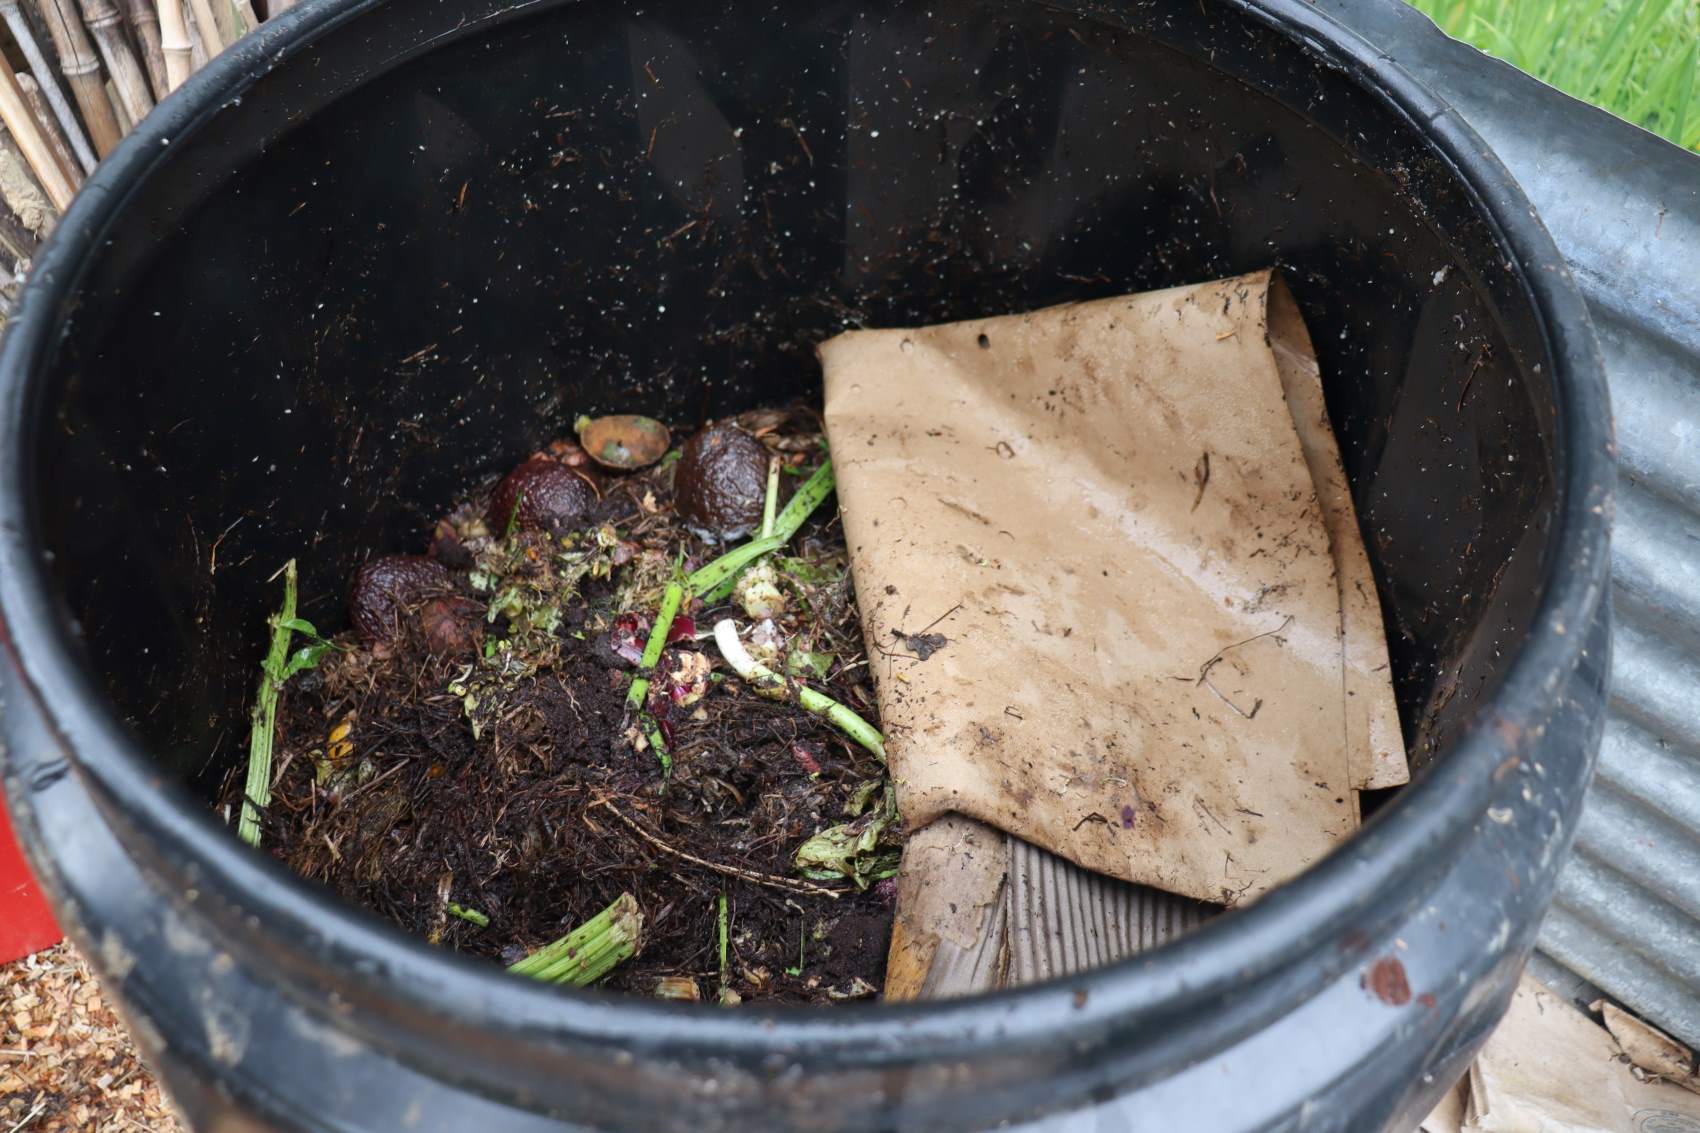
- Fill the bottom of one bin with a lovely thick 15 - 20cm bed of well rotten hay or homemade compost or my personal fav: organic manure. Organic, because it must not have any residual worming products or antibiotics or other anti-worm/ anti-life nonsense in it.
- Lay a few bits of damp cardboard over top the manure.
- Set a lidded bucket of lime or wood-ash beside the bin, and that's it! Let's farm some worms!
A good start
Buy compost worms online or get an ice-cream containers worth from a friend. Compost worms are different to earth worms, they've pointed ends, stripes and move really quickly. They're the worms that live in the litter and mulch and cow pats and gobble raw stuff up.
Lift the cardboard cover and pop your worms into the centre, on top the manure. Sprinkle on a small amount of well chopped up food scraps and re-cover with the cardboard.
As your worms feed and grow and mate and lay eggs, the population will increase. The more the environment is to their liking, the faster the population will boom. Its super important at the start to go slowly, to wait until most of the scraps are consumed before adding more. Keep in step with them, and in time you'll have hoards of hungry worms that will easily gobble up loads of scraps.
Don't include citrus skins or onions - put them on your compost pile instead. A few here and there once the worm farm is going gang-busters will be sweet.
Be a worm farmer!
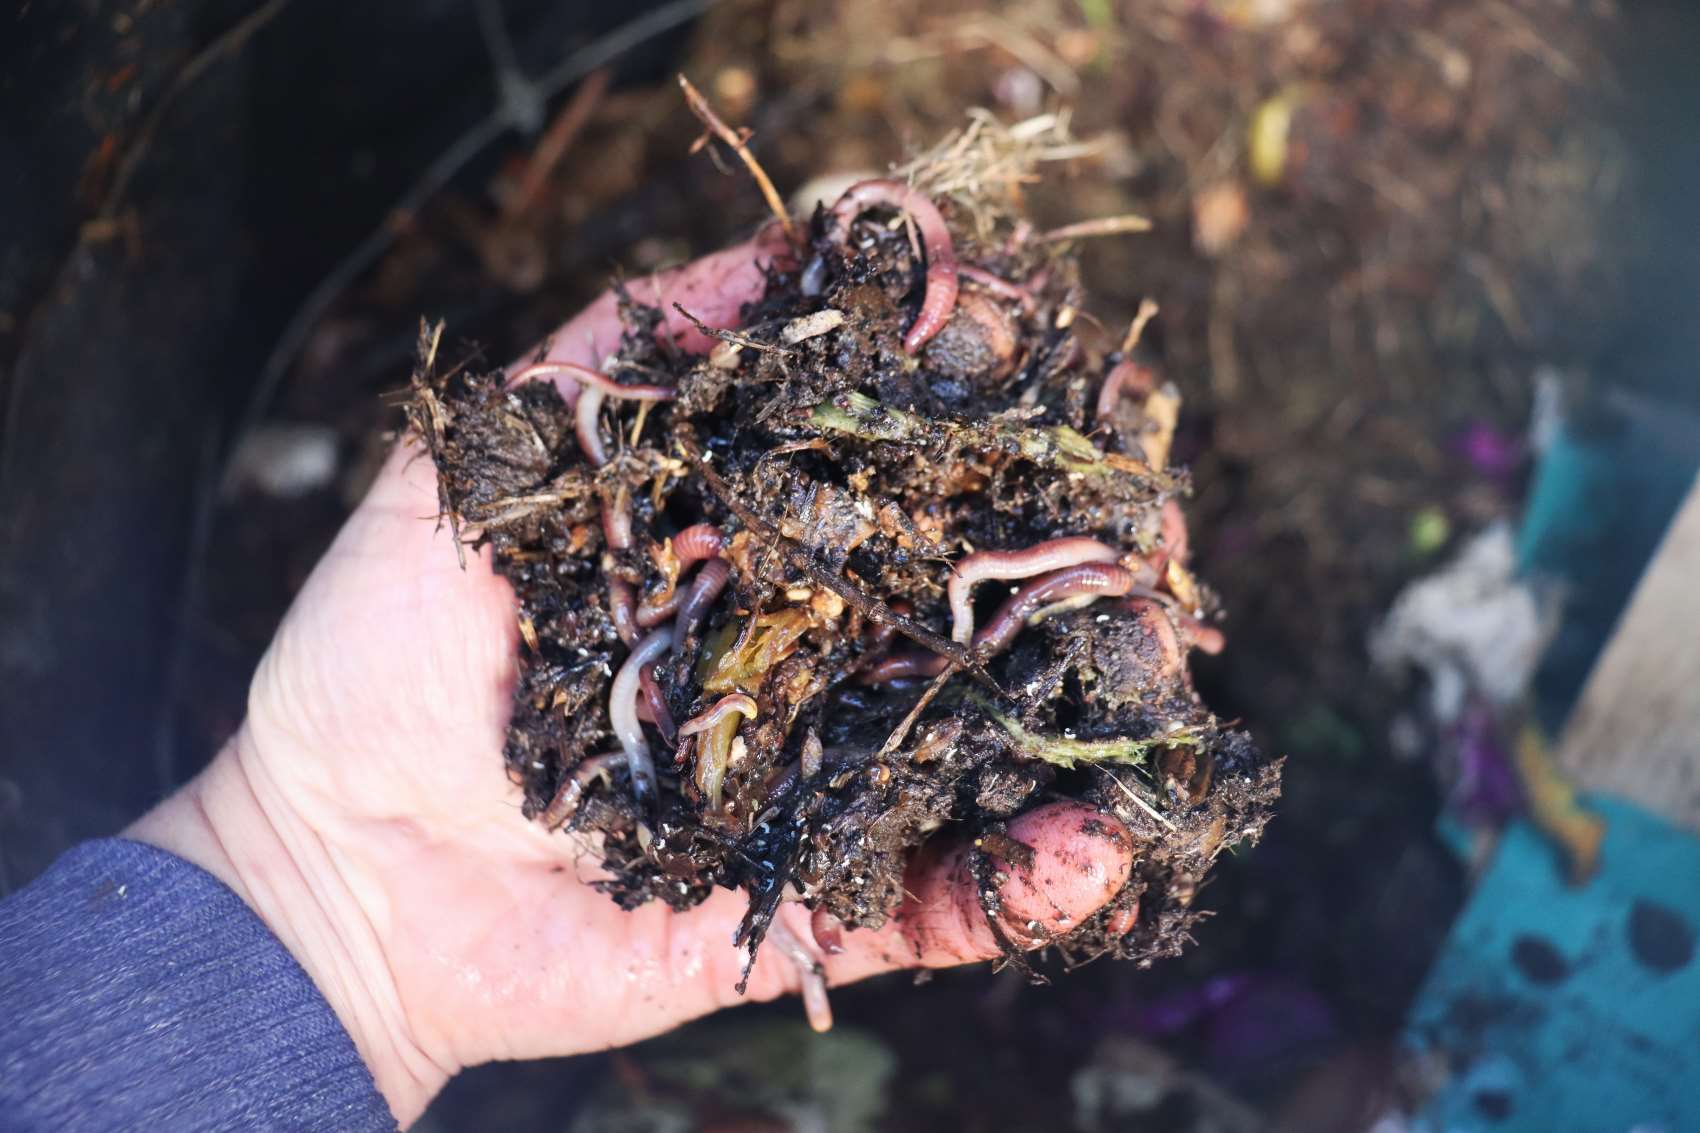
Check in on them everyday to say hey and make sure the temperature and moisture levels are AOK. Get to know what their happy place looks like + feels like + smells like because if you keep them happy (it doesn't take much), there's a bin load of gardeners gold at the end.
- Spread food scraps out so they aren't in a big dump in the centre.
- A very light sprinkle of lime or woodash over the foodscraps now and then will keep things nicely balanced. If you see lots of little flies, don't panic, they're all part and parcel of the wormfarm - just dust with lime.
- Card and paper are much beloved by worms, a good way to get rid of your secrets.
- As the cardboard cover starts to deteriorate, leave it for the worms to gobble up and replace it with a new bit. If you run out of cardboard, a decent layer of hay works, and if its cold, hay + card helps retain heat.
- A few dollops of manure now and then will thrill your worms no end.
- Rats and mice love food-scraps too - get trapping, it's so satisfying! Another option is to sit the bin on top of chicken wire and wrap it up the sides a little way. It works, but I it find super annoying to work around - others love it, you do you!
When bin number #1 is full, set bin #2 up with a bed of manure, then move a few big scoops of worms over by hand + fresh scraps + a new cardboard cover. If bin #2 is next to bin #1, the others will gradually make their own way over once the food runs out in the first one.
Use your worm-castings
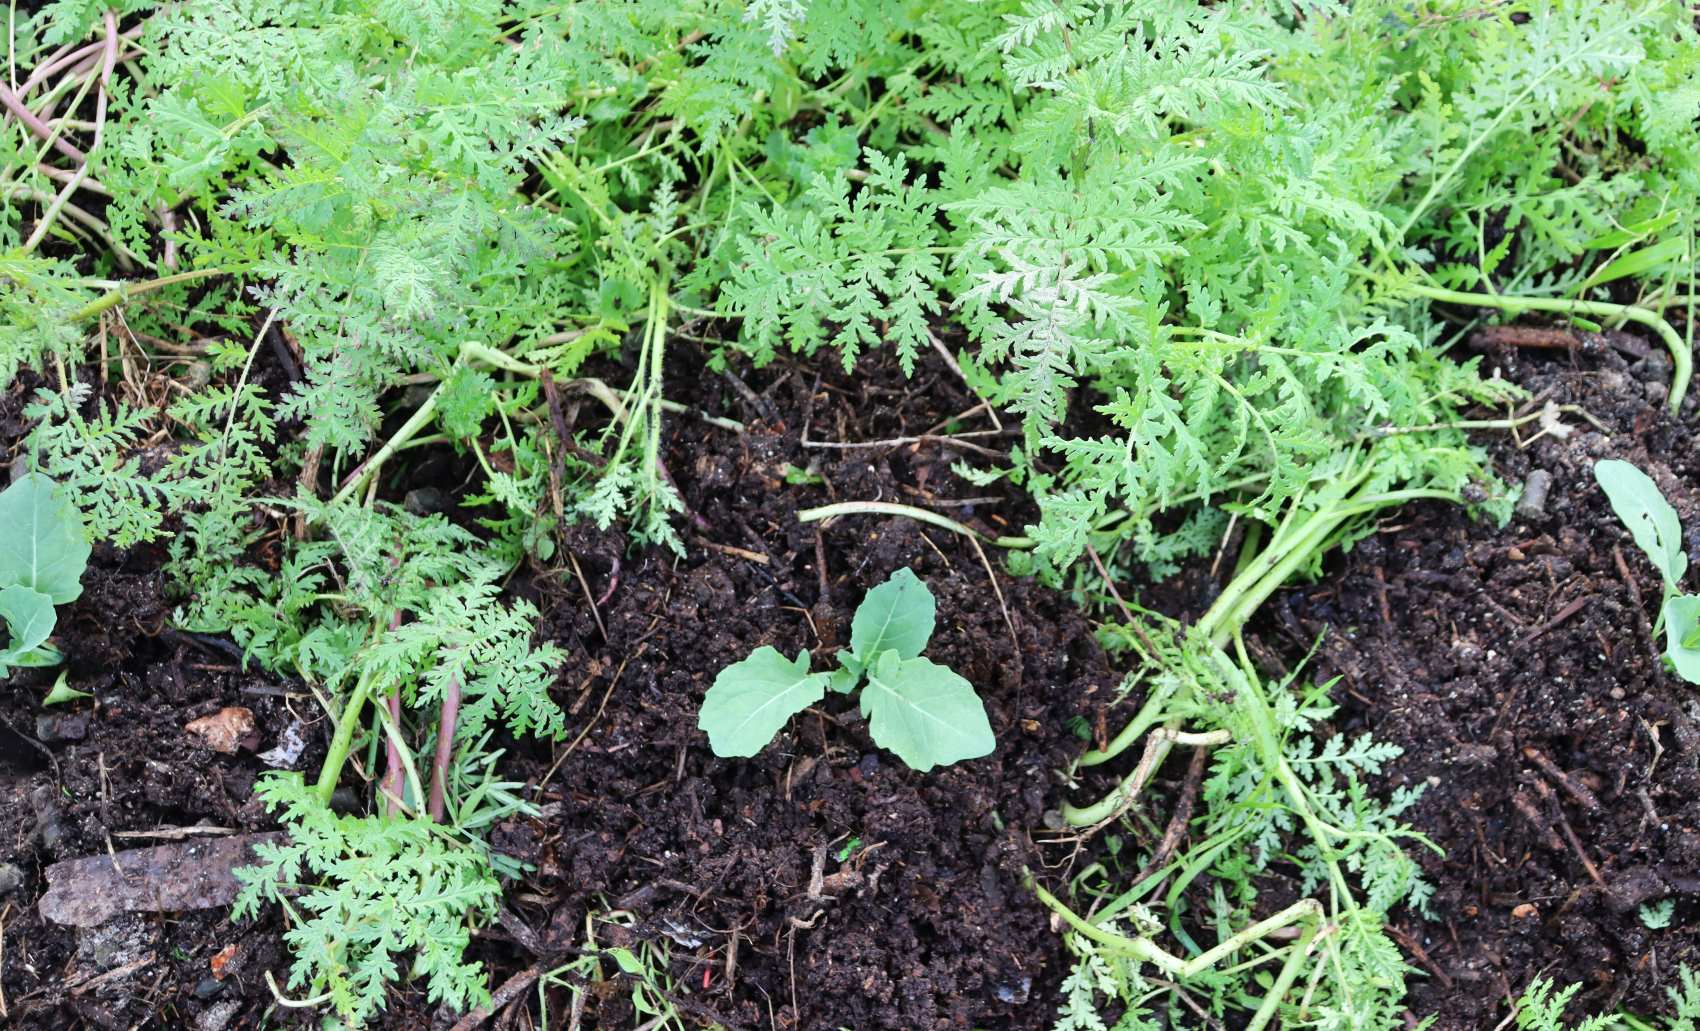
A full bin of vermi-castings is the bees knees. Use once nearly all the worms have vacated. It will look a little rougher and chunkier than the bought stuff but just you wait and watch it's super immune boosting, cell strengthening, growth enhancing powers in action.
- Add to bought or homemade seed raising mix for strong seedlings,
- include in your bed prep to strengthen soil and boost new transplants,
- add to the soil beneath any plants or fruit trees that are unwell due to pests or disease.
Bring on the garden magic.
